Part 1 – Installing a Heatmiser neo Stat 12V V2 Thermostat with our Eberspacher D4W Hydronic diesel heater

I have been looking for a digital thermostat programmer for use on the boat and while browsing eBay I found a Heatmiser neo Stat 12V V2 for auction, that seemed a little cheap so I put a bid on it at up to £20, in the end it cost me just £20.57 including delivery and buyers protection.

The 12v version is rare on eBay and when I see them they are going at about £50+ and new they are over £75.

Things I liked about the Heatmiser neo Stat 12V V2 was its ability to add control over the internet with a neoHub at a later date ( I did check the neoHub uses a 240v to 12V wall adapter, so should be no problem being adapted for the boat).

The heating control options also seem to cover most of the eventualities I could foresee including Weekday/Weekend and 7 individual day timing options, multiple (4) daily settings (they call them comfort levels) as well as 24 hours mode (good for us retired boaters, as weekend don’t have the same meaning anymore) and finally a non-programmable option where I can use this just like a basic old style thermostat and just set a temperature as I need it.

The only option that did not suit that well was the Frost Thermostat option which only goes down as low as 7° which on our boat we would like to be closer to 1-2° so we don’t waste to much diesel in the winter.

What we have now

At present we have two older style mechanical thermostats and the original push pull heating switch that Black Prince use. We fitted the thermostats as a quick and dirty upgrade, they are both mechanical devices one where you rotate a dial to the temperature you require, the other is our Frost Thermostat, which can be set to very low temperatures. The plan is to keep the original frost thermostat which we will continue to use.

When I installed them I added switch to enable me to be able to select if they are connected.

The biggest problem was that these thermostats where installed near the back door, which is OK for the Frost Thermostat, but for the Heating Thermostat that was probably the coldest place on the boat, so the heating could be on and the main cabin area would be 20°+ degrees, but the Thermostat was reading just 17°-18°.

The New Install

The first job was to find a place on the wall at approx head hight that would not be easy to walk into (in a house not normally a problem, but canal boat walls lean in) while also being away from radiators and not in direct sun light. Having found what looks like the perfect place. I had already picked up a Appleby 1-Gang Dry Lining Knockout 35mm deep wallbox, so I used the back of this to mark a square on the wall ready to cut out.

Behind the wall covering was a plywood sheet and behind that was a 35mm approx polystyrene layer, unfortunately or fortunately there was a metal box section just above the hole, making it impossible to push the wire up to the ceiling , so we cut a line in the wall covering and peeled it back then cut a slot in the plywood over the steel box section for the wire to pass over.

The wire we are using is a White PVC four core 1mm2 from Screw Fix as we have polystyrene insulation we need to cover the PVC wire, as the plasticizer in the PVC can react with the insulation hardening the PVC causing it to become brittle and crack. We used clear packing tape to do this.

The cable was then placed behind the ceiling skirting board, which is screwed to a batten and covers the join between the ceiling and the walls. We had previously put some trunking under here for the solar panel cables.

This runs all the way to the services cupboard where we have the old thermostat that this is replacing.

With the cable installed we are ready to wire it all up.

Ceiling Skirting
Ceiling Skirting

Wiring up the Heatmiser neo Stat 12V V2

We need to supply the Heatmiser neo Stat 12V V2 with a 12v supply to the + and terminals and then also the from the A2 terminal we return the “Call for Heat” signal to the Eberspacher D4W Hydronic On/Off control.

Heatmiser neo Stat 12V V2 Thermostat Wiring

The Brown wire in 12V also feeds the A1 terminal which is one side of the ‘Call for Heat’ relay, then the Black wire in the 0V and finally the Grey wire will supply 12V back to the Eberspacher when the Heatmiser calls for heat.

Heatmiser Wiring Diagram

Now this all worked perfectly when I wired it all up, but come the morning and we had no heat, the Heatmiser was working displaying as normal and calling for heat, but nothing was happening, when I pulled the original heating on button, the heating fired up…

What is going wrong?

So what I think was happening is the extension of the cables from the services cupboard to the Heatmiser even with the 1mm2 cables combined with some Voltage drop on the leisure batteries was lowering the voltage to the Eberspacher heater below what it required (Remember the 12V supply is then returned on the A2 line back to the Eberspacher, in effect doubling the cable length (probably 30ft of cable in total).

Had the engine been on or the solar panels working, we would not have seen the problem,

The fix for this should be simple but that will be a job for my next visit to the boat, as the weather is getting warmer it is not a problem and I have to head home.
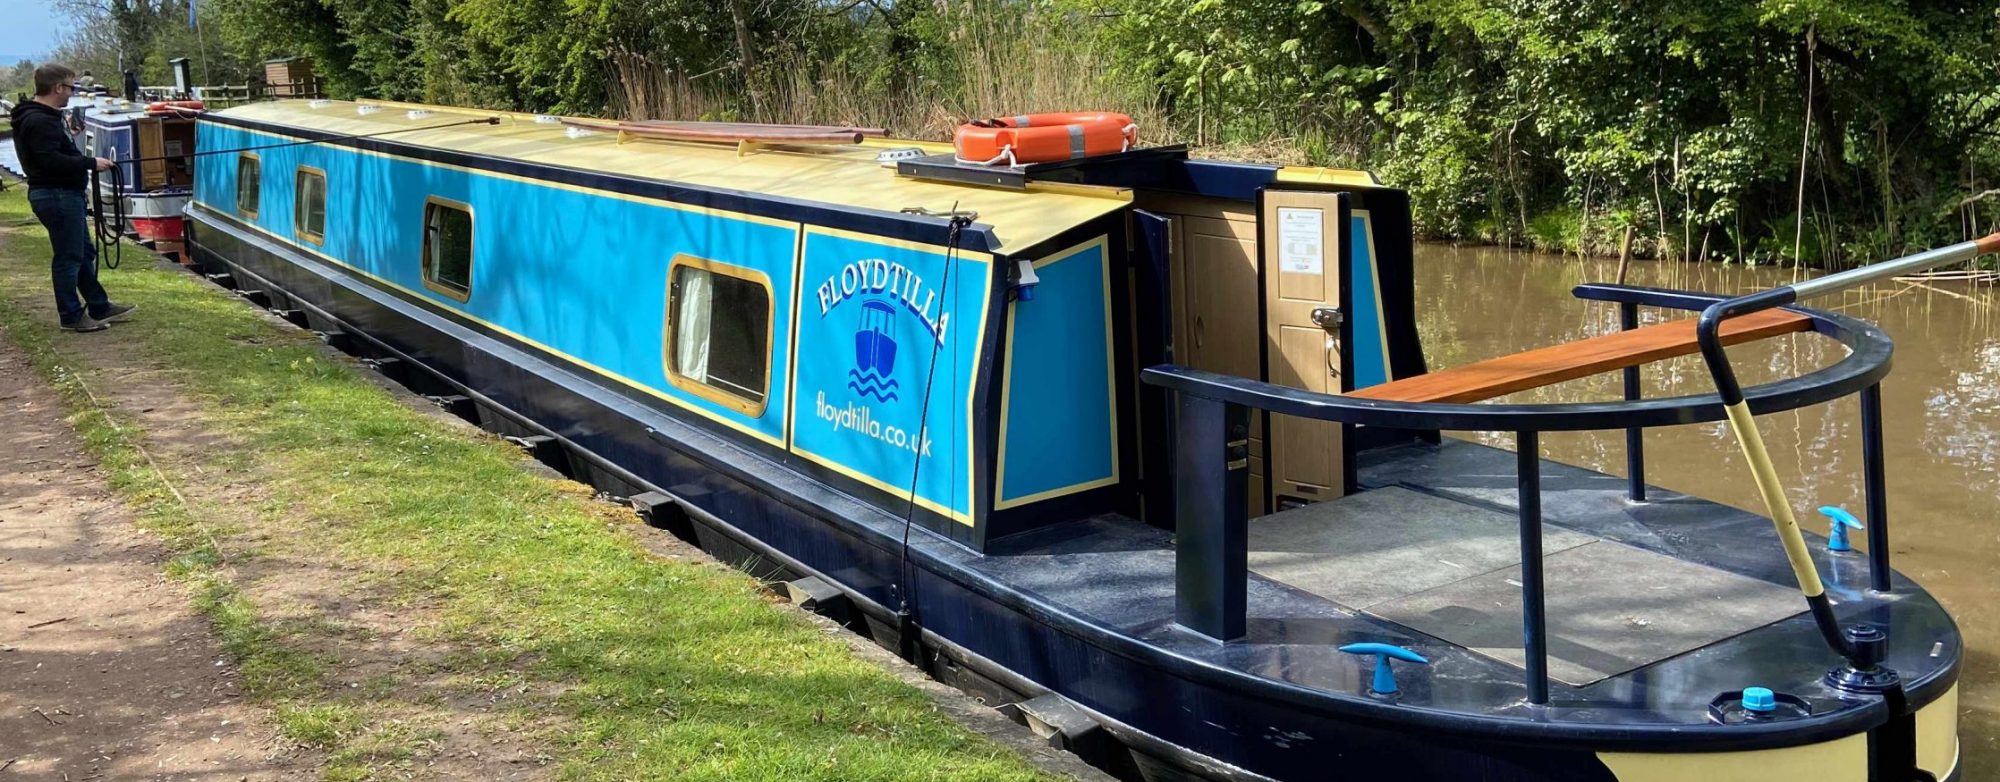
Floydtilla BSS Certificate – Passed

Floydtilla’s BSS certificate is due to expire at the end of April 2025, so it was time to book a test, we have added a few new bits and pieces to the boat in the past 4 years including our new solar panels – it is always a worry when you do the planning/install yourself.

As with the last test and survey we booked Tom Keeling from Small Craft Services to do this for us. Two days before the appointed day, I check with Tom that everything was going as planned, and we headed of the next day to the boat, to be ready for his visit.

Tom arrived very promptly at 9am, he first explanied the procedure and then we started at the stern looking in the engine bay, where he carefully explained what he was looking for, checking the fuel tank for rust and damage, the fuel lines, filters etc, before then checking the batteries and our new battery wiring and solar install (he noted the fuses etc) everything seemed OK, except the batteries could slide sideways in there mounting, We already had a ratchet strap over the top of the batteries, but within a few minutes we also had one install around the sides as well.

From the Engine bay we moved inside and checked the Fire Extinguishers, we have three mounted in the boat, and I have three extras for just encase (could not resist the Lidl special offers, they are two lower rating, but better to be safer?).

From what I remember of the discussion each extinguisher has a rating i.e. 8A/50B that you will find on the body label of the extinguisher, you need to add up the number of ‘A’ and the number of ‘B’, combined between you extinguishers they need to exceed 21A and 144B together, this is dependent on the length of the boat, at 61ft we need a minimum of 3 extinguishers in total.

Next we are on to the gas supply and the Gas locker was expected and the pipes inspected for the correct type, we only have a gas cooker connected to the supply and near the kitchen area is a test point to which Tom fitted his Manometer. after a few minutes all seemed to check out OK. Then Tom slid out the cooker to show me and to check the pipework was correct.

It is amazing how quickly and hour and a half went by, Tom is a mine of useful information and advice and I am sure I missed out lots of things he inspected along the way, but I now feel very confident we are safe onboard and also not a danger to others.

BSS Examination Report

The cost of this inspection including VAT was £260 (which includes a £72 charge by the Boat Safety Scheme for the certificate.

Canal Walk from The Falkirk Wheel to the Kelpies

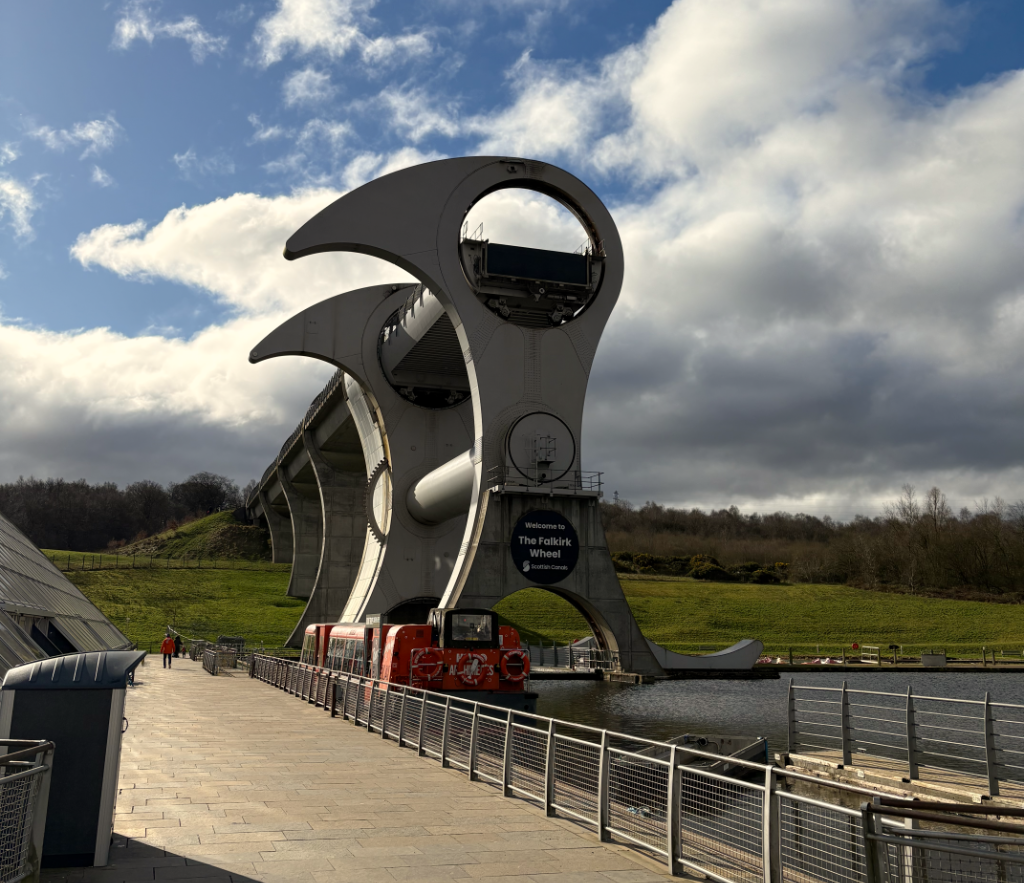
We are on a trip around Scotland and decided we would visit the Falkirk Wheel and take a tour, while we had some luck, as the day before it would have been closed, today it was open, but unfortunately the actual lift was closed for maintenance. We did how ever have a good look around and a coffee in the cafe.

The wheel is an impressive structure lifting boats between the Forth and Clyde Canal and Edinburgh and Glasgow Union Canal.

Not being open meant we had a few hours to spare, so I decided to walk along the canal to the Kelpies, about 4 miles, while Sonia took the car directly.

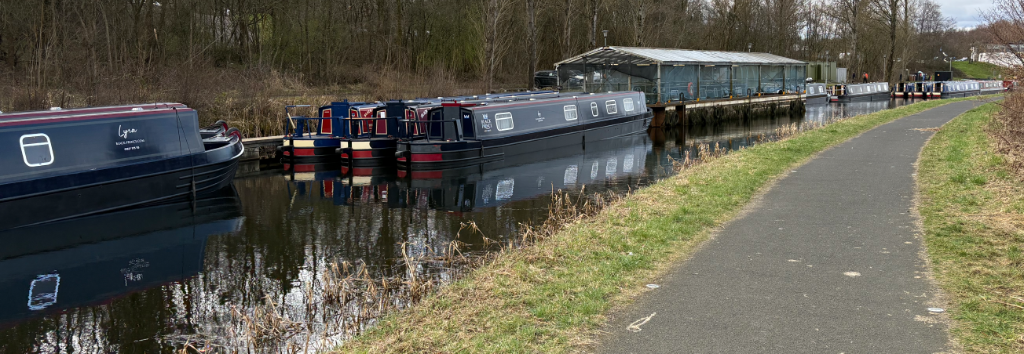
Leaving the Falkirk Wheel the canal path is tarmac style, with solar powered LED lights embedded at the sides. at first there are moorings for all the hire boats, waiting for the season to start.

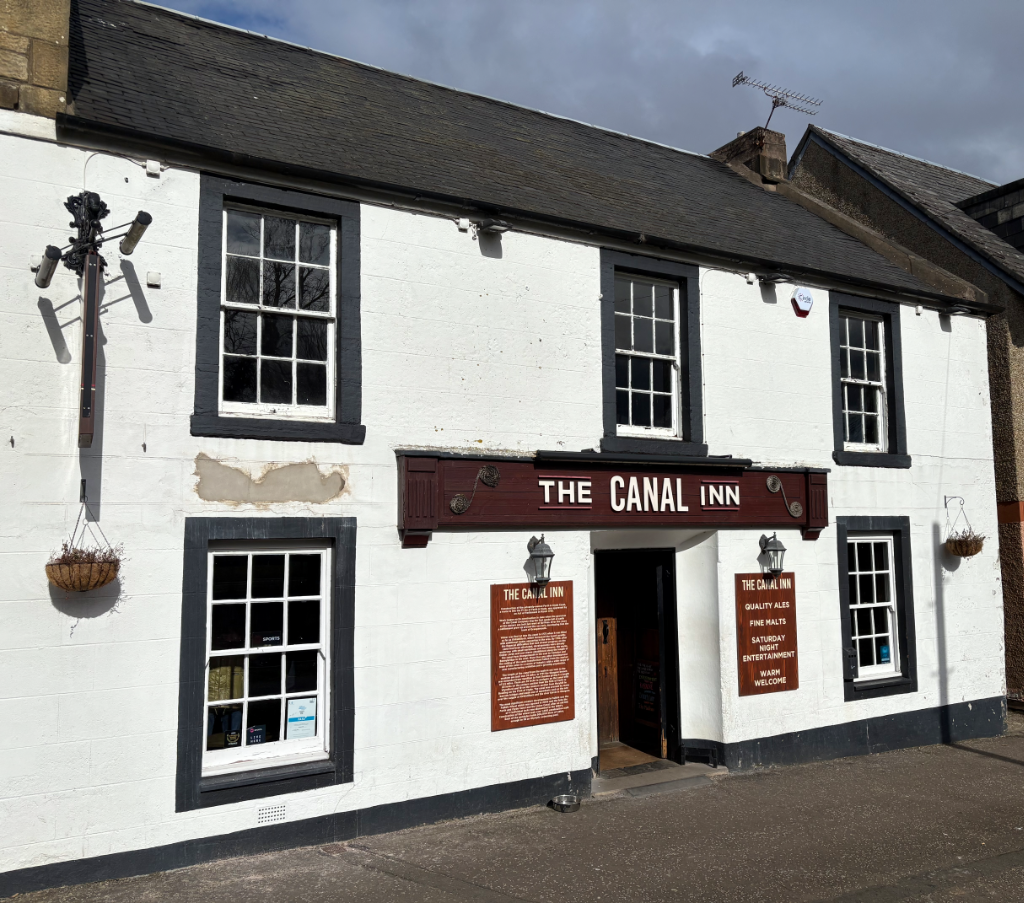
All the locks seemed to be overflowing as there are no boats moving. At lock 16 on the opposite side is the, now closed, Union Inn. The building is looking very run down, then on the left is the The Canal Inn which seems to be still open.

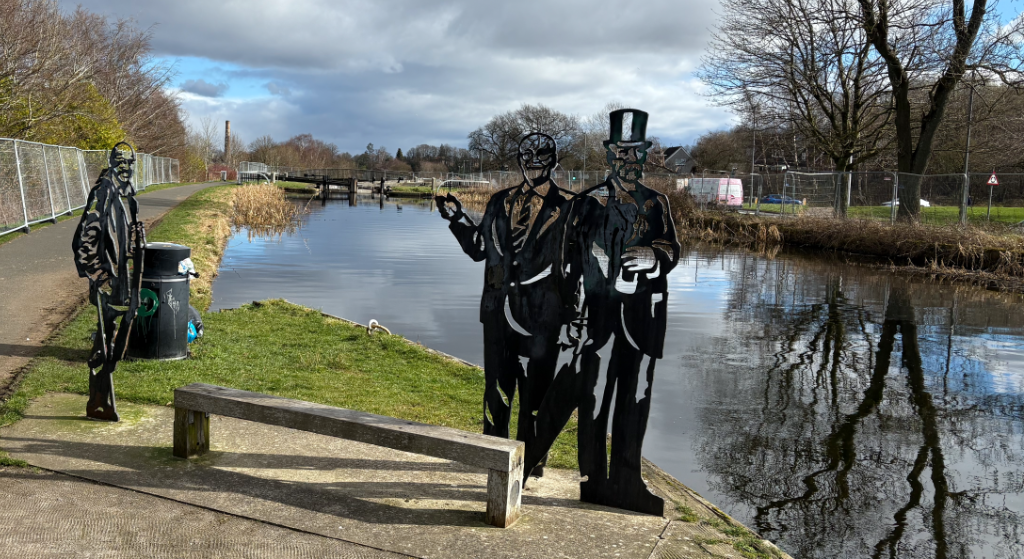
Canal side art comes along every so often, the first piece I found was these three gents.

On the left is Dr Harold Lyons, then Reginald Adams, and finally Robert Barr who’s name is forever synonymous with Iron-Bru.

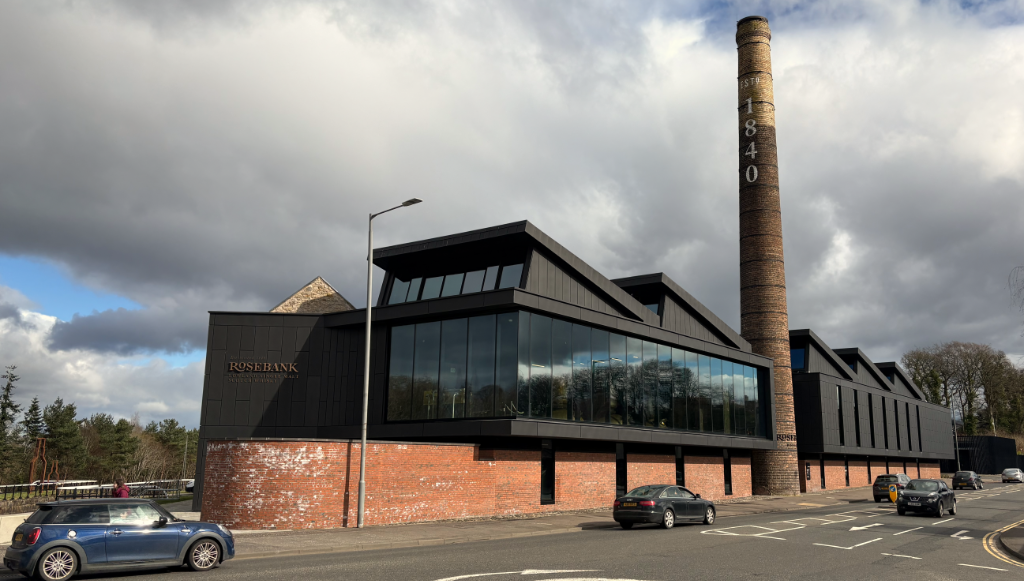
Like almost every large town in Scotland it seems it must have its own Distillery, and between Locks 11 and 10 next to the Camelon Road Bridge is the Rosebank Distillery

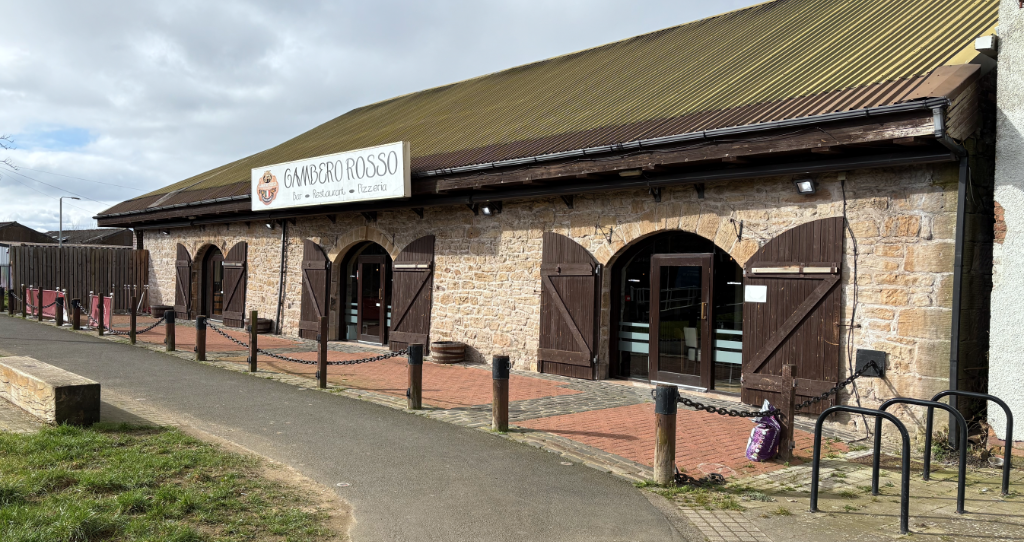
Then another interesting find is just next to Bainsford Lock No 5 a Pizzeria called Gambero Rosso.

After this the walk is mainly along the edge of an industrial estate area, but just as this area ends and you pass under Carron Road Bridge, to the left you can see the Kelpies in the distance

Next the canal turns a sharp left-hand turn and you are then walking directly towards them.

When you get close you can see the canal can exit the Sea Lock basin via the Kelpies Lock No 1a between them or via Sea Lock 2 before joining the River Carron.

The Four Counties Ring – Map Updates

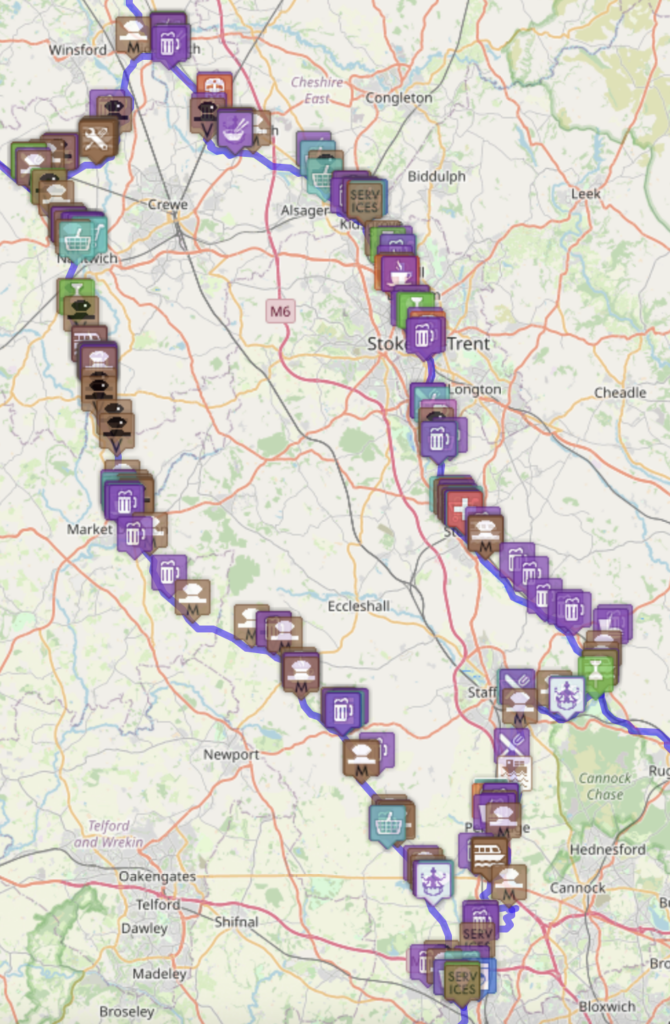
This year (2025) we are planning on completing ‘The Four Counties Ring’ so one of my tasks has been to update our interactive map. We are starting from our Marina mooring at Droitwich Spa Marina then up to Wolverhampton, as we did when completing the Stourport Ring in 2022, from there we can turn North on to the Staffordshire and Worcestershire Canal and then onto the Shropshire Union Canal to start the ring.

We expect this to take just over a month, we are not in a rush and need to be visiting some of the interesting places along the way.. maybe the Secret Nuclear Bunker if we can find it.