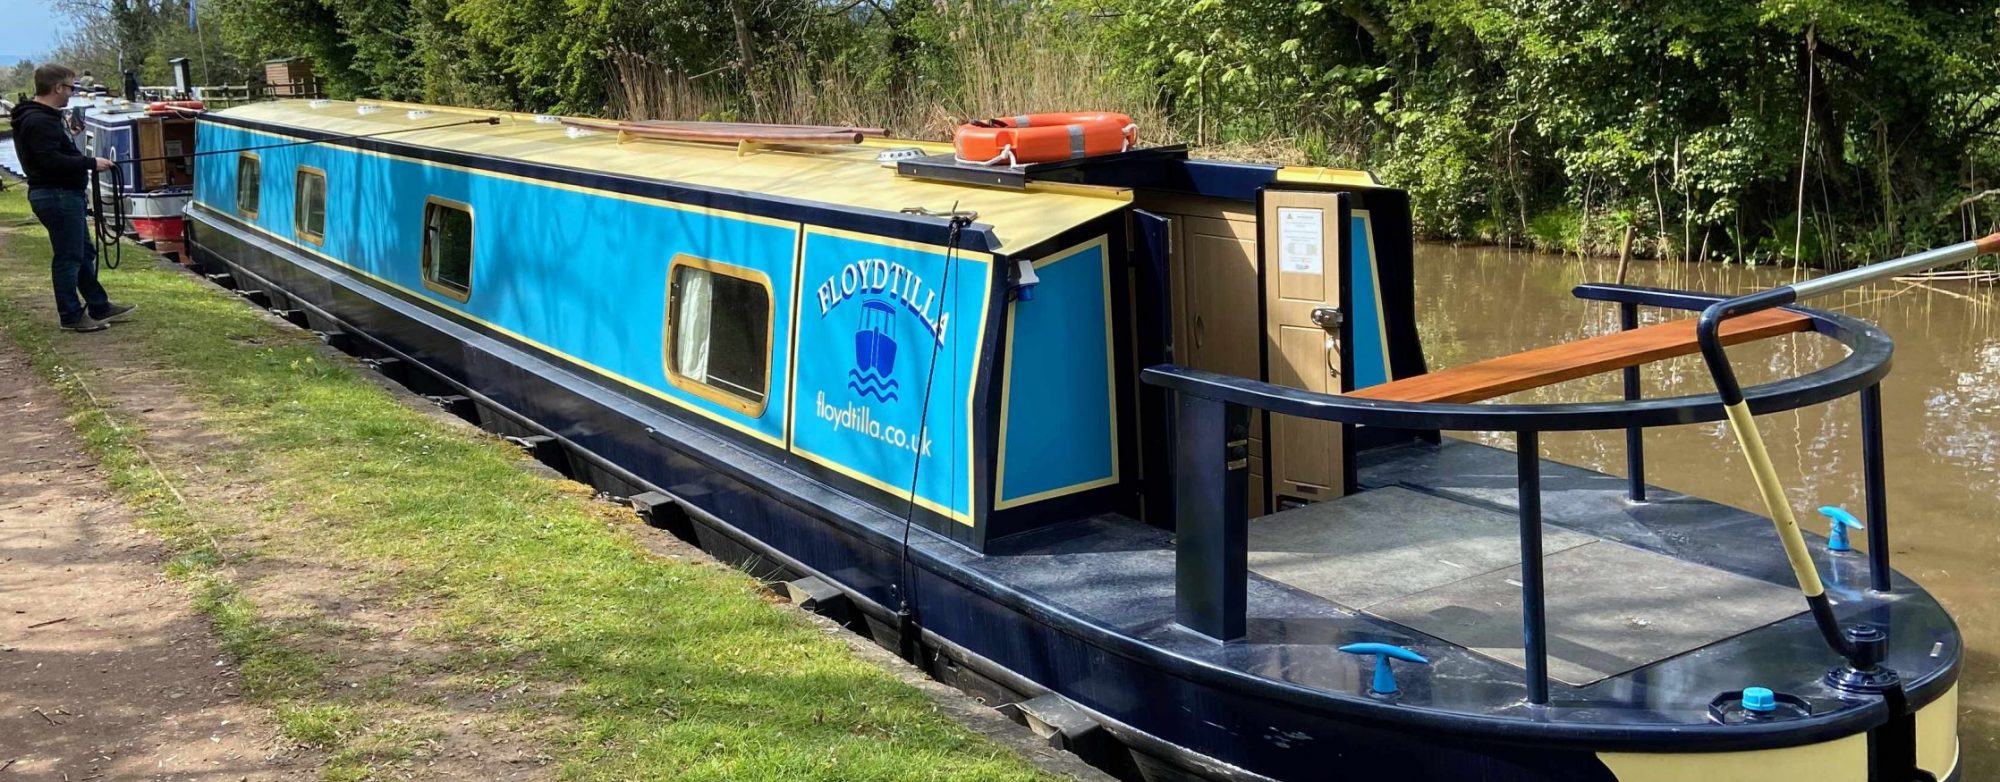
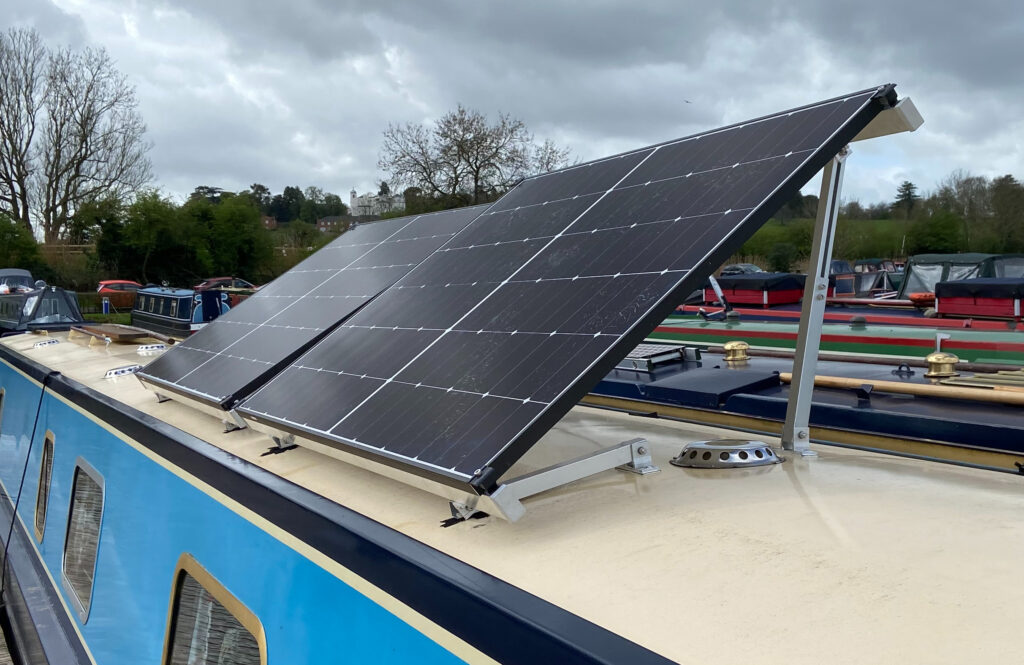
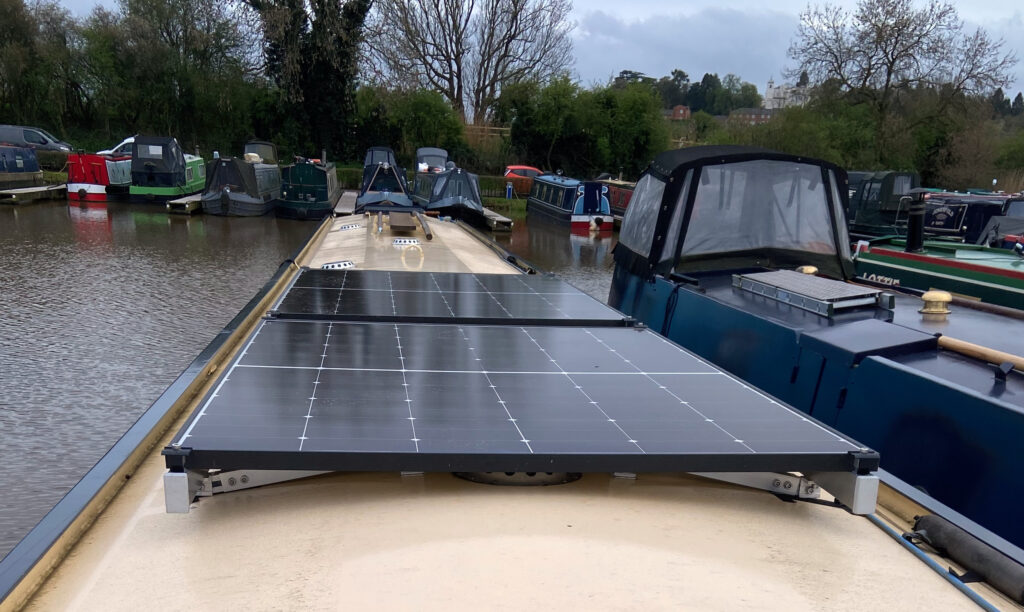
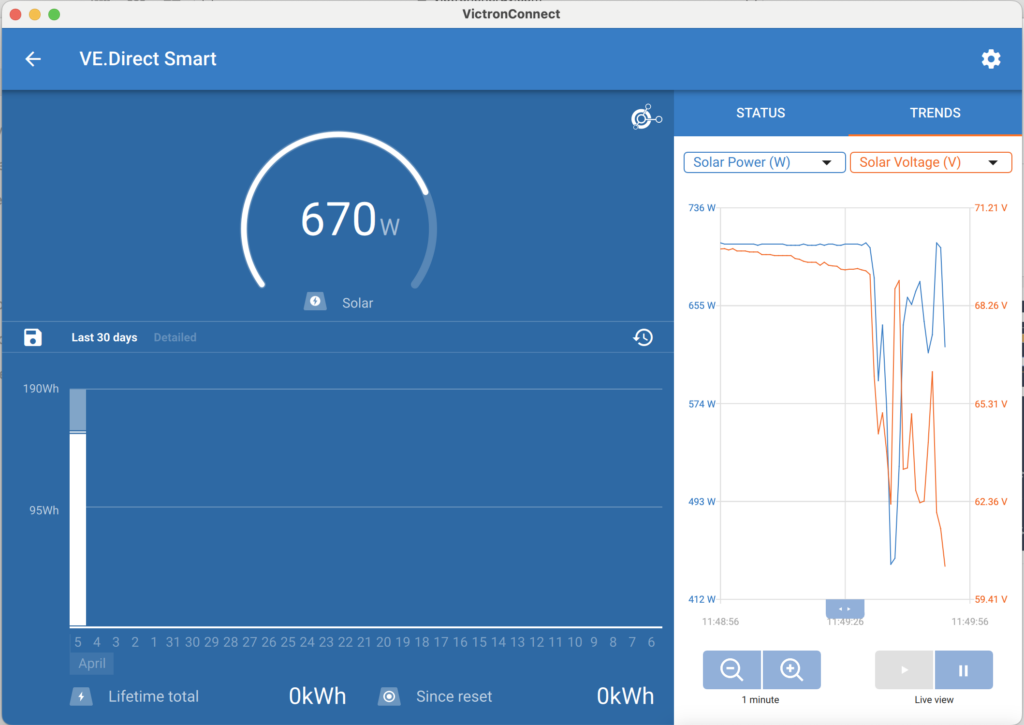
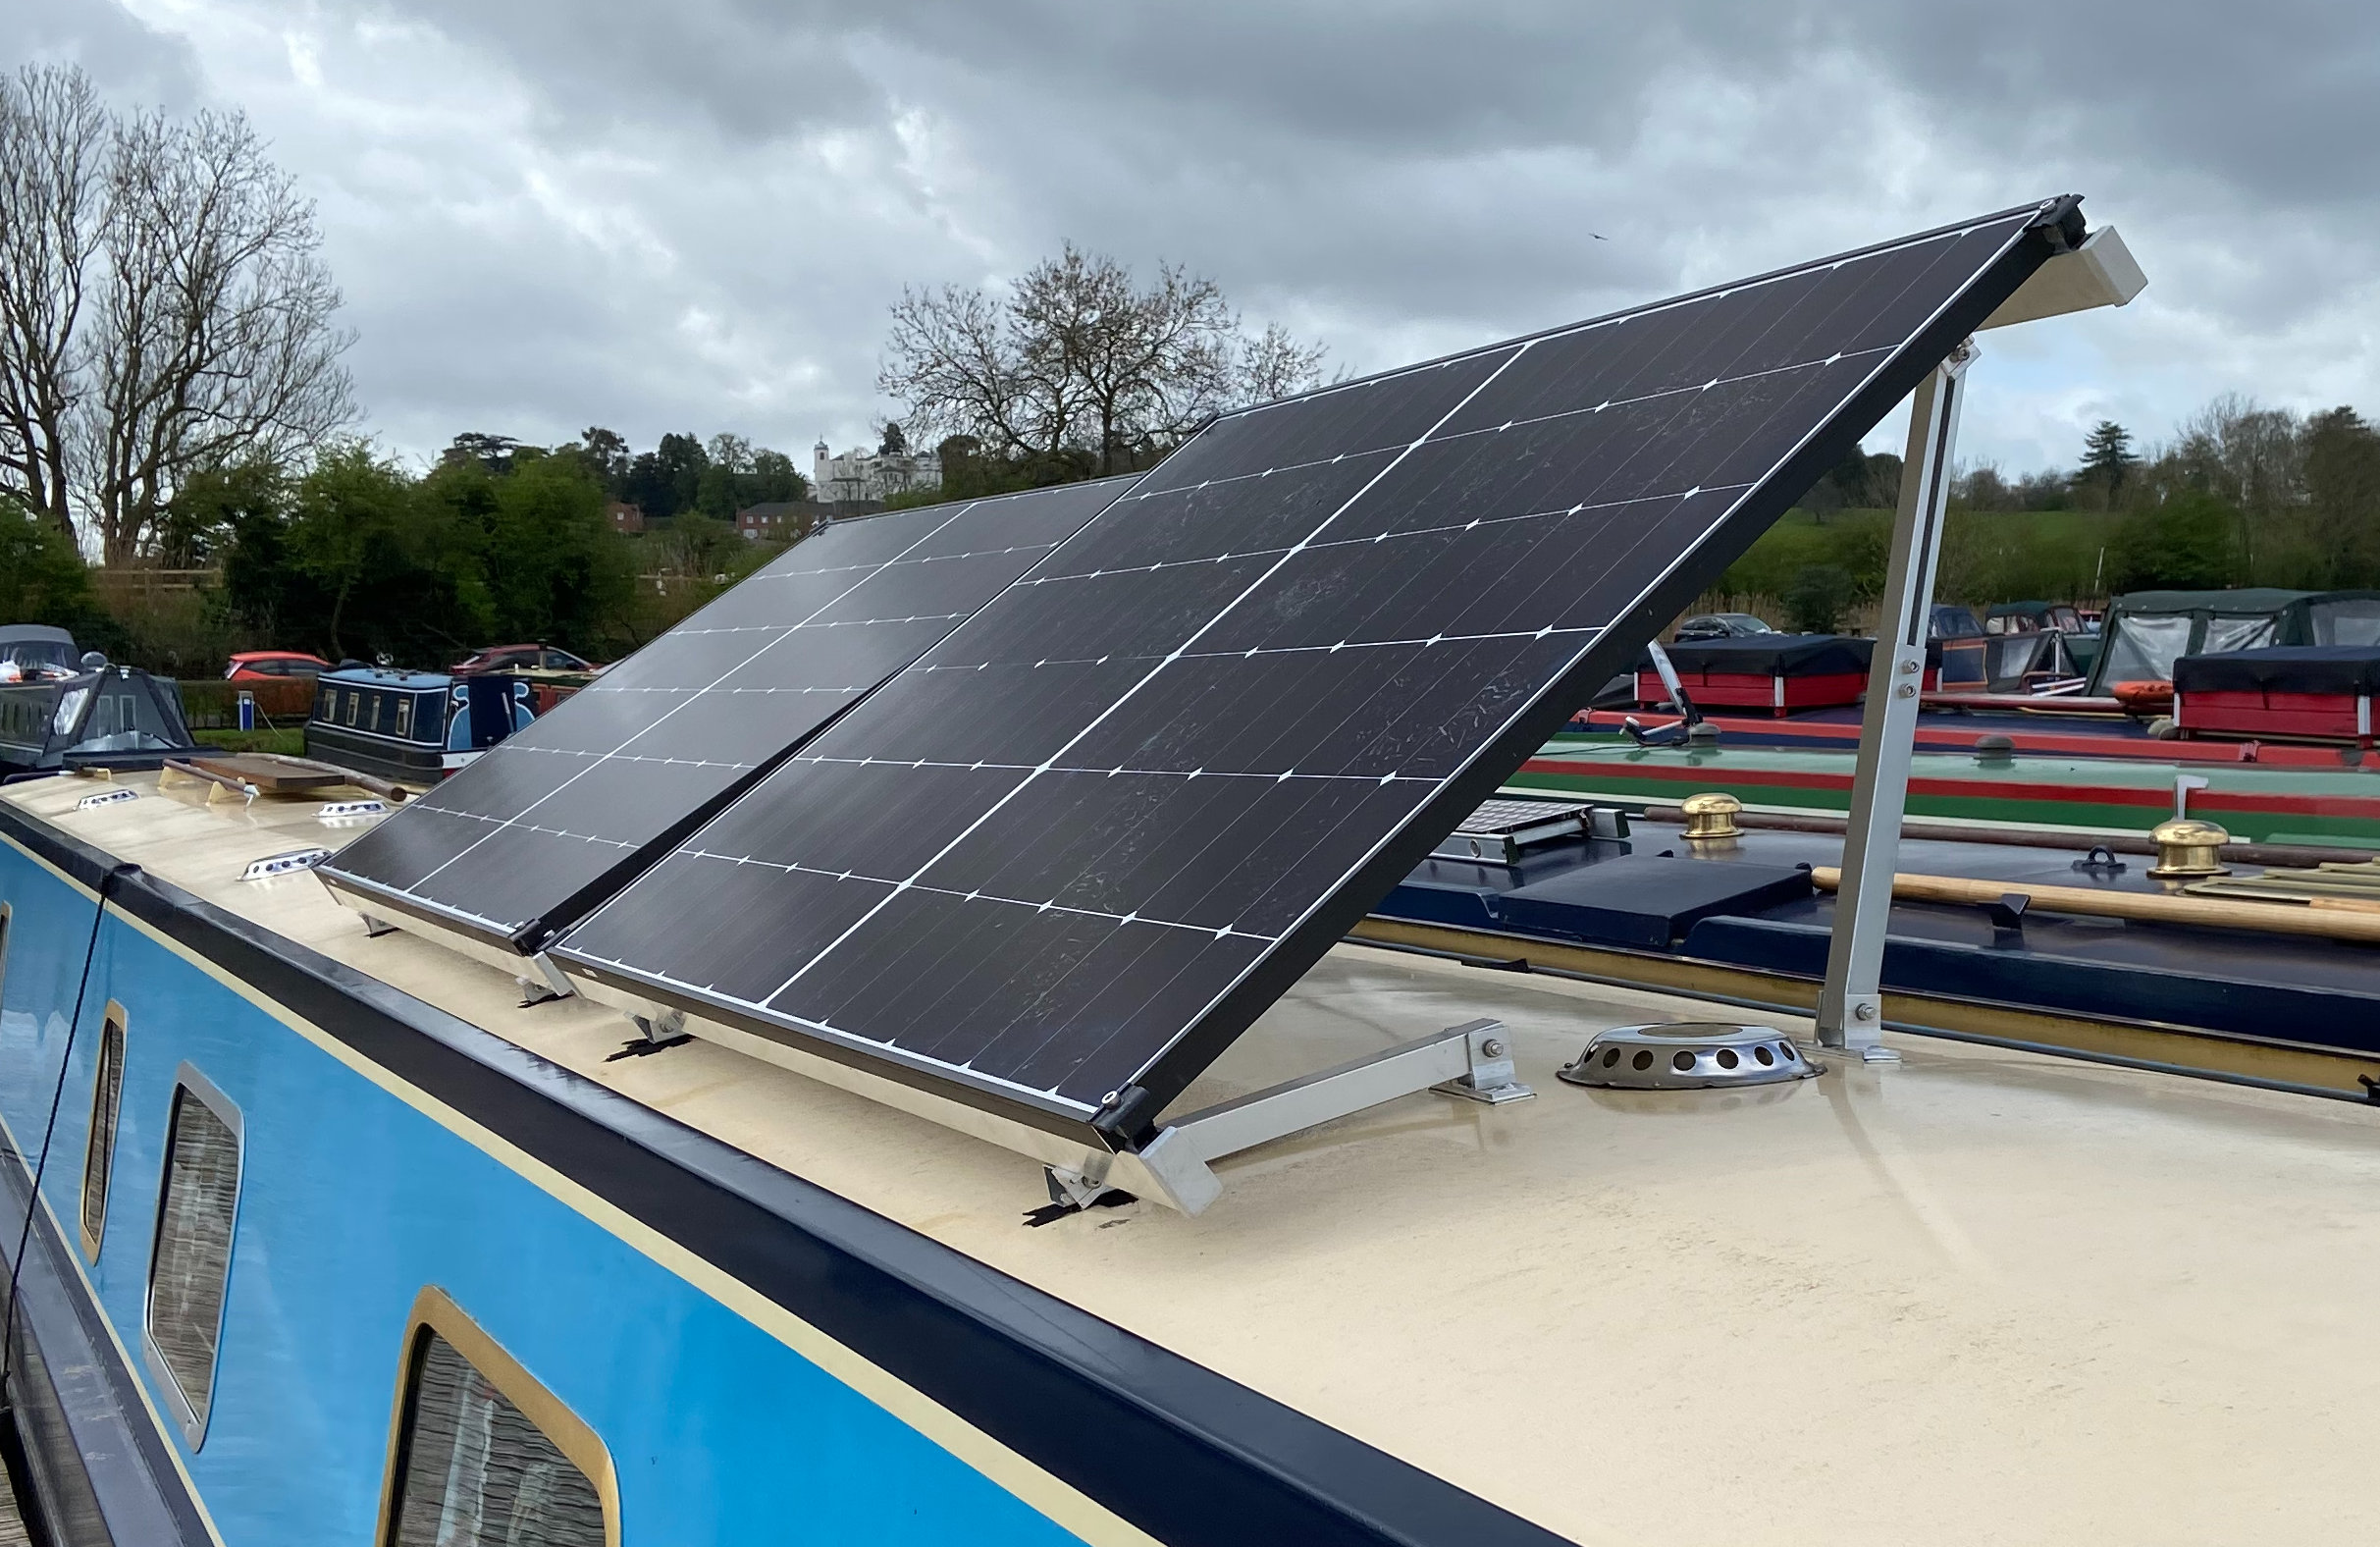
We have fitted two 425W solar panels on tilting mounts, so we could have 850W of solar available on the perfect day, but the best we have seen and I don’t watch this all the time has been about 725W on a good day with the sun directly overhead.
Two Longi Solar 425WP panels mounted on Semi-Permanent Adjustable Mountings from Midsummer Energy
We normally have our panels flat to the roof, but as we have used a lot of power from our batteries playing with the new toys onboard. I decided to see what the difference would be if I tilted them towards the sun.
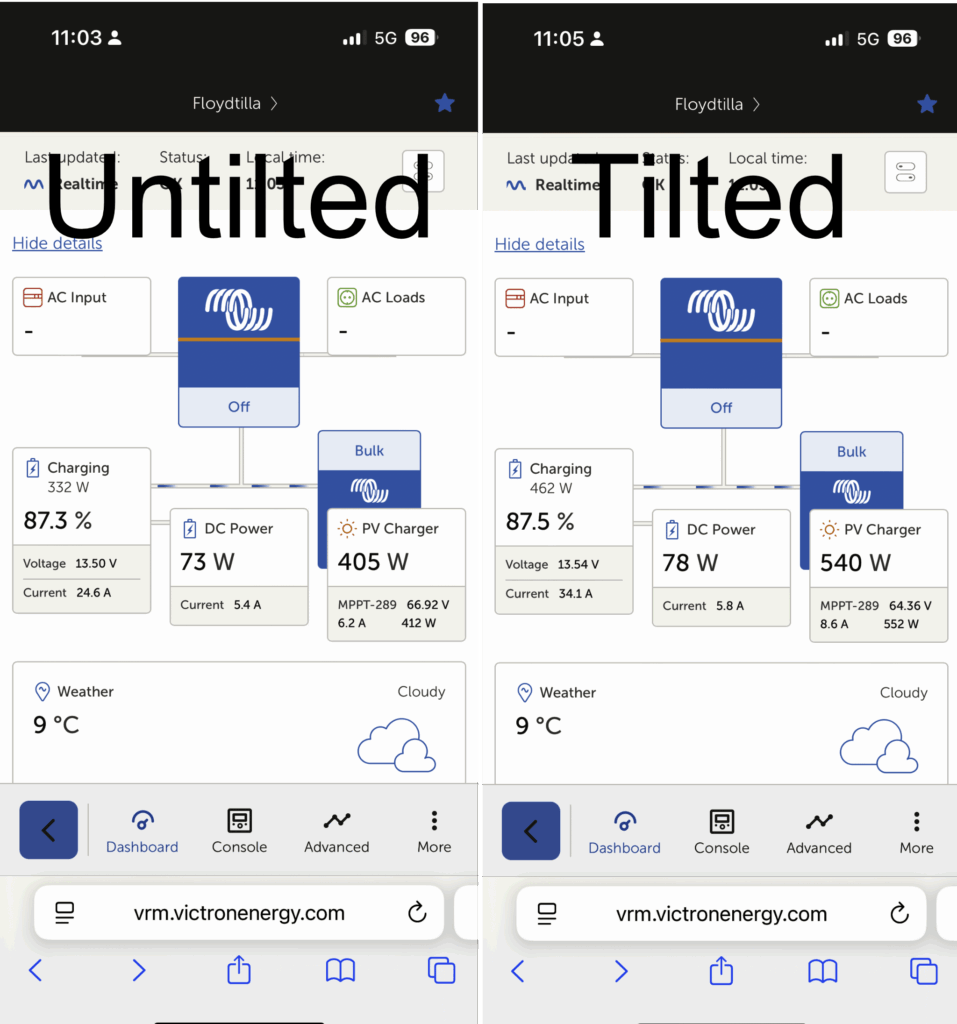
It is late September and flat my panels are producing approx. 405W, which would be fine, but we are in Birmingham between tall building so our view of the sun is time limited at best.
33% Increase in Watts
Tilting the panels at about 400 toward the sun increased the output to 540W which looks like about a 33% increase is my maths is correct.
Tilting Solar Panels
While this increase would not be over the whole day, and the boat has to be in the correct orientation, it would add significantly to our charging for that day.
The DC Power used at that time was our Fridge, Starlink Mini and a RaspberryPi we use to collect this information.
We already have a 3000W Sterling Pro Combi S inverter which was installed by Black Prince Boats when we purchased our Ex-Hire canal boat in 2021. Luckily for us Sterling Power Products are based in the UK and in Droitwich very near our Marina. They also have their Sales/Support and Stock on-site, very useful when you need to get a problem solved PDQ.
So after chatting to Ben at Sterling Power, he advised us what we needed and we placed an order online. The next day I went to collect our new goodies and have a further chat to Ben.
The Sterling is not the cheapest, I could easy find some low cost alternative products, but I was looking for a well know and reliable product that would be useable 24-7 & 365 days of the year, especially when the boat moored in a frozen canal in the middle of winter. The Sterling batteries include all the normal BMS (Battery Management System) stuff including a bluetooth connection to my phone, but I was also advised by Ben that these batteries also have an inbuilt 100W heater that is controlled by the BMS so that when the temperature is below 0°C it will divert any charging power to heating the battery first so it can be safely charged without damaging the battery.
Click for Explanation – LiFePO4 batteries and the COLD
LiFePO4 (Lithium Iron Phosphate) batteries should not be charged below 0°C (32°F) because lithium plating can occur, causing permanent damage, capacity loss, and increased safety risks such as internal short circuits. This chemical process, where metallic lithium accumulates on the anode, reduces the battery’s lifespan and can lead to dangerous failures.
Once back at the boat and with the excellent help of Steve Cowham from STC Marine Engineering, who is also based at Droitwich we started to talk through what we needed to do. The only sure thing was this was the first time either of us had done this before, but we had access to support from Ben at Sterling Power Products, available at the end of the phone.
A bit of a sudden panic on my part, as I had assumed this would all fit in the available space in the battery tray, something I should have checked first…. Luckily it all physically fitted.
Our plan was to have a hybrid battery systems retaining one of the old leisure lead acid batteries to act as a buffer between the Lucas 75 Alternator and the new fancy LifePO4 batteries, as Alternators and LiFePO4 batteries do not play well.
Click for Explanation – LiFePO4 Batteries and Alternators – WHY not a good idea
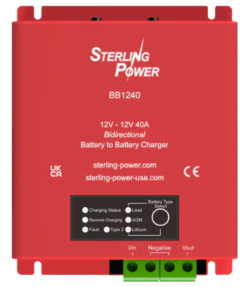
The use of the Sterling Power BB1240 between a lead-acid and a LiFePO4 battery is to provide the correct, multi-stage charging profile for the LiFePO4 battery, as it has different charging voltage and current requirements than the lead-acid battery.
A simple direct connection to the alternator would cause damage to the alternator. LiFePO4 batteries have low internal resistance and can draw a massive amount of current from the alternator, potentially overheating and then failing. The alternator is not typically designed to operate at full output continuously.
So, out with three old and tired lead acid batteries. We then put the LiFePO4 batteries sandwiched between the remaining lead acid buffer battery and the engine starter battery, which has its own alternator and is not effected by this upgrade.
While Steve was manhandling the batteries I was despatched to our local chandlery at Hanbury Wharf to get some longer M8 bolts as those supplied are a little short if you are connecting a few things to the terminals.
A question we asked Ben at Sterling was, “Where do we attach the solar charger, should this be on the lead acid buffer battery or on the LiFePo4 battery?” He came back with, “Direct to the LiFePO4 batteries as this does not need to pass through the Battery to Battery Charger”.
We have used most of the original cables to install these batteries. Unfortunately our cables would not let us connect the inverter directly to the LiFePO4 batteries, this was a problem as any power would not come from the LiFePO4 bank as while the Saturn BB1240 Battery to Battery Charger was bidirectional, it only charges the buffer battery when the LiFePO4 batteries are fully charged.
So for today we were as far as we could go. I later plugged us into the shore line power and, while not totally unexpected, the inverter kicked in and started charging the LiFePO4 bank via the Saturn BB1240 Battery to Battery Charger. I do not think I have heard the fan on the inverter run so fast, a few hours later we had charged the new batteries to 100%.
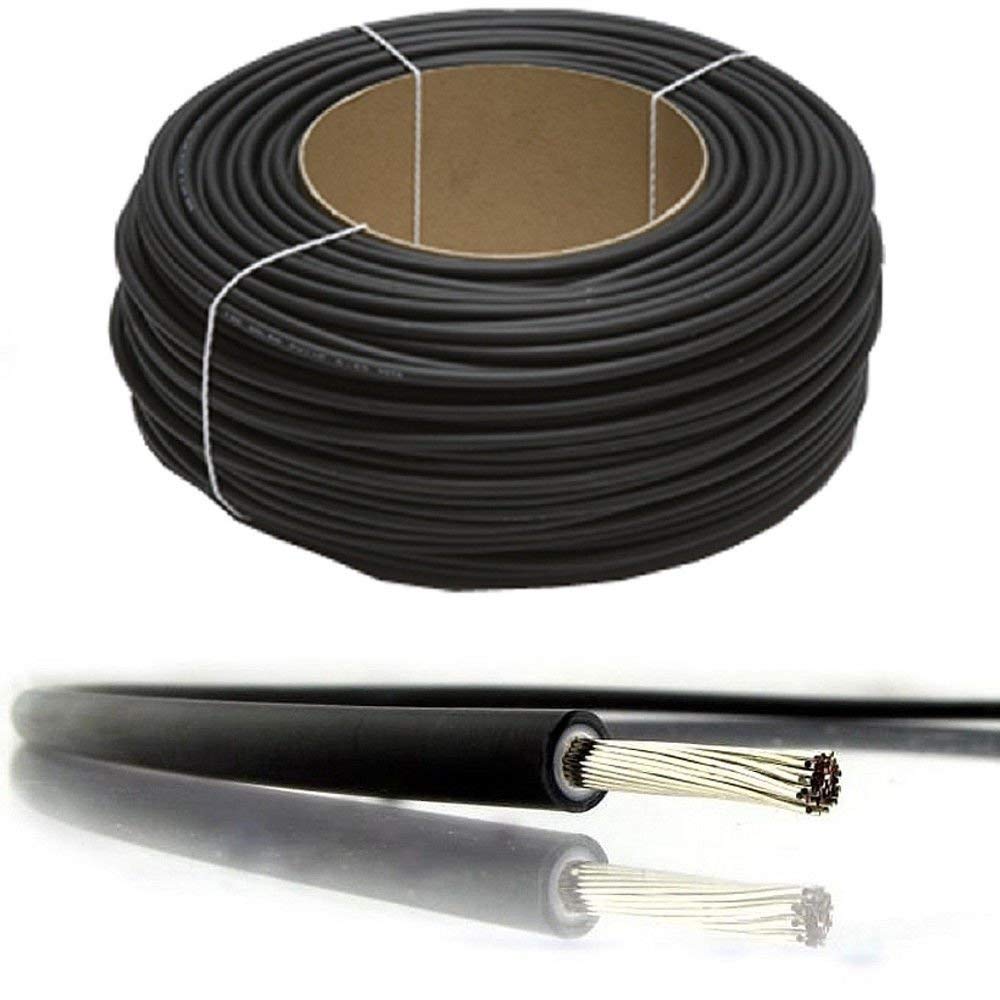
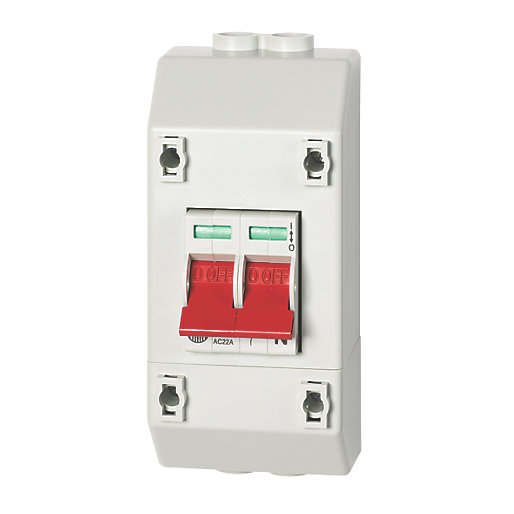
Now to connect the inverter directly to the new batteries we needed some extra longer 50mm2 cables, we also added a new isolation switch as we would now effectively need to be able to isolate the buffer battery from the Alternator. Another trip to Hanbury Wharf Chandlery and I had another isolator, luckily we have a ready made location for this next to the battery bank.
Steve had a very useful hydraulic crimp press and we trawled the Hanbury Wharf Chandlery collection of crimps as we adapted the cables we had to the correct sizes for the old lead acid batteries which had 10mm posts and the new LiFePO4 batteries that use 8mm and our fuse boxes that use 6mm
Steve also made a new cable for the Alternator as we expect to upgrade this later, and it only had a 10mm2 cable, as an over kill and as we had the cable to hand this was replaced with a 25mm2 which should give us enough capacity for future upgrades.
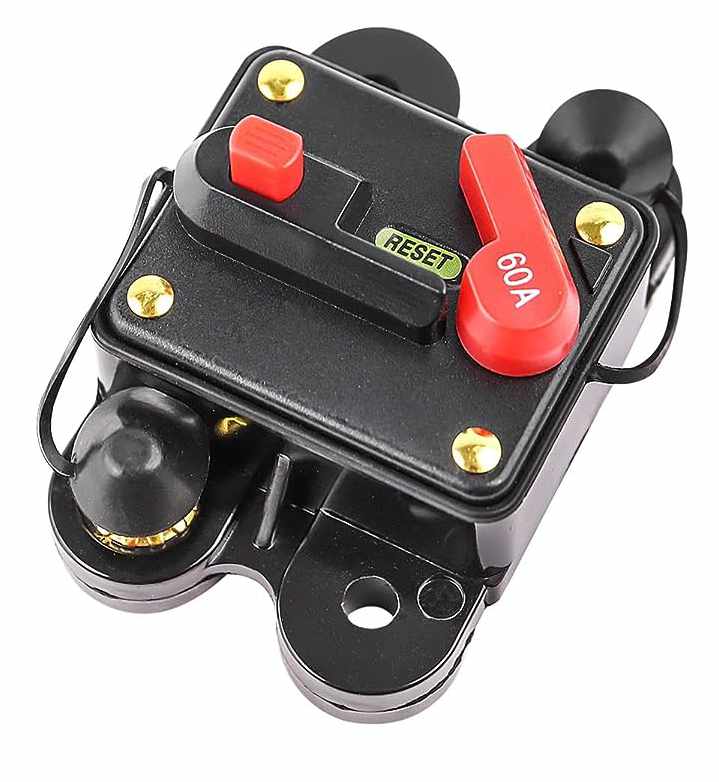
We added 50A fuses on the positive cable on the input and output cables from the Saturn BB1240 Battery to Battery Charger.
Now we have everything in working order, I will replace some of the old cables we used with some new ones of the optimal length and maybe add a couple of bus bars to make the wiring simpler, but that will be after our return from our September travels.
Note: I will include a simple wiring diagram in the next few days, once we are above the Tardebigge Lock Flight and I am moored in Birmingham.
Our system cost well under £800 including some high quality tilting solar mounts and extra large solar panels (425 Watts each).
Panels Tilted for maximum power early in the morning
We did do a lot of planning and research when building this system and we will still be taking advice and measuring the performance (and reporting back our findings), but so far things are working very well and we are now disconnected from the expensive marina power.
You can see our parts list of items here, but this excludes some basic tools, like a good electric drill and a M8 tap set.
In the parts list I have included the suppliers details and in the articles listed below we explain the choices we made and why and also list any alternative suppliers and parts you may wish to consider.
For us a low profile system was essential as we are near one of the lowest bridges on the network where the Droitwich Canal goes under the M5 motorway. Using a tilting system we hoped to be able to harvest the most power when needed while maintaining a low profile.
Low profile when folded flat
As you can see our plank and rear hatch are probably higher than the panels when lowered.
Over the next few months we will try to tilt the panels and record how much more power we can get during a normal day, but currently our first tests showed a 2-3 fold increase in power during the start and end of the day with the panels tilted towards the sun.
Coudy day with panels tilted
Below is a list of the articles we wrote during the development of our installation:-
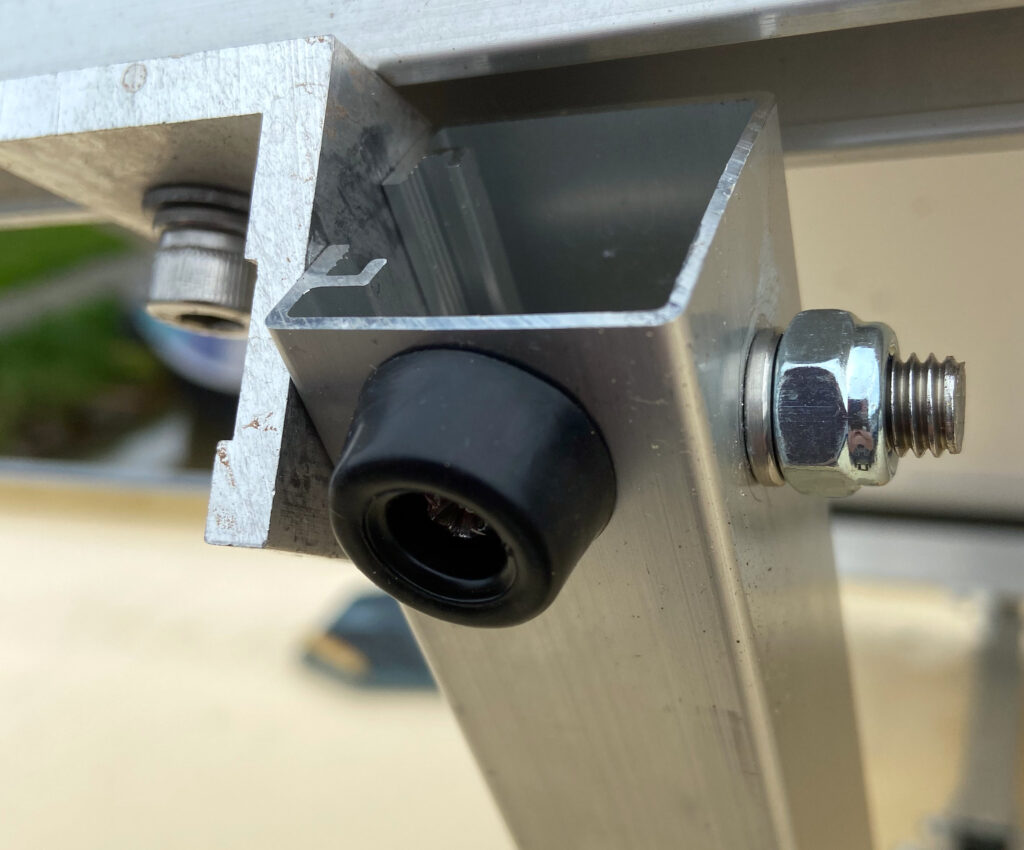
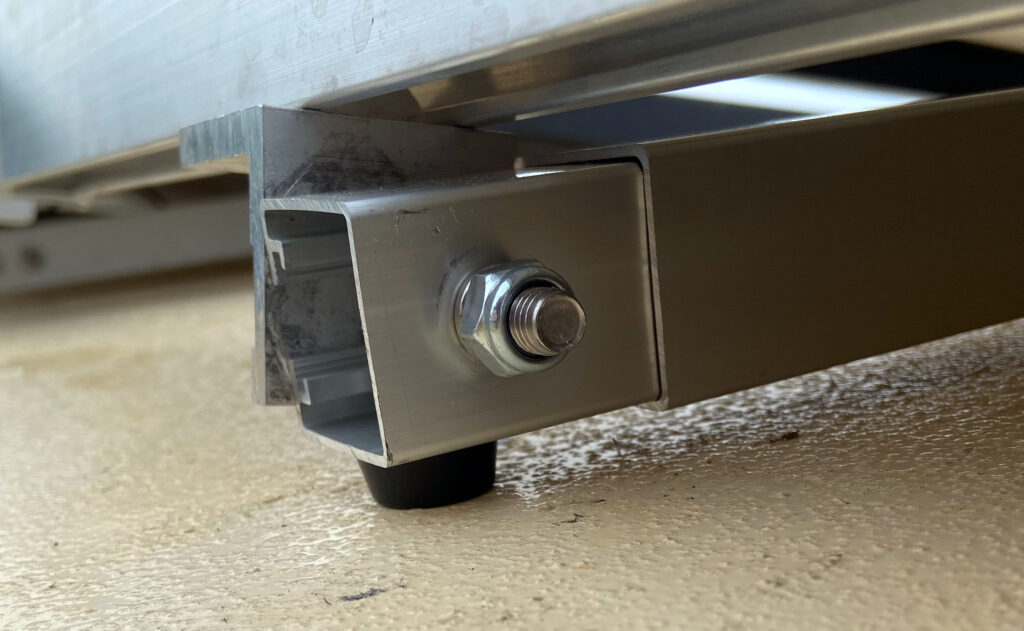
A simple fix to the roof getting scratched by the tilting system for the solar panels was to add some rubber feet, I used Adam Hall Hardware 4903 M4 Rubber feet which are 9mm tall and 20mm wide.
Feet held on with small stainless self tapping screwsSmall increase in hight, but saves the paint
I also replaced the nuts of the arms with the Nylock versions, so save them vibrating loose.
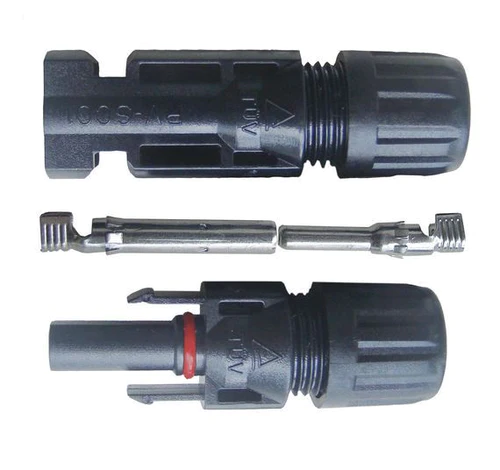
After much reseach we have built up a kit of parts to install our 870W solar panels on the roof or our narrow boat, I will need to add a few cables and some mounting wood plates.
Image
Description
Price
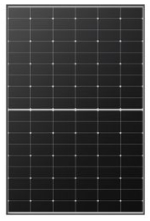
Longi Solar 435WP Black Frame PV Module LR5-54HTH-435M
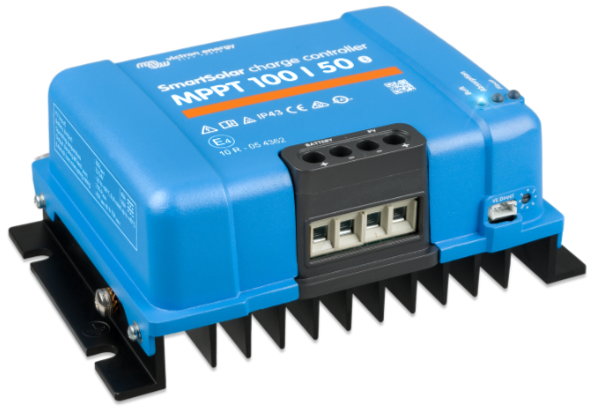
Selected as they have a 3.2mm glass rather that the much cheaper 1.6mm and provide almost the maximum output when combined for the Victron SmartSolar MTTP 100|50 MPPT solar controller. Ordered 2 from City Plumping, they deliver free next day from stock, for £91.76 (£110.11 inc VAT) each. (Prices have dropped since)
£220.22
Semi-Permanent Adjustable Mounting Set for Narrow Boats
Ordered and built to size by Midsummer Energy 2 needed 1 per panel installed at £98.00 each
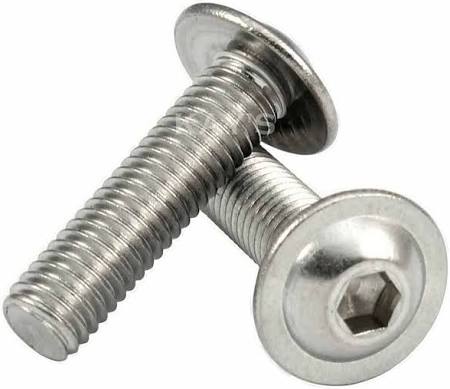
1 off 6.1mm Drill bit 1 off M8 Tap 16 off M8 Allen Flanged Bolts 16 off M8 Nylock Nuts Tube of Sikaflex etc
£20.00
Total (Inc VAT)
£768.15
There will be some additional cost from Steve for his time, so I would expect this to have cost approx £1000.00 when complete, but cost have been falling even over the past 6 months.