Two days of wind and rain, and for today the forecast looks good, everything is now ready for an 9am ish start.
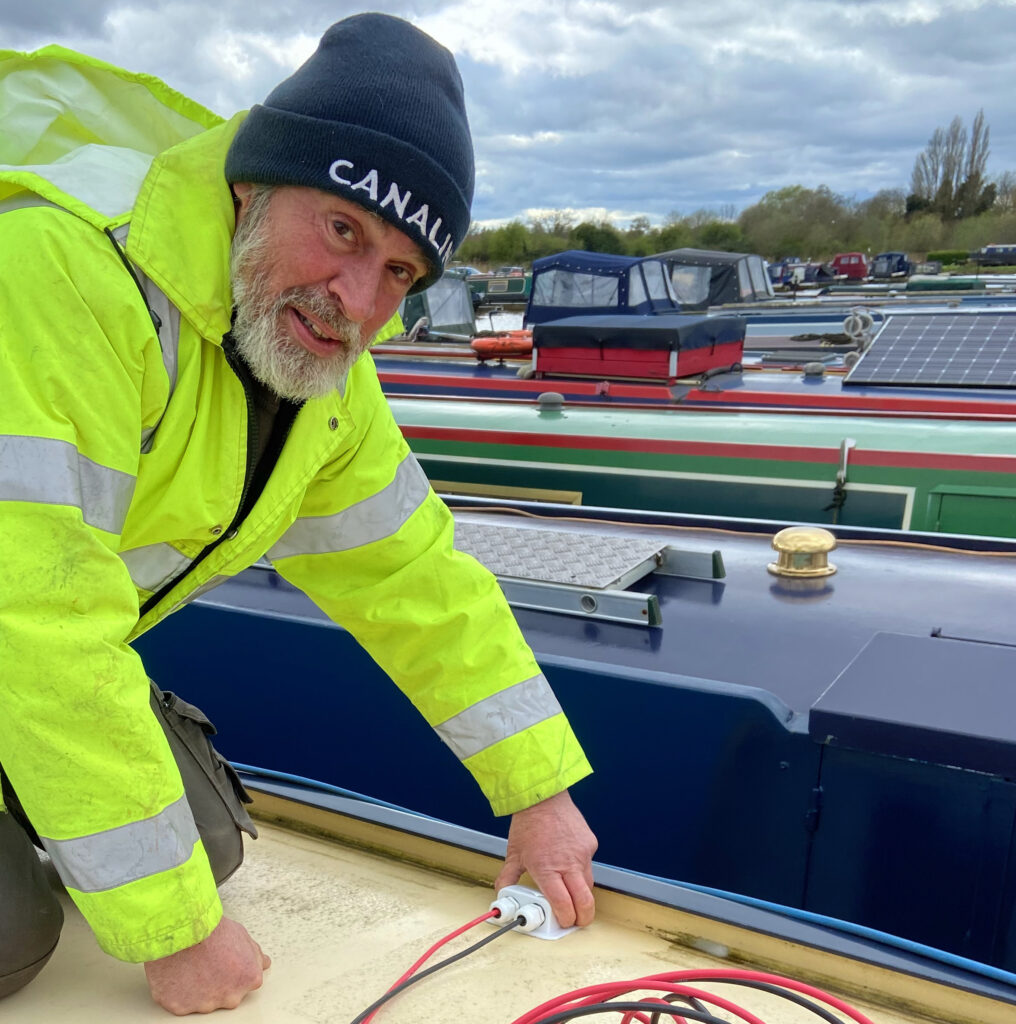
I showed Steve what we had done so far, we then made some measurement to find the best position for the cables to exit through the roof in to the Waterproof Solar Cable Entry Gland I had purchased on Amazon.
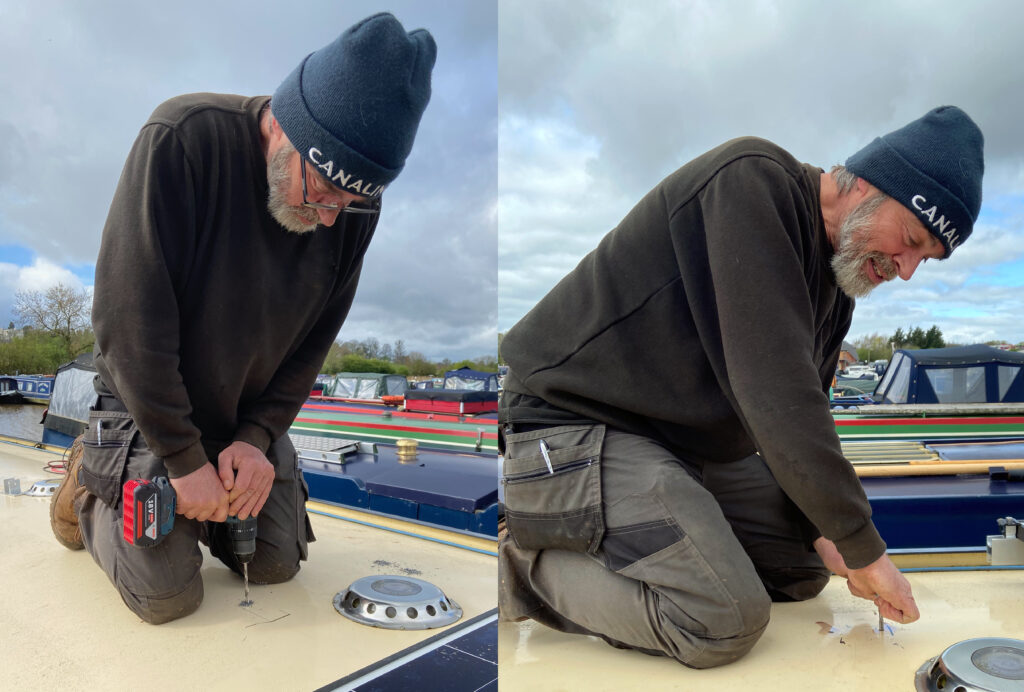
The first hole we drilled up a 6.1mm hole from inside the boat through the wooden batten and then out in to the roof, the position was perfect. Now from the top we drill down a second hole next to the first, and then we widened them both with a 10mm drill and then used a 12mm drill is used to slightly countersink the holes.
I push the cables up through the holes to Steve and then with a sharp chisel cut a slot in the wooden batten so the cable can lay flush ready to put the skirting boards back on.
On the roof top the cables are feed through the cable glands and the surface where we are going to fit the housing was cleaned, then it is out with the Sikaflex 291i Marine Sealant and Adhesive, some is put around the cables as they pass through the roof to provide an extra seal and then around the flat base of the underside of the plastic housing, this is then carefully placed on the roof and held down with a weighty 5 litre water bottle while the adhesive is left to set.
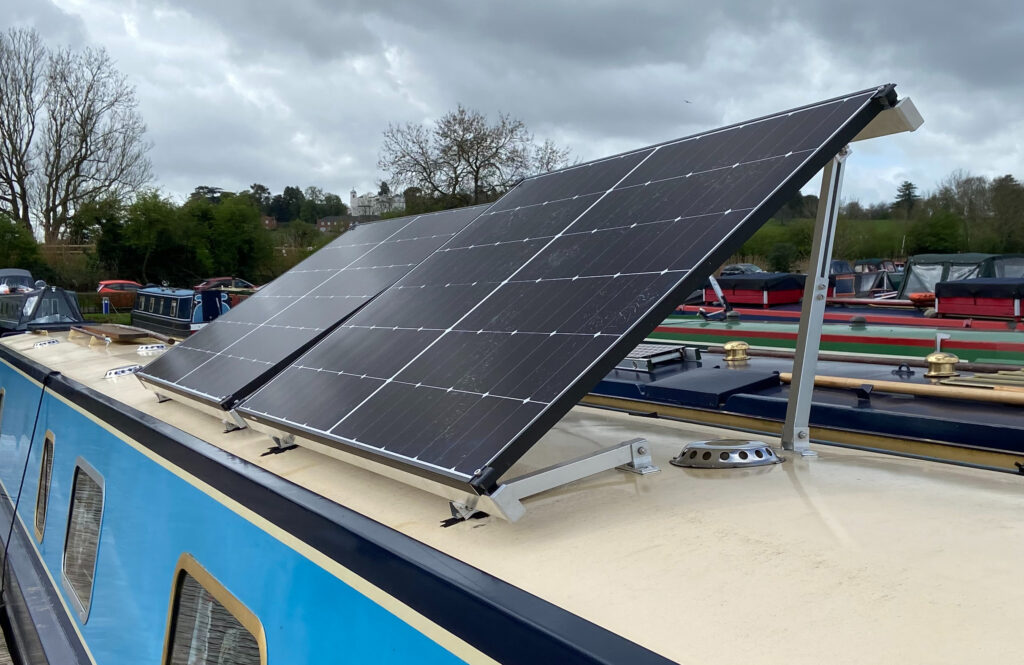
Time to put the panels on the roof and find the positions for the feet. Once we have checked and rechecked the position (Steve has a the knack of doing this by eye very accurately), we then mark the positions of the feet with a marker pen, move the panel out the way and we remove one of the feet to check the positions again.
We are using M8 bolts. so once we are sure we have the positions correct we drilled a 6.1mm hole and then tap this with an M8 tap, we are using 8 bolts to hold down each panel, so this process is repeated another 7 times..
We now remove the arms from the panel, leaving the 90 Degree angle bracket still attached so we keep the final position (See picture below)
The kit comes with some pre-cut rubber strips that sit under the aluminium feet, we use the Sikaflex to glue these down and then on the tops side of each apply another layer of Sikaflex remembering to put some in the drill holes before positioning the feet and bolting down them down tight. This squeezes out any excess Sikaflex which needs cleaning away with a bit of kitchen roll.
Once all four arms are attached we can move the panel into position and re-attach it to the arms. We do find one small problem with the design of the arms, in that they have a very sharp corner that easly scrapes away the roof paint.
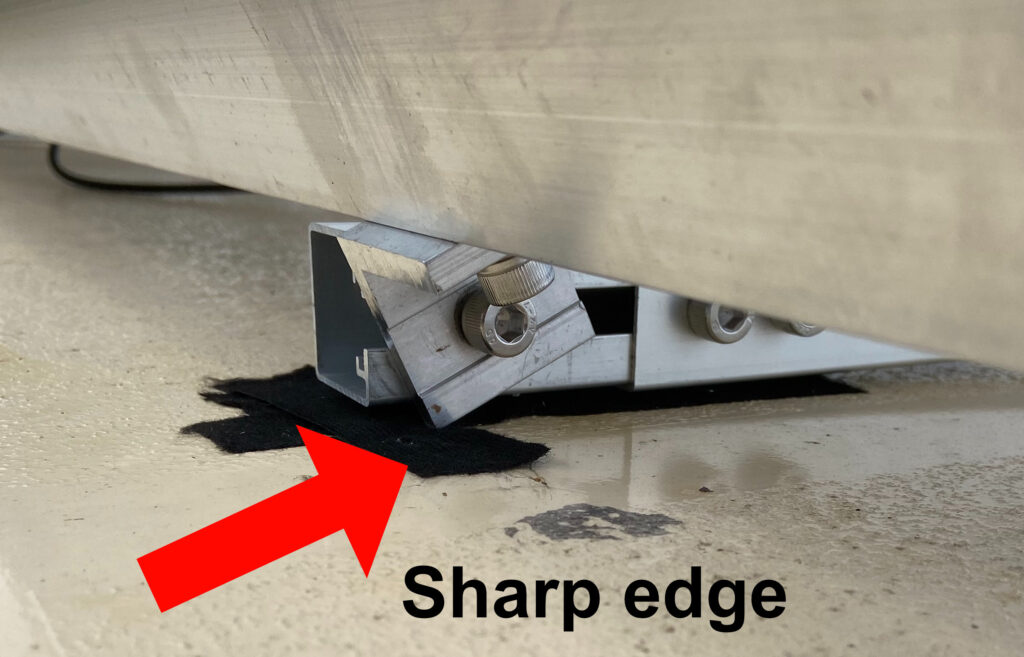
I will have to find some rubber feet for this, but for the moment some tape will have to do. (Note: See added rubber feet)
We are now ready to do the second panel which after the learning curve of the first goes very smoothly.
At this point all that is left is the check I have the wiring plan correct and then fit some MC4 connectors to the end of the cables and make another cable to join the two panels together in series.
I made a sort video/write up a while ago about fitting these connectors << link to article here.
I also added a Victron Energy VE.Direct Smart Dongle (Bluetooth adapter) to the MPPT so I could configure it and monitor its performance.
Remember this picture…
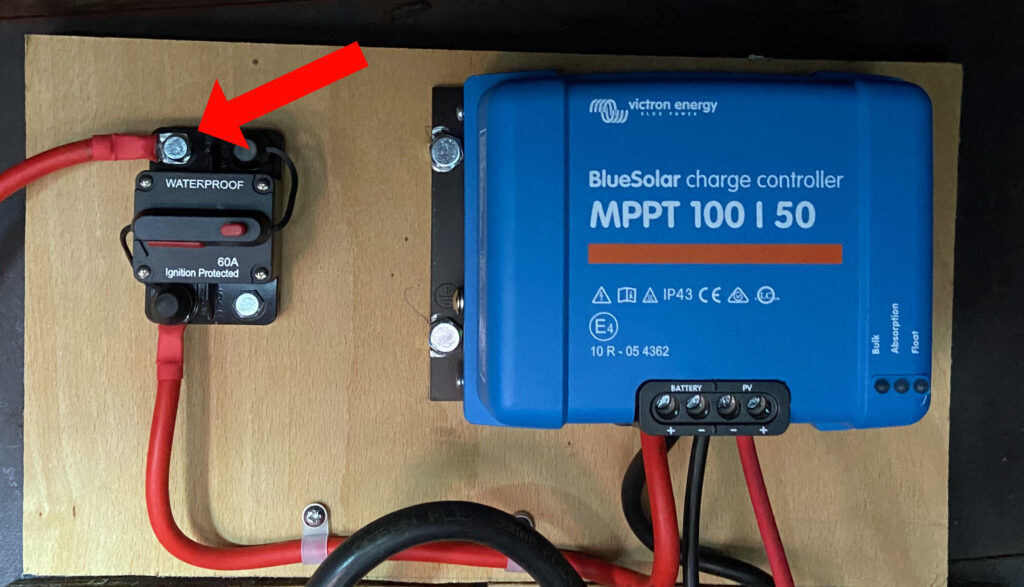
Now that the system should be up and running, I would see 70 Volts on the Victron App but no Amps which seemed a little odd. I traced and checked the cables from the solar panels back to the MPPT controller and finally noticed we had connected the cable from the battery to the bolt fixing the 60A breaker to the back plate, after swapping this around, we had power, not a lot as it was getting late, but proper power.. very exciting.
I left the boat unattached from the shoreline power overnight so we would have some space for the solar to do some battery charging the next day.
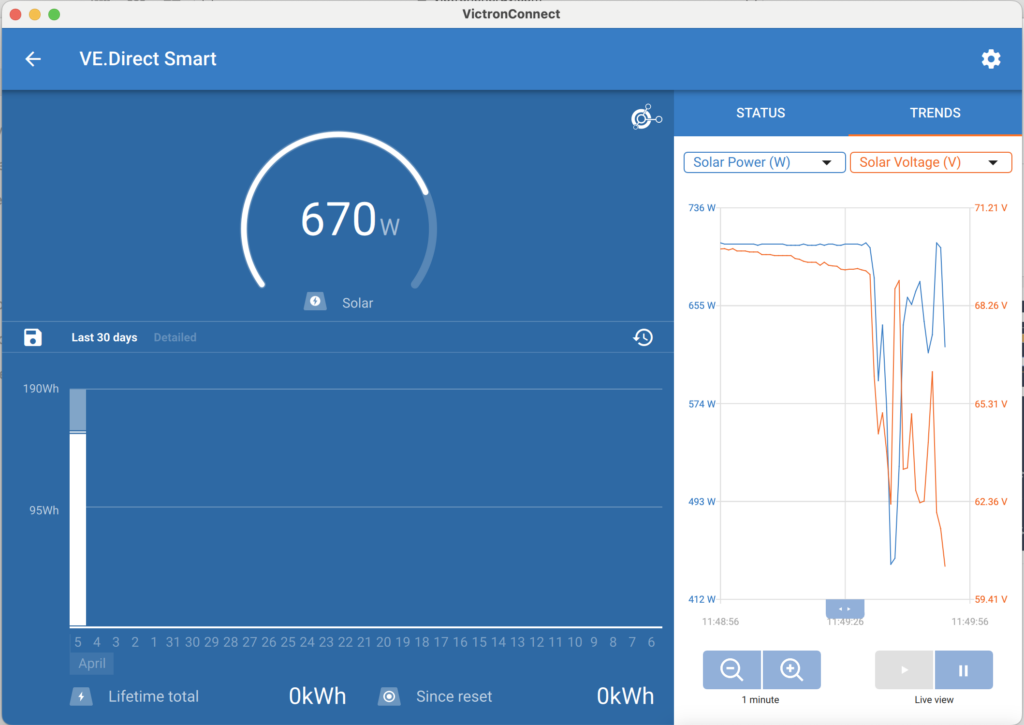
This is a screen shot from the Mac app for following day, and it shows the panels making 670w of power, as you may notice from the graph it is a cloudy day but the system had managed an amazing 710W earlier. with in 3 hours with the panels tilted towards the sun we had replaced our nights usage.
Tilting the panels – does it help?
I will generate some more accurate figures once I have had a chance to play, but it seemed that I could easily triple the power output early and late in the day by tilting the panels towards the sun.

Probably the best feature of this mounting system, is that when folded flat they take up very little of the view and fit nicely over our vents. For more information on these and the other mounting systems we looked at follow this link
In the next few days I will compile a find parts list with supplier details and costs.
My thanks to all the suppliers and advice I was given getting this all together and Steve Cowham for is work, If you need some work done on your boat book him early he always has a backlog, you can find his contact details on our Useful Contacts page.
Also see
Planning for Solar Panels – Part 1
Planning for Solar Panels Part 2 – Panel Mounting Options
Planning for Solar Panels Part 3 – Types of Panels
Planning for Solar Panels Part 4 – MPPT vs PWM solar controllers
Planning for Solar Panels part 5 – Cable sizes, lengths and resistance.
Planning for Solar Panels part 6 – Panels in Serial or Parallel
Planning for Solar Panels part 7 – Buying the cable and Circuit breakers
Planning for Solar Panels part 8 – Buying Solar Panels and Mountings
Planning for Solar Panels part 9 – Wiring
Planning for Solar Panels part 10 – Drilling, Tapping and Fitting