Our Canal Boat Solar Panel Kit Parts List

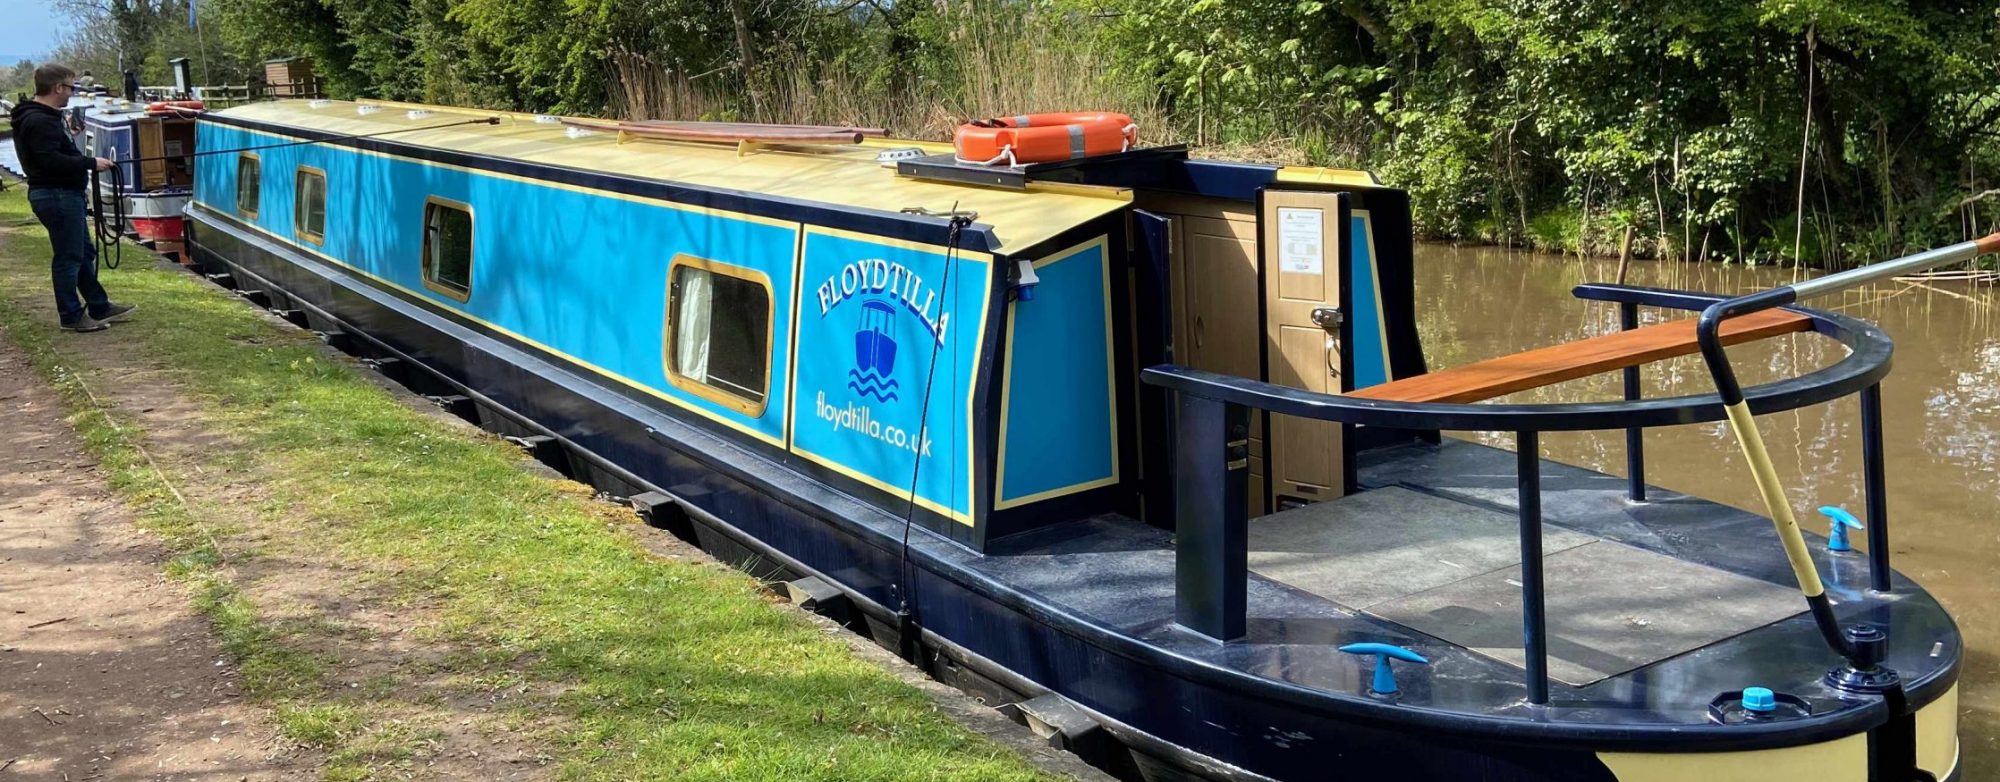
After much reseach we have built up a kit of parts to install our 870W solar panels on the roof or our narrow boat, I will need to add a few cables and some mounting wood plates.


Image Description Price

Longi Solar 435WP 
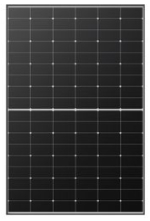
Longi Solar 435WP Black Frame PV Module LR5-54HTH-435M

Selected as they have a 3.2mm glass rather that the much cheaper 1.6mm and provide almost the maximum output when combined for the Victron SmartSolar MTTP 100|50 MPPT solar controller.
Ordered 2 from City Plumping, they deliver free next day from stock, for £91.76 (£110.11 inc VAT) each. (Prices have dropped since)
£220.22

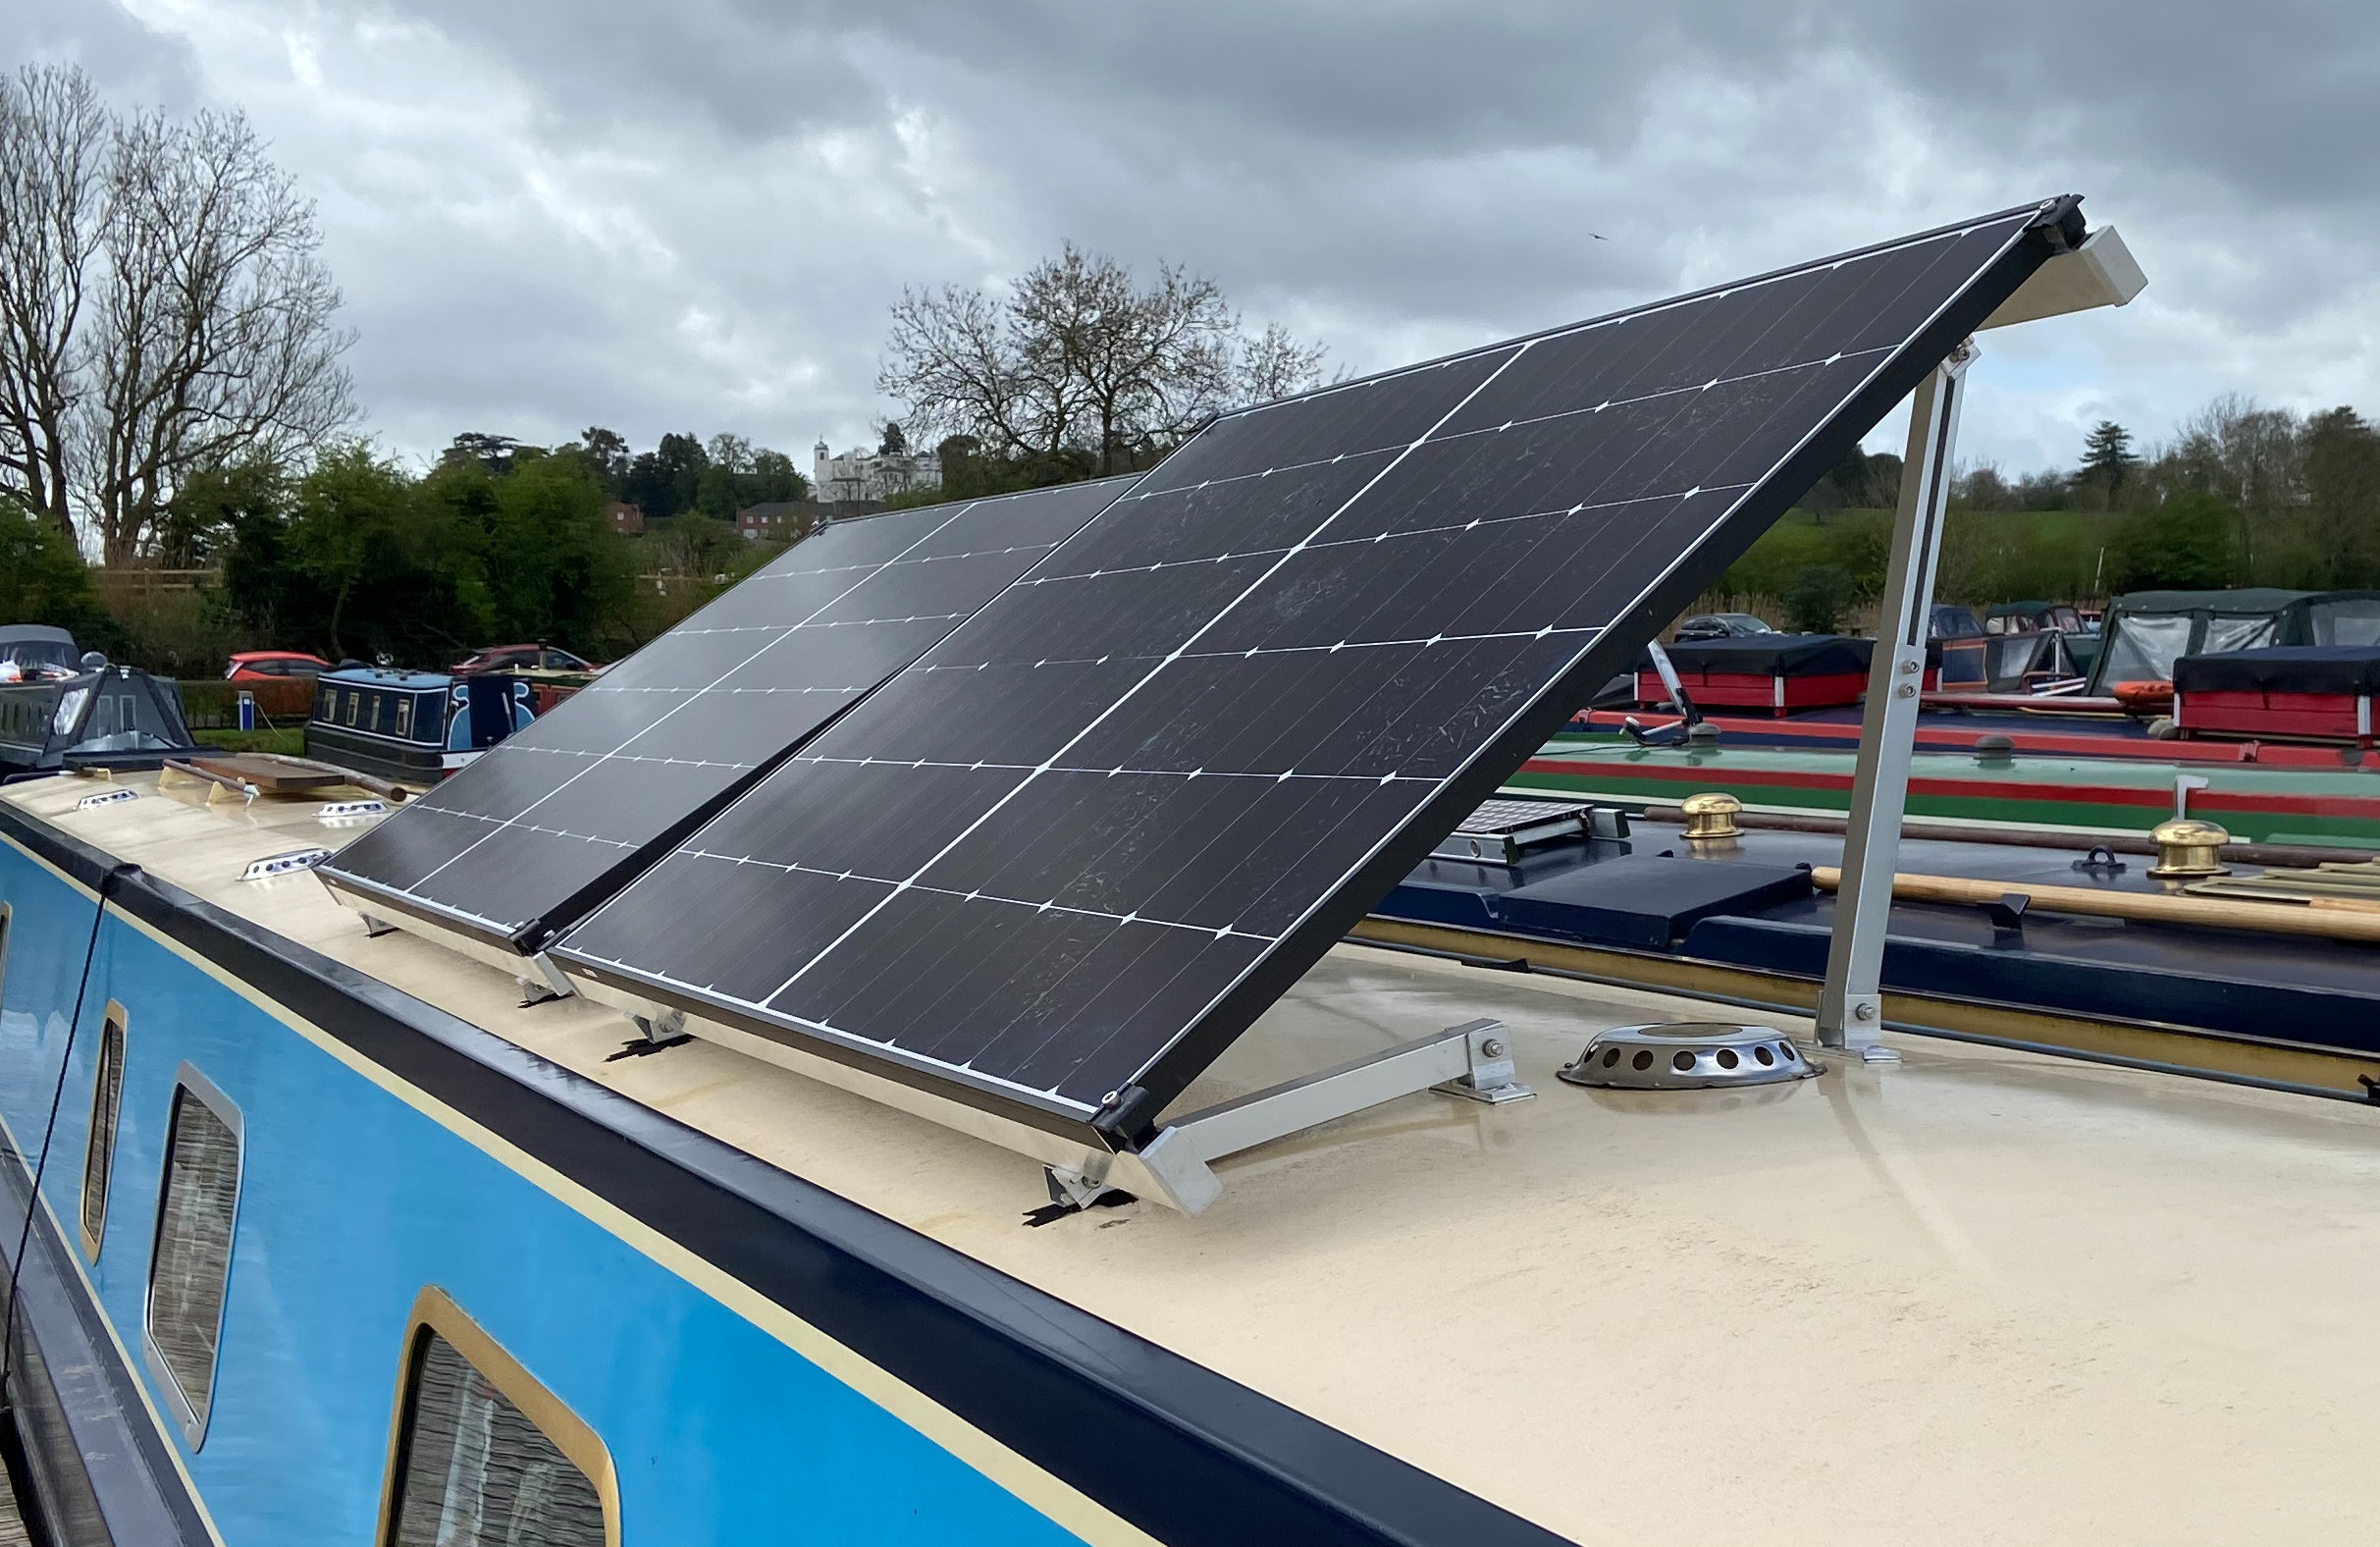
Semi-Permanent Adjustable Mounting Set for Narrow Boats

Ordered and built to size by Midsummer Energy
2 needed 1 per panel installed at £98.00 each

£196.00

Victron SmartSolar 100|50 
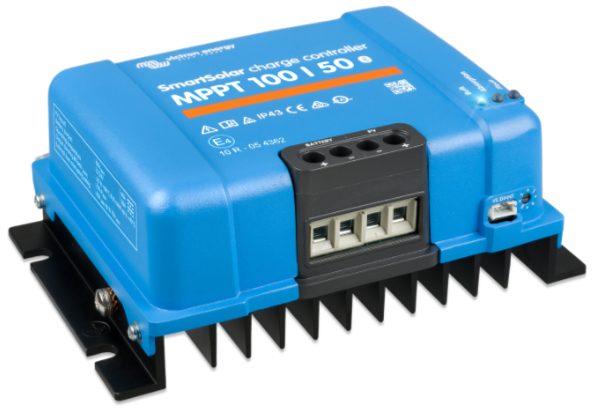
Victron SmartSolar MTTP 100|50

Ordered from Nomadic Conversions eBay shop
£220.00

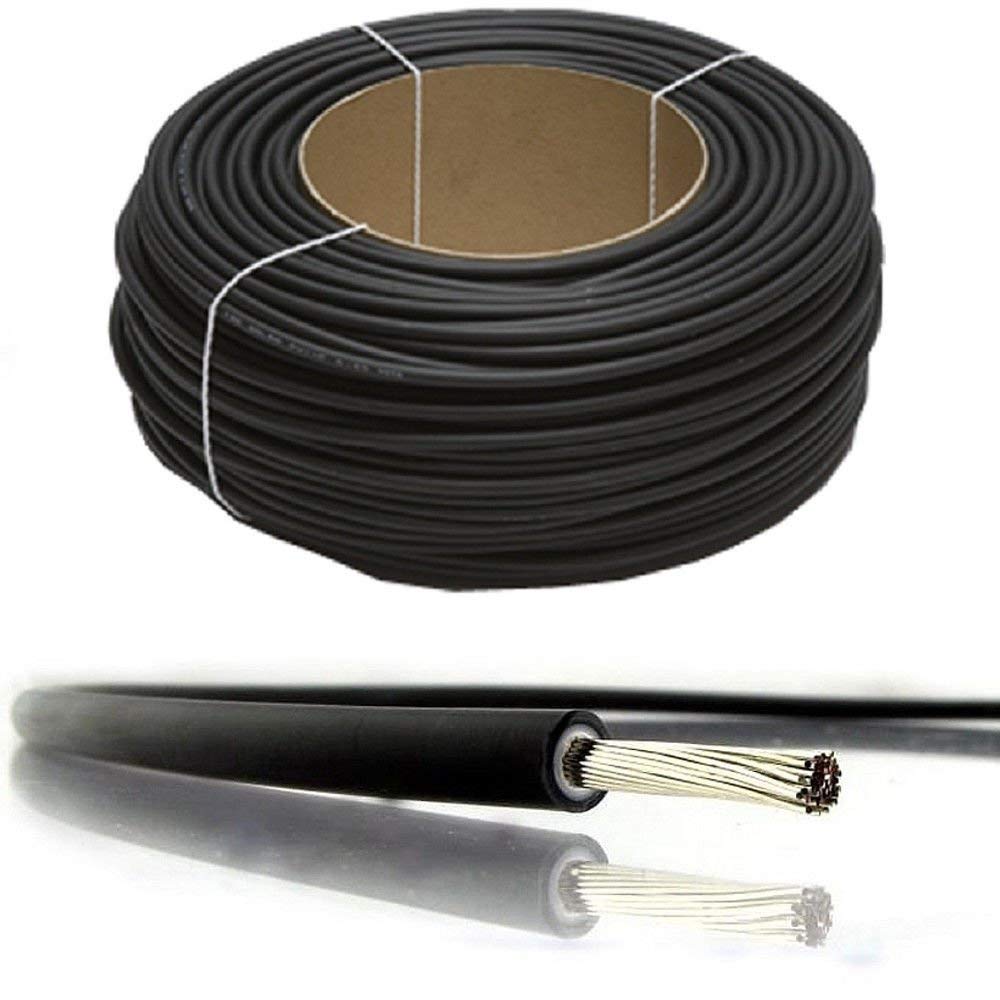
Solar PC Cable 

25m Red and 25m Black 6mm Solar PV Cable from Superlec Direct at £1.19 per meter.
£59.50

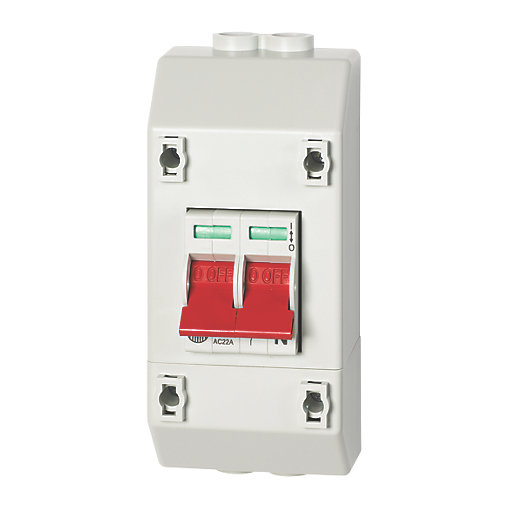
WYLEX 100A DP ISOLATOR WITH ENCLOSURE (321FR)

Wall mounted 100 amp isolator from Screwfix Direct
£20.49

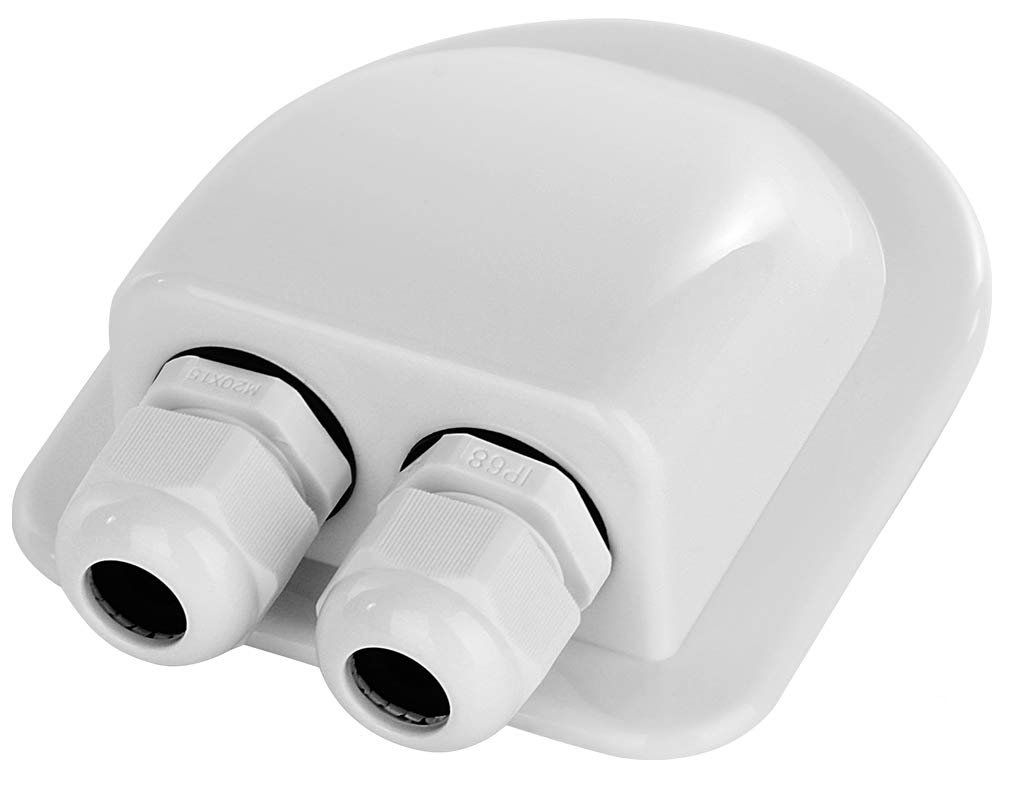
Water proof cable access

IP68 Waterproof cable access, designed for Solar Installations
Scanstrut DS-HD6-BLK Horizontal Double Cable Seal – Black 
£9.99

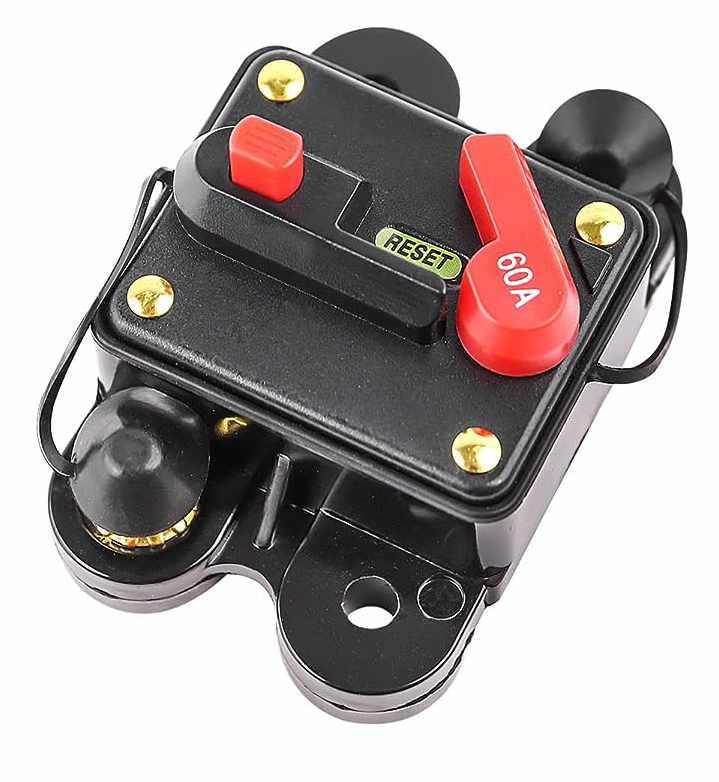
Circuit Breakers / Fuses

RED WOLF 60A Circuit Breaker from Amazon.co.uk

£14.99

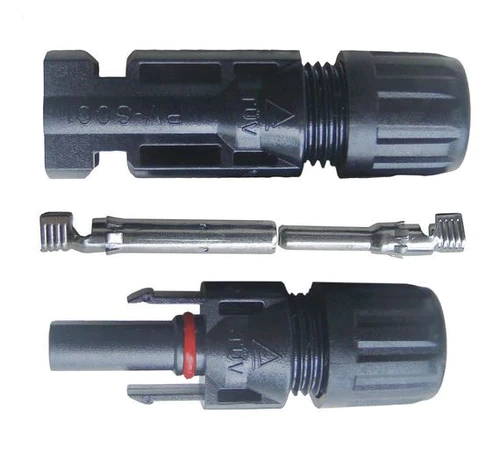
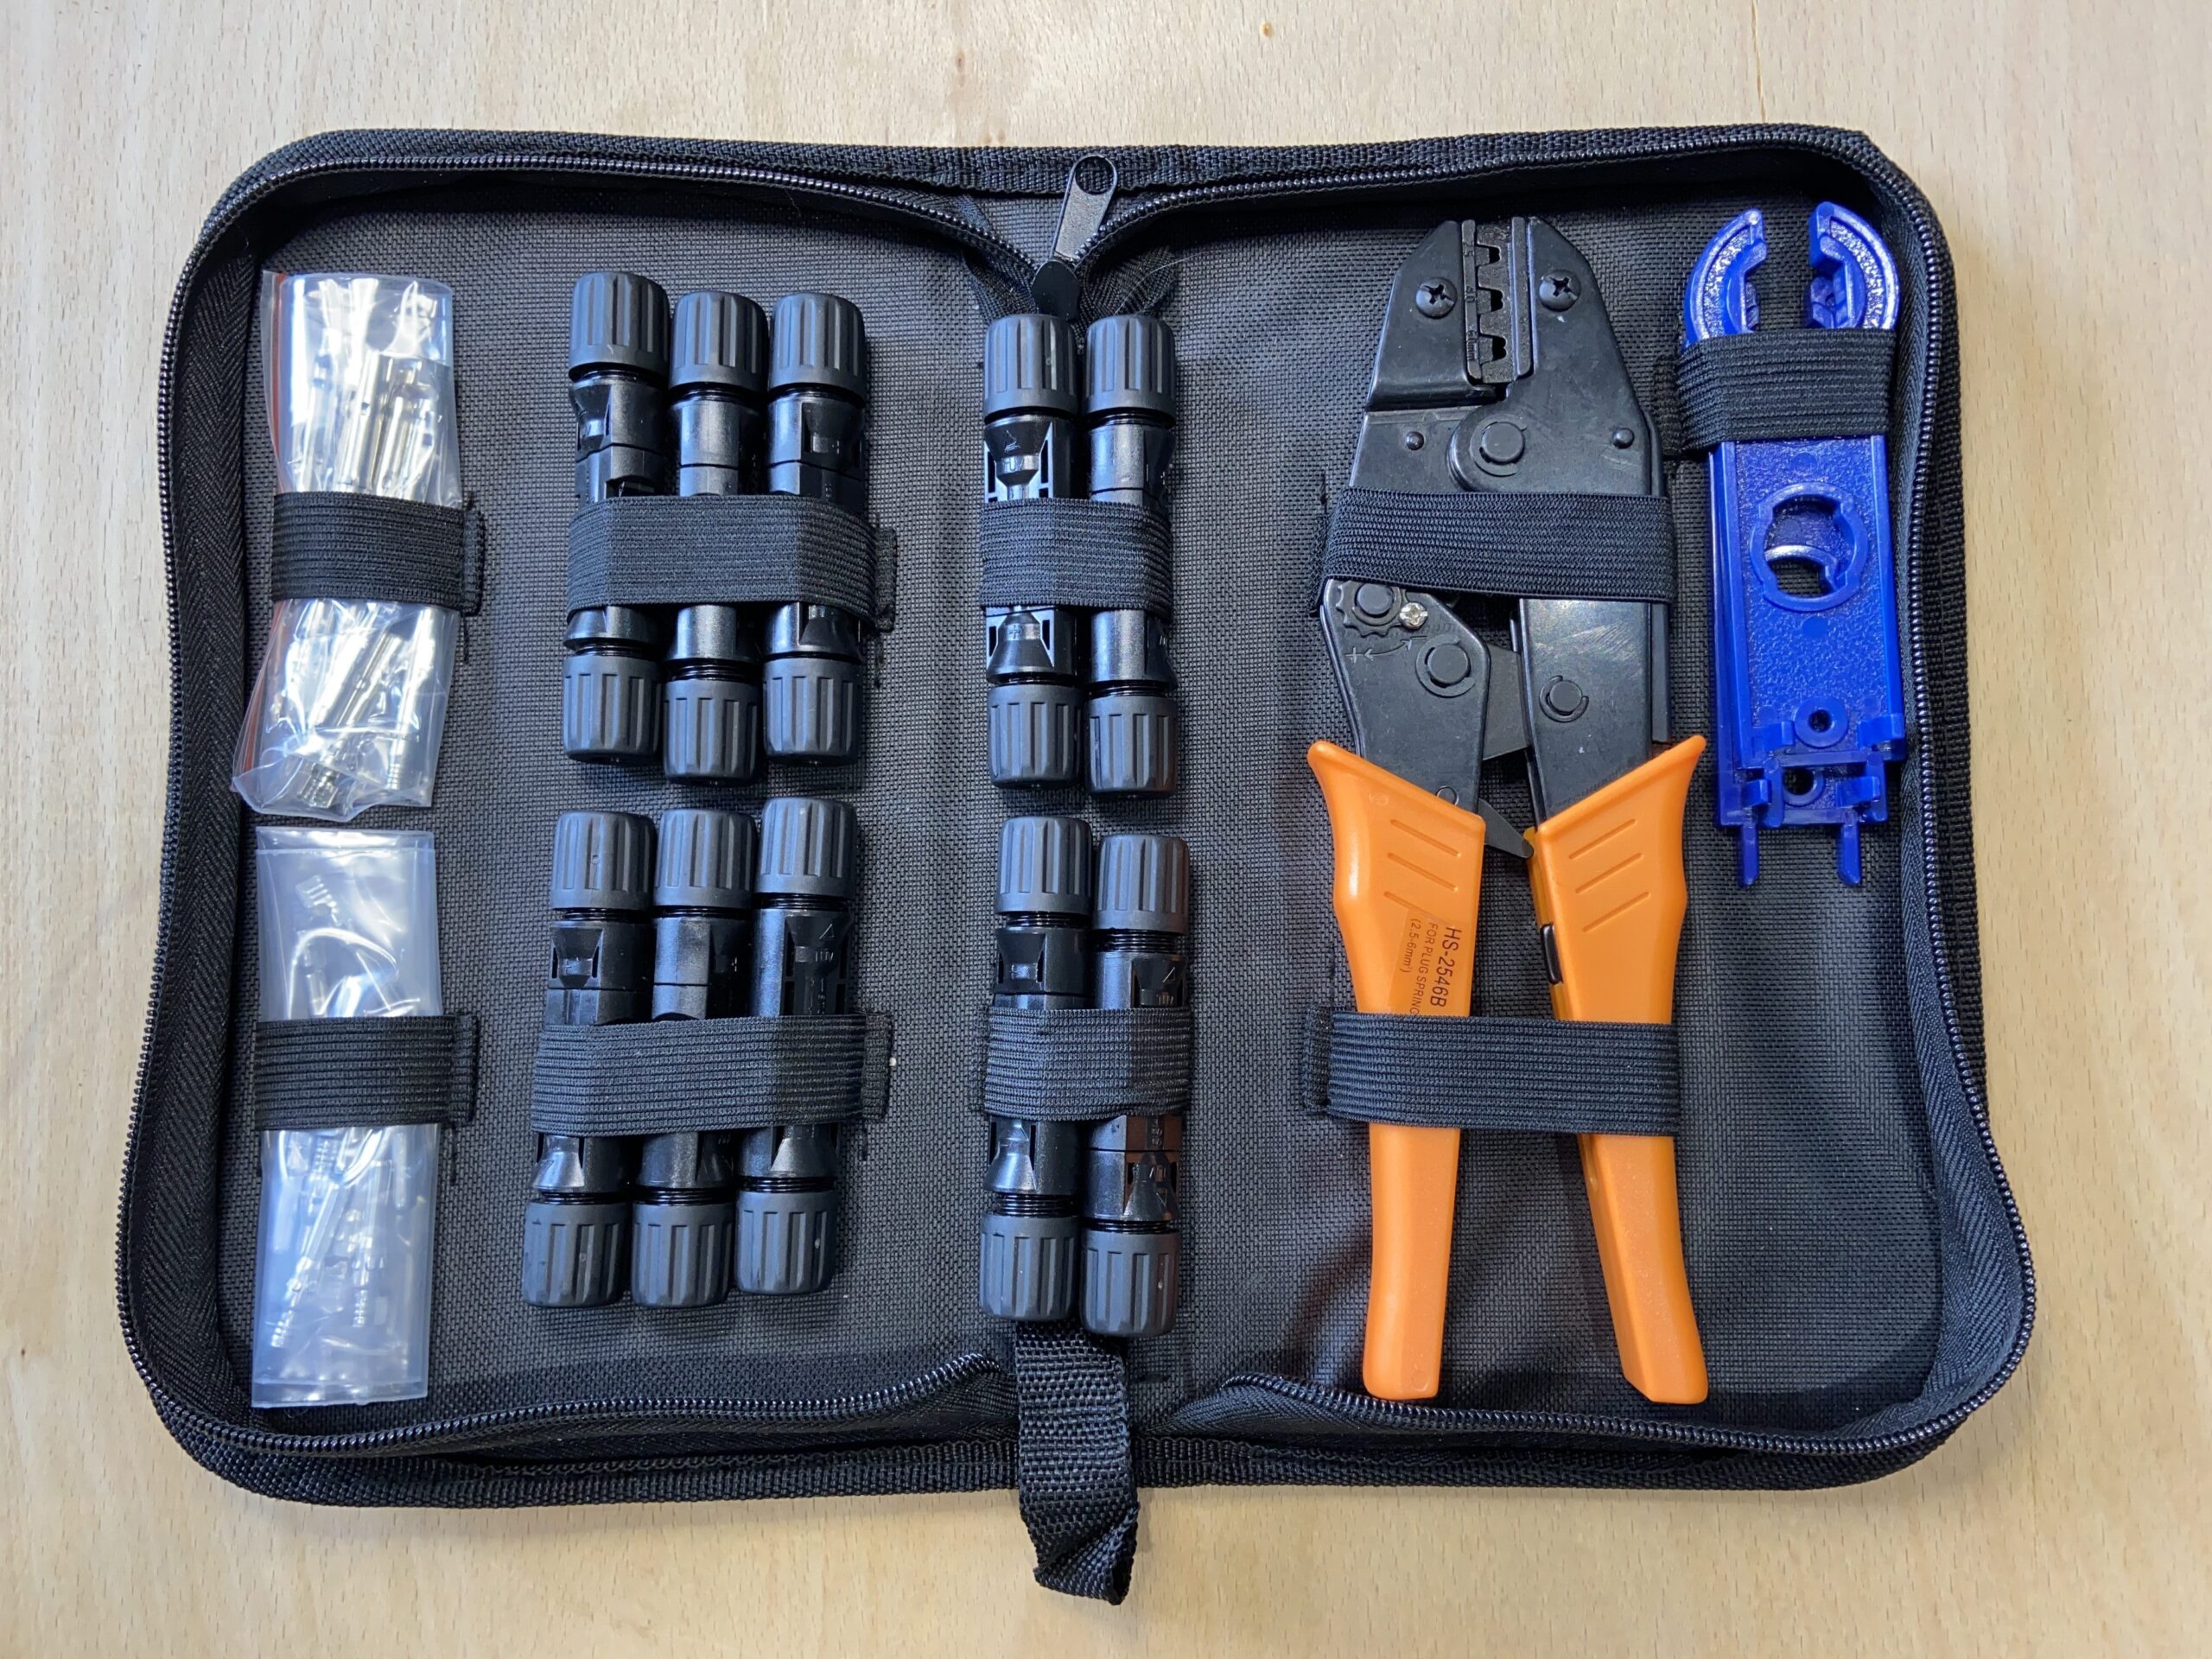
Solar Connectors

See video on installing MC4 connectors
4 off MC4 Connectors from Superlec Direct at £1.74 each

£3.48

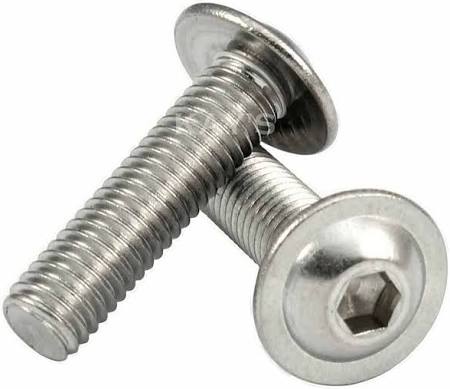
Misc Bits

1 off 6.1mm Drill bit
1 off M8 Tap
16 off  M8 Allen Flanged Bolts
16 off M8 Nylock Nuts
Tube of Sikaflex etc

£20.00

  Total (Inc VAT) £768.15

There will be some additional cost from Steve for his time, so I would expect this to have cost approx £1000.00 when complete, but cost have been falling even over the past 6 months.

Also see
Planning for Solar Panels – Part 1
Planning for Solar Panels Part 2 – Panel Mounting Options
Planning for Solar Panels Part 3 – Types of Panels
Planning for Solar Panels Part 4 – MPPT vs PWM solar controllers
Planning for Solar Panels part 5 – Cable sizes, lengths and resistance.
Planning for Solar Panels part 6 – Panels in Serial or Parallel
Planning for Solar Panels part 7 – Buying the cable and Circuit breakers
Planning for Solar Panels part 8 – Buying Solar Panels and Mountings
Planning for Solar Panels part 9 – Wiring
Planning for Solar Panels part 10 – Drilling, Tapping and Fitting

Installing MC4 Solar Connectors

The MC4 connector has become the standard for connecting to solar panels, it is IP67 rated being both water and dustproof, they are relatively simple to install with the correct tools and luckily these tools and getting cheaper and cheaper.

Most solar panels already come with a male and female MC4 connector already fitted for ease of connection.

These connectors can be used on 2.5mm, 4mm and 6mm single core solar PV cable, it is highly recommended to use the correct cable as the outer sleeve is designed to provide protection from heat, UV, oils, and solvents, it is basically a tough robust cable that is designed for outdoor use.

Today I am going to show you how to crimp on your own MC4 connectors using a cheap crimping tool kit that is available from eBay and amazon.

Click here to order your own MC4 Crimping Kit from Amazon UK

So what we get in your MC4 crimping kit

  • A ratchet crimping tool
  • 2 X MC4 spanners, for assembling and disconnecting the connectors.
  • 10 Compete MC4 plastic male/female connectors bodies.
  • 10 Female metal ferrules and 10 Male metal ferrules  

All you will probably need now is some wire cutters and strippers and you are ready to install your own connectors.

Each MC4 connector is made up from a male and female plastic parts and male and female metal ferrules, the male metal ferrule fits inside the female plastic body and vice versa.

We made a video to show you how simple this can be

How to release the male/female parts

The plastic parts normally come already clipped together, you can use your fingers to release the clips holding the male/female parts together, but it is much simpler and safer to use the two prongs on the end of the blue plastic MC4 spanners provided.

Crimping on the connector

First we need to stripped back the plastic coating to expose approximately an 1/2 inch / 12 mm of the copper wire.

We are now going to crimp on the male metal ferrule.

Push the stripped wire into the ferrule so that the insulation is pressed up to the tabs we are going to crimp.

Then depending on the wire size select the smaller position on the crimp tool for 2.5mm, the middle for 4mm and the largest for 6mm wire, there are normally marked with the correct sizes.

The ferrules tabs should point towards the top of the crimp tool so that as they are crimped  the tabs are folded over to tightly grip the exposed wire.

You can use the ratchet on the crimp tool to hold the ferrule while you insert the wire into the correct position before crimping.

Now push the male metal ferrule into the back end of the plastic female connector as until it clicks home.

If you are using the 6mm cable, you may have to unscrew the cap and removed the silicon seal with its crown clamp ring and push these onto the cable first before pushing the ferrule into the body of the connector.

Then push the silicon seal carefully in to the connector body and then lightly screw down the cap.

You should then use the MC4 spanners to tighten the cap firmly onto the body so that no screw thread is visible, at which point the connector will click, it should now fully tightened and sealed, best to give it a visual inspection to make sure you have not crossed the threads 🙁

We have now completed one end of the mc4 connector, we now repeat the process but using the male plastic connector and the female metal ferrule to make up the other side of the connecter.

Also see
Planning for Solar Panels – Part 1
Planning for Solar Panels Part 2 – Panel Mounting Options
Planning for Solar Panels Part 3 – Types of Panels
Planning for Solar Panels Part 4 – MPPT vs PWM solar controllers
Planning for Solar Panels part 5 – Cable sizes, lengths and resistance.
Planning for Solar Panels part 6 – Panels in Serial or Parallel

Safety Disclaimer