
The problem has always been: How much water do I have it the tank? This is part 3, the development of our solution.
Software development is now pretty much complete, and the User Interface is detailed below. Next will come the installation process, but this will have to wait till warmer weather.
The User Interface (via a small 320X240 touch display) in the cabin.
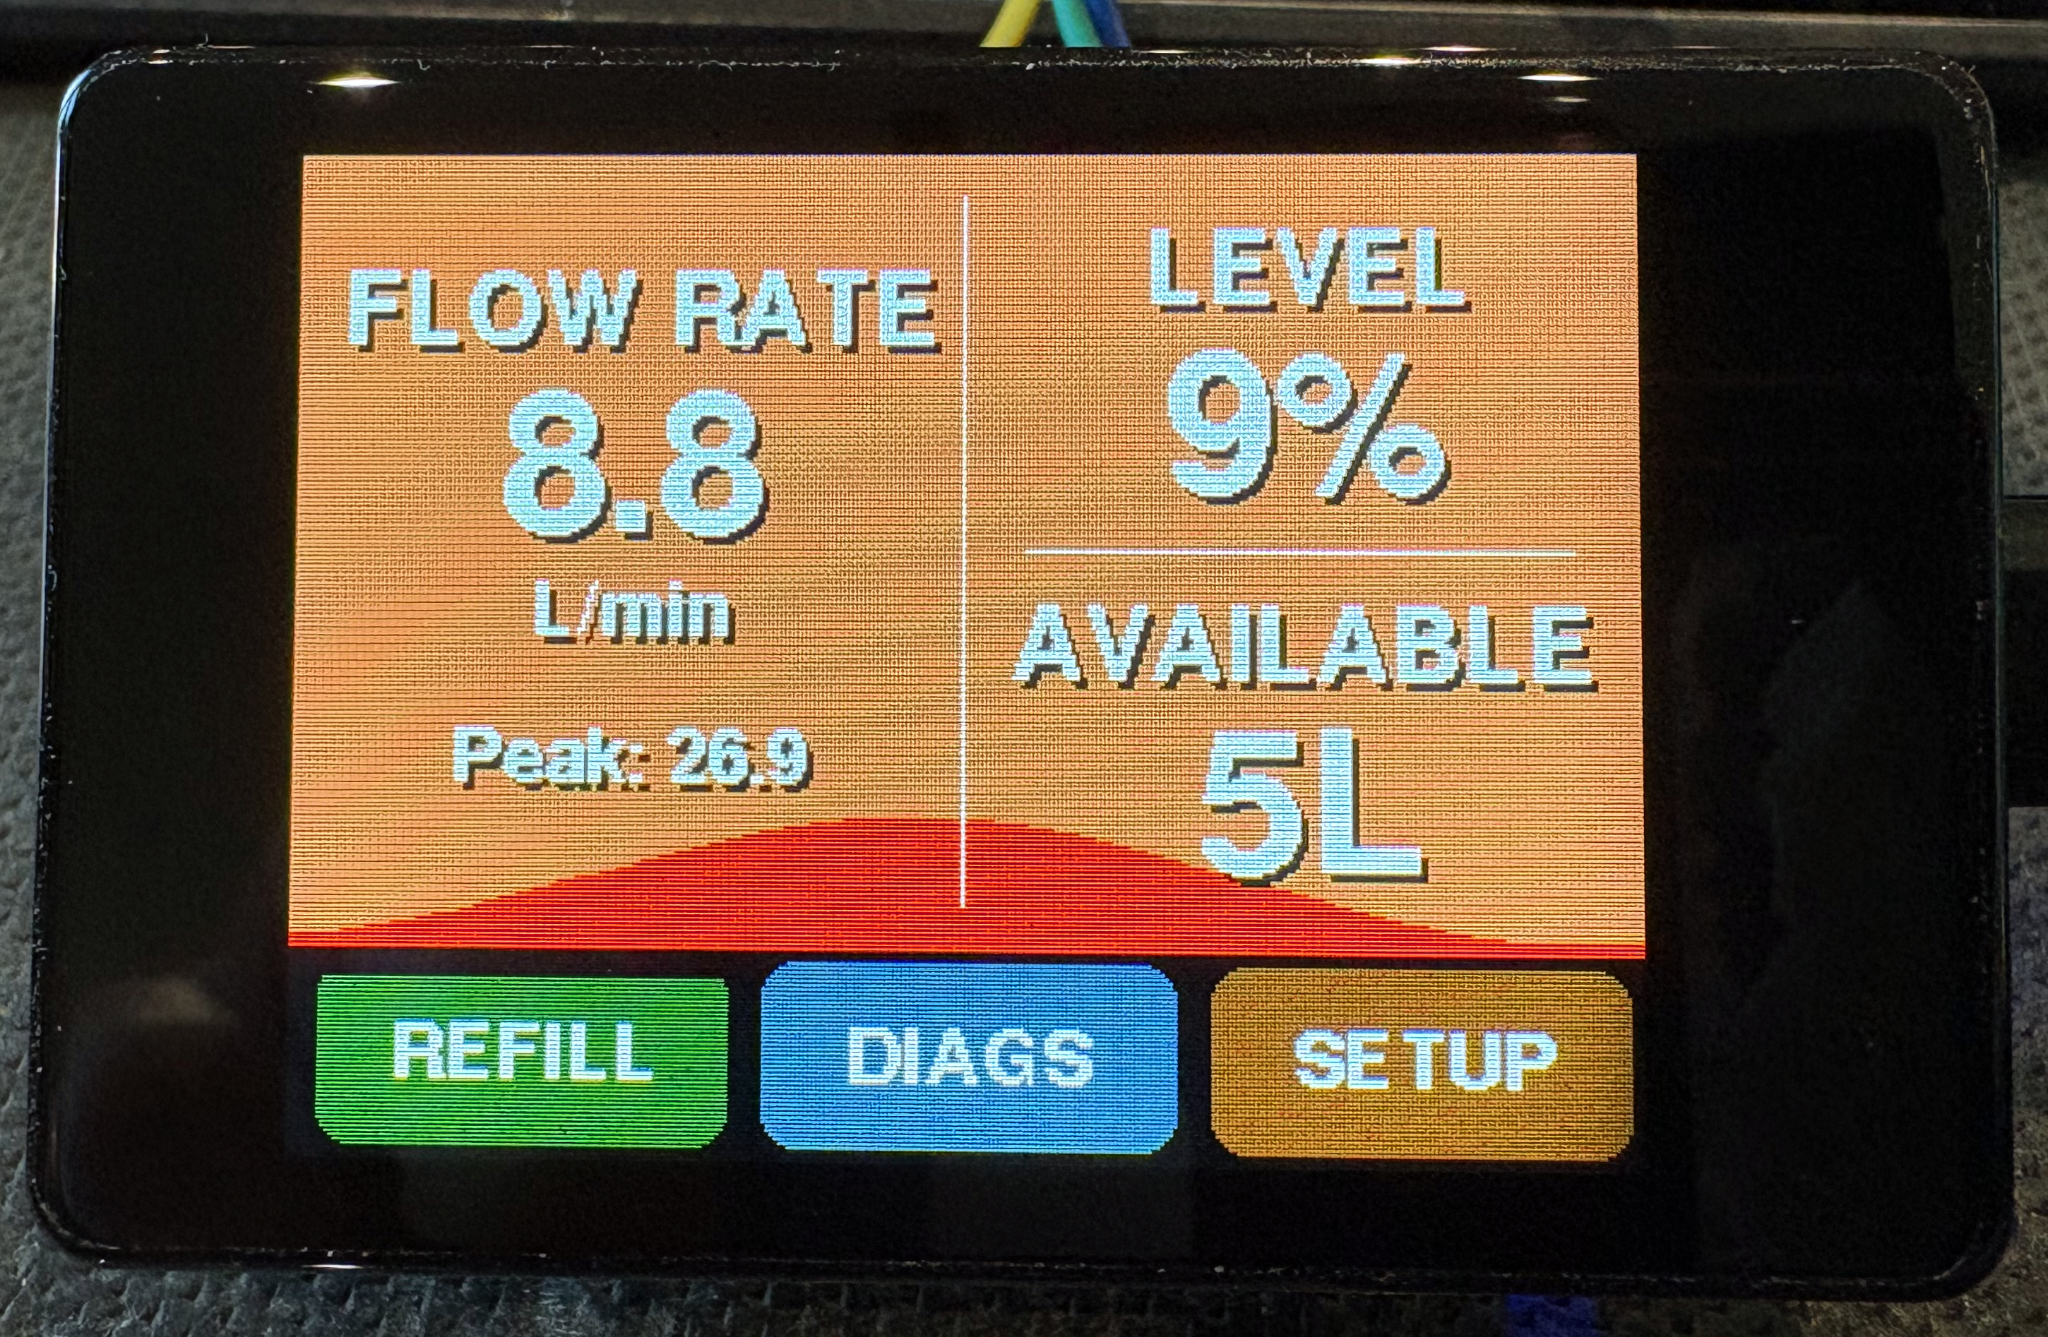
After a bit of a promotional splash screen the water meter starts on its main information screen.
This quickly shows you the important information, The tank level as a % and the number of litres available, also included is the current flow rate in litres per minute and just for the hell of it the peak flow rate.
The three buttons across the bottom are our main navigation: the REFILL button does just that and should be used once the tank has been refilled, it will reset the tank back to 100% full. BUT it is very easy to just press this button, so to make it operate you need to hold it for 3 seconds and then you will be asked if you want to refill the tank with a Yes/No option.
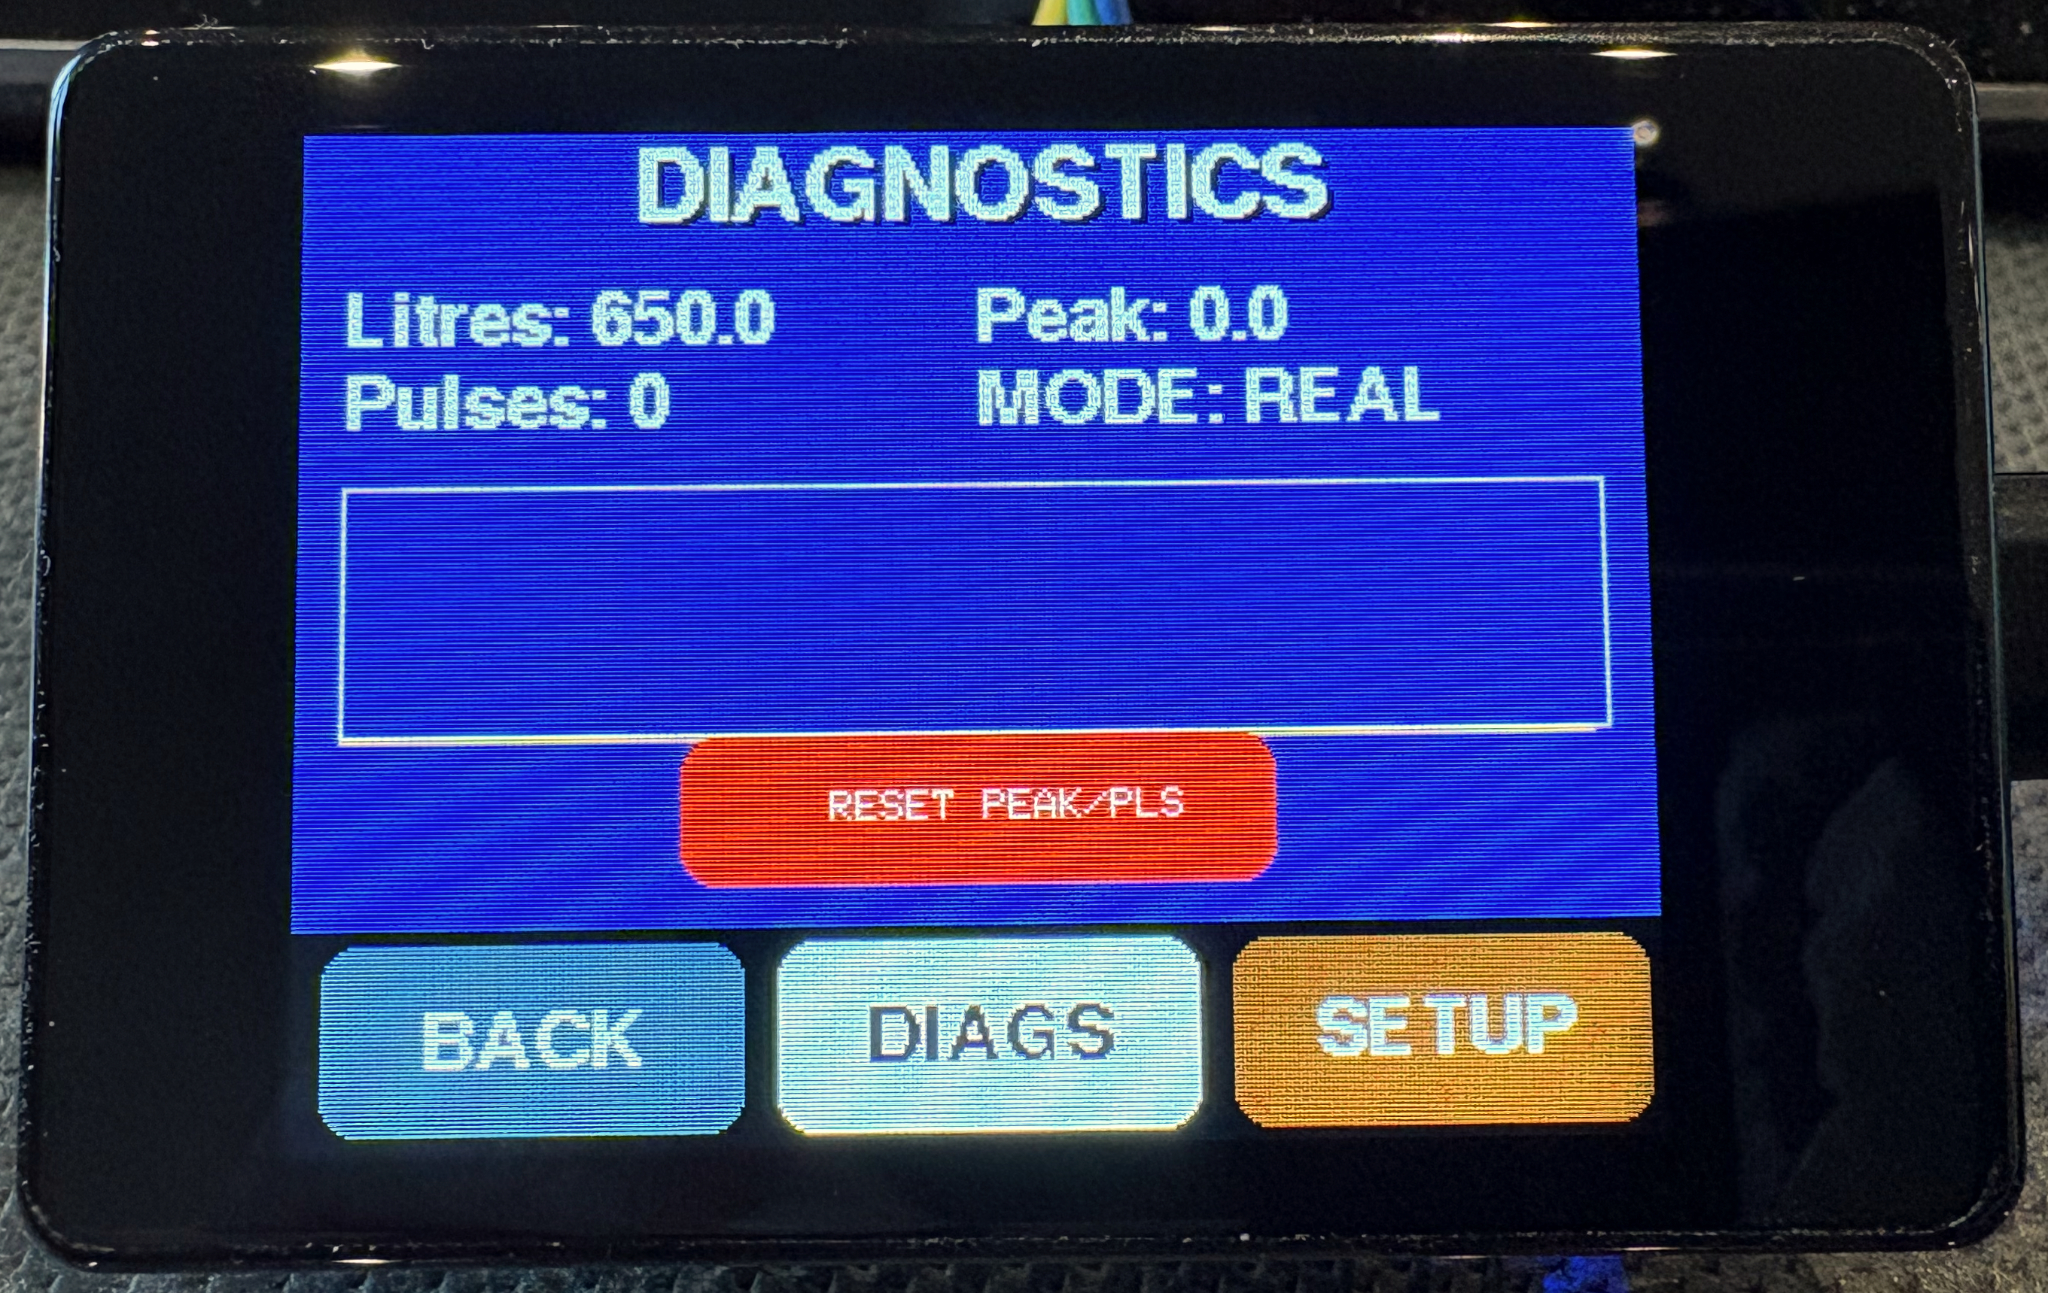
The DIAGS button takes you to a new screen that has a few options, like seeing the number of pulses the meter has counted since the last reset. This is very useful to help setup the meter so it knows how many pulses there are to a litre. On mine it is 644.
I found this out by measuring 5L of water pass the Flow Sensor a few times and calculating an average per litre.
The pulse counter is reset using the big red RESET button.
On this screen is a MODE: display, if you touch the DIAGS button again you will put the meter into DEMO mode, this was added during development of the user interface (UI) so I could see how everything operated, it simulates flow and reduces the volume in the now smaller tank.
The box above the reset button is a graph of the flow over approx the last 30 seconds, it self scales, so only useful as a guide/fun.
P.S. to get out of DEMO mode press the DIAGS button again and the system will toggle from REAL to DEMO, it should, when returning from DEMO mode, remember the last water level in the tank so you can try it at any time.
The last button of the three is SETUP, this is where you can customise the setup to your Tank size, the number of pulses per litre, and when to raise the alarm (more on those later).
The timeout option sets how long the display will remain active before switching off (it returns to full brightness when you tap anywhere on the display.
The last option on the right LAND can be used to switch the display from landscape to portrait mode, so when you mount this you have the choice.
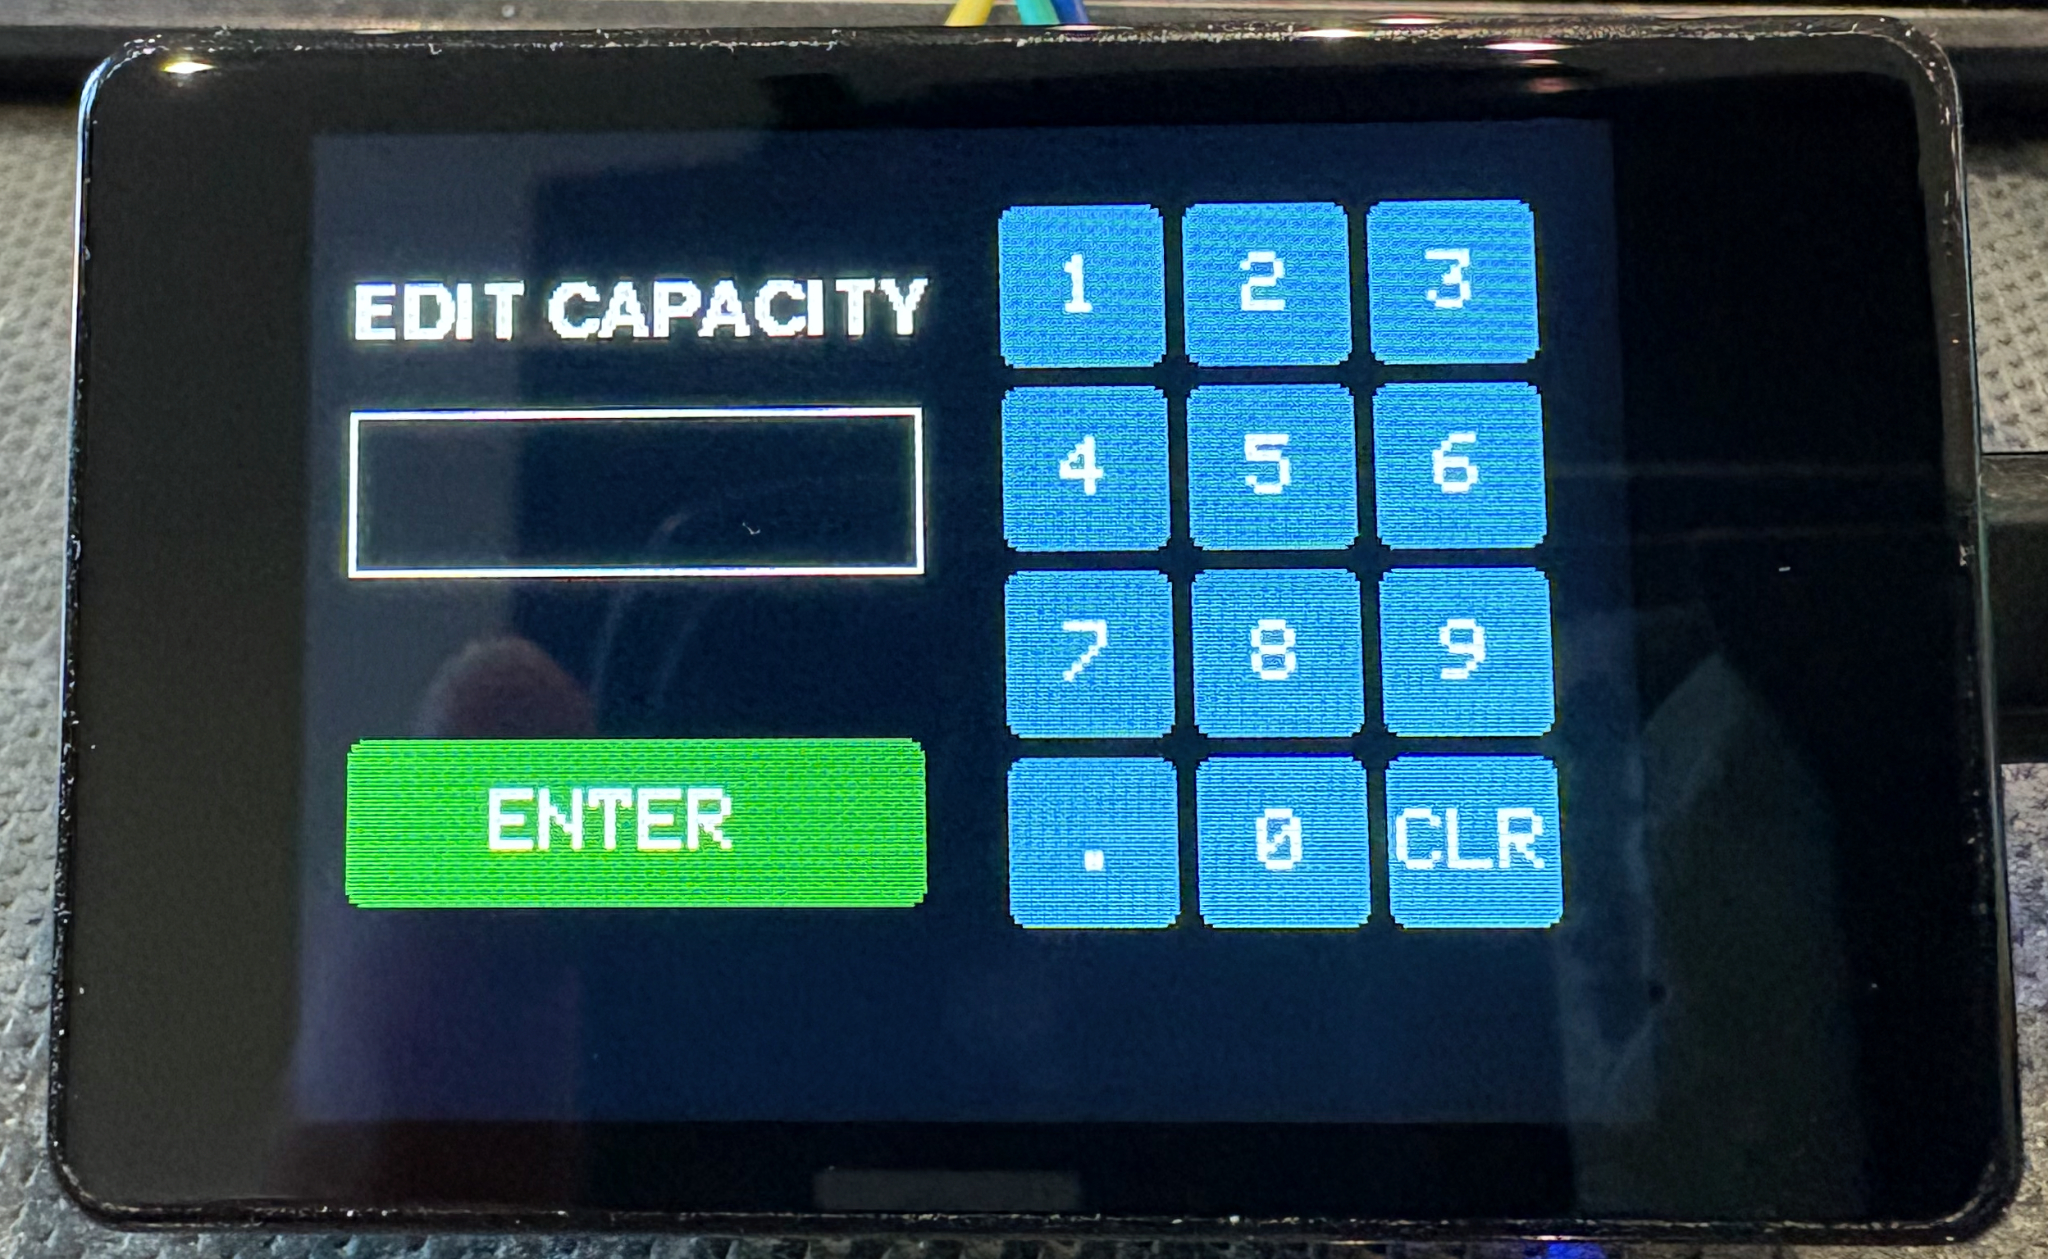
If you tap on a setting box the system will display an edit page where you can enter the relevant value. If you don’t want to change a value just make sure the input is empty and press the green ENTER button
The display in use
For a bit of fun I added a moving wave in the background graphic, but the light blue / dark blue is also an indication of the remaining water level.
Another setting you can adjust are the warning levels by default at 30% remaining the background wave turns yellow
The last warning by default at 10% the wave turns red
The display will switch off if left untouched, but it will wake to 10% brightness if the sensor detects any water flow. I did not want to have the display too bright at night, but I did want to know if water was flowing.
To see what happens I decided to give an AI a shot at assisting me with the code development. The chosen AI this time was Gemini from google (Other code writing AI’s are available).
What had to do first was write down what I wanted the AI to produce, what IDE (Arduino) I was using, the hardware configurations, boards and accessories and how they are wired together.
Example question to AI – “I have a ESP32-C6-Touch-AMOLED-1.32 board that I am using the Arduino IDE to program, can you create a simple test program to see if the display is working”
This example use the wrong driver chip type for the display it had used the SH8601 instead of the GC9A01, after finding this and another few attempts we had the screen working and we could write things on the display.
After getting the display working, I asked it count the pulses from the flow sensor, and using my best guess of 450 pulses per litre, calculate the amount of water that had passed since it was powered on.
Next I added a button to GP2 (pin 7), this for testing was a cheap push button, the other side of which was connected to GND (pin 20), this was used to reset the volume of water in the tank available back to full, but to make is hard to do by accidentally you needed to press it five time with less that a second between presses.
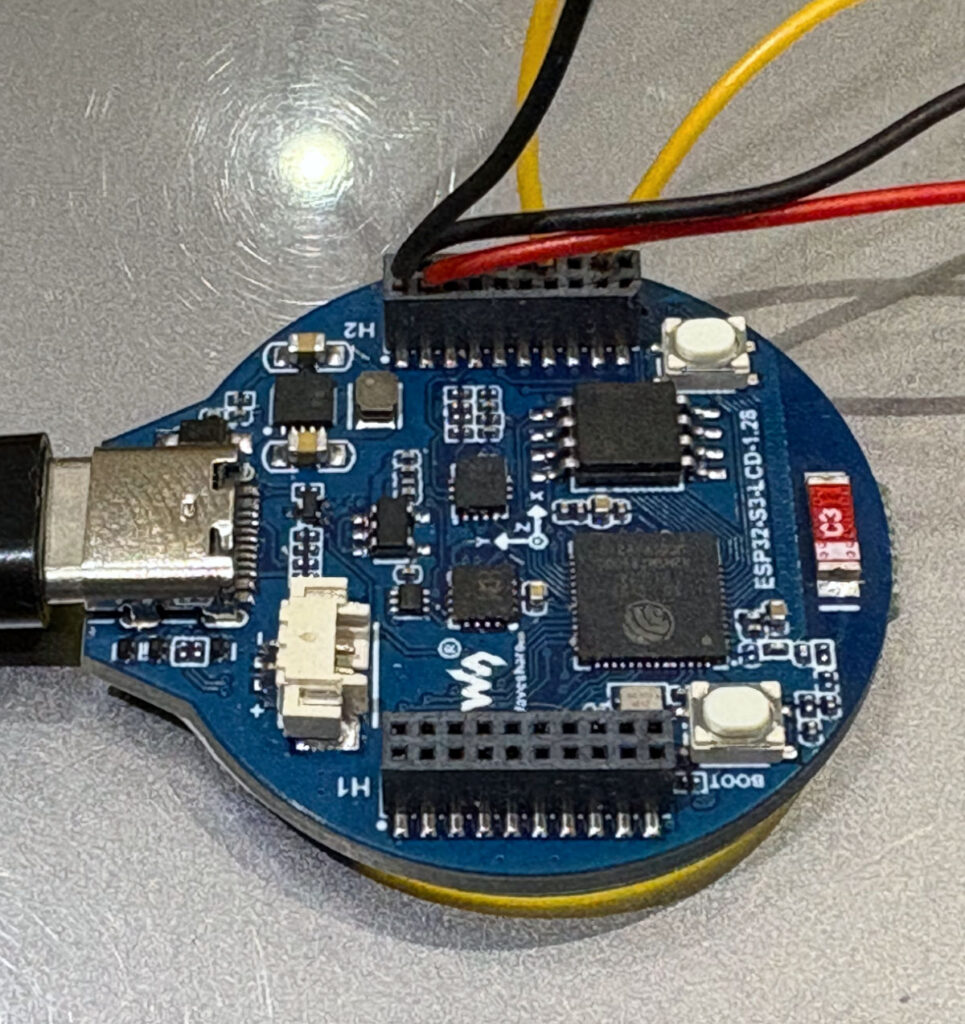
As you can see the connector are very small the pitch between sockets is just 1.27mm, much smaller than the normal 2.54mm pitch I am used to. This becomes a problem later as finding a connector to fit this, but at the moment I am pushing single core wire directly into it.
Restarting with a new board.
While the original board was working I really wished I had got a touch screen, so I decided to change the display to a Wave Share ESP32-S3-Touch-LCD-2, this has advantage of a larger 2 inch display with a resolution of 240×320, by favourite features was the touch display and the larger 2.54mm spaced pins on the back.
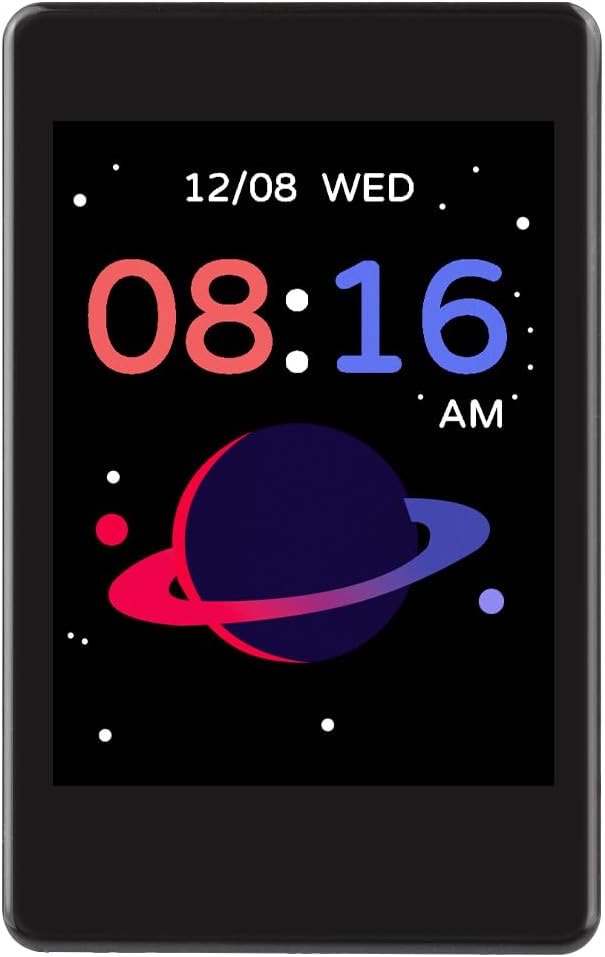
ESP32-S3-Touch-LCD-2 Front
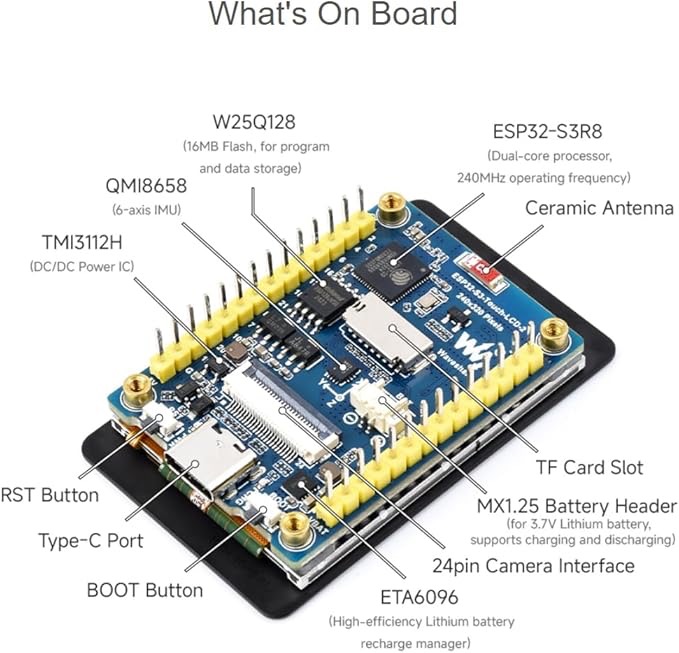
ESP32-S3-Touch-LCD-2 back
Now with a better display and a touch screen, I started experimenting with the AI development and I learned a lot about using the free level AI for this type of development.
Only make one update at a time, only ask the AI to make a single up date, don’t be to ambitious and try to add to much at once, it may work, but my experience is that it will not always end well and you may find you have lost features to expected to remain.
TEST, test and test again, after each update make sure it does what you expect and that you sill have what you had before the update still working.
If you get compile time errors, feed then back to the AI, it will probably fix them without a problem.
Circles (going around in), early on when getting things like the display working, it recommended libraries I did not have installed, these can be difficult to get working if they are not designed or modified for your board. I have been around a few hours of created some code, inputting back in the compile errors, to have the AI confidently tell me they next iteration would fix all the problems, only to find a few steps later we where back with the same setting that had failed in the first place – What I tried and it worked for me was to find an example for the board I am using and feed that code into the AI as a working example of say the display working and ask it to try the same methods.
What I did find if I was patient and will to try things and maybe have to revert back to a working version if needed, this method saved be 1000’s of hours of development time and helped me produce a working product, sometimes I had to study the code it produced, but most of the time, you can get it to fix a problem once you understand what could be going wrong.