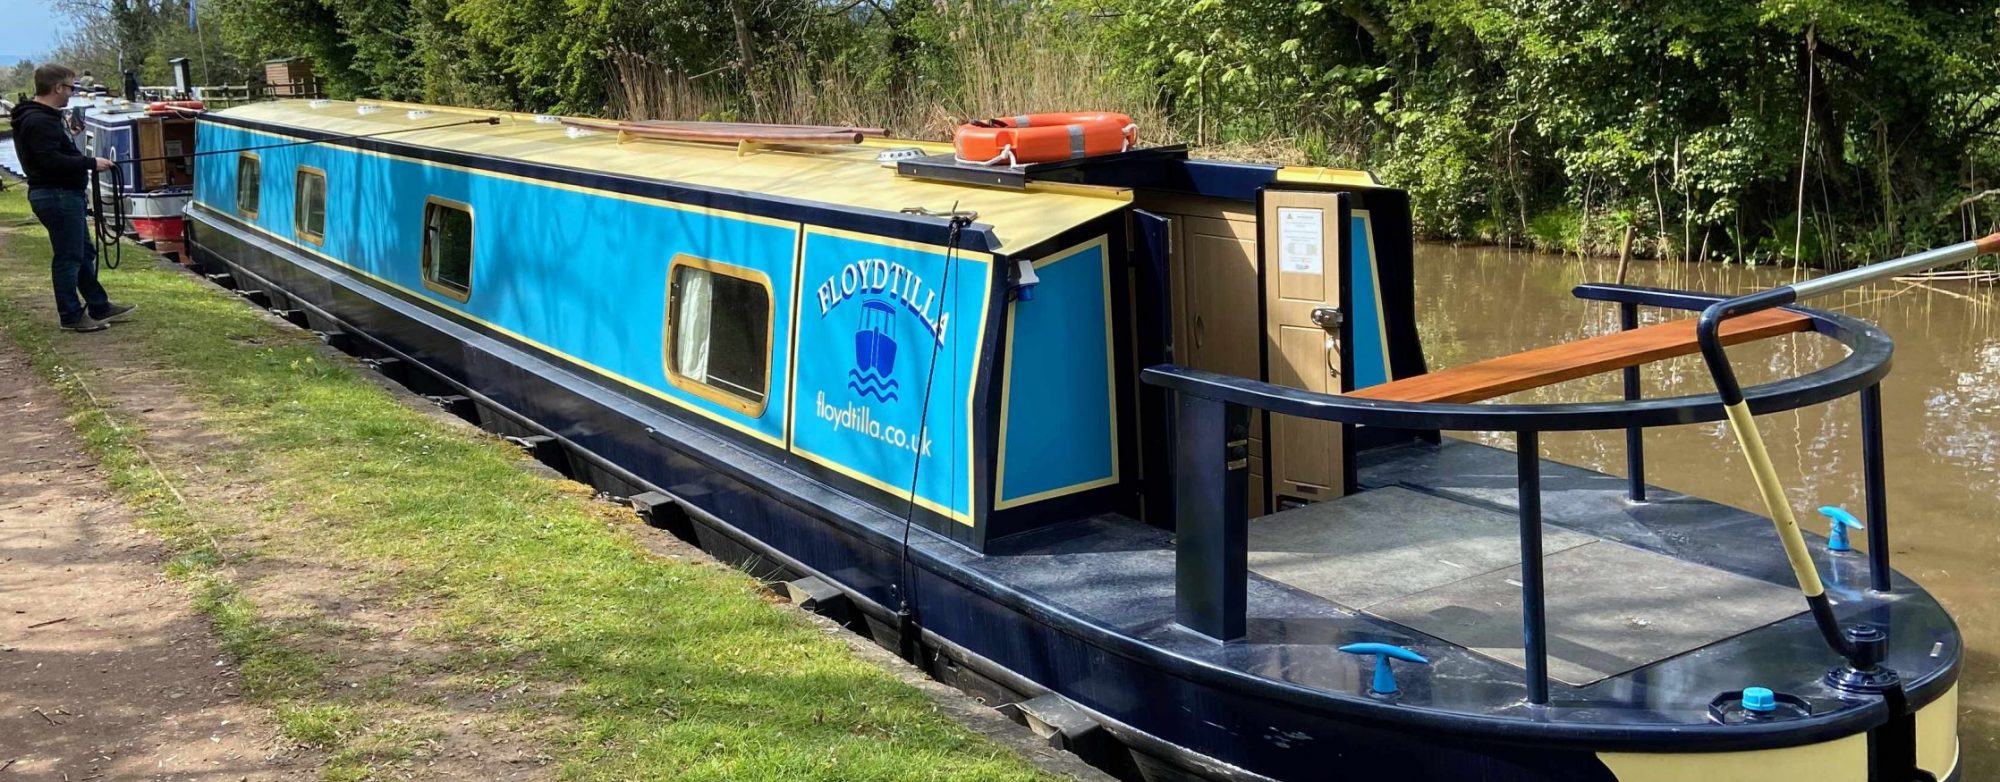

Installing LiFePO4 Leisure Batteries on our Canal Boat

We already have a 3000W Sterling Pro Combi S inverter which was installed by Black Prince Boats when we purchased our Ex-Hire canal boat in 2021. Luckily for us Sterling Power Products are based in the UK and in Droitwich very near our Marina. They also have their Sales/Support and Stock on-site, very useful when you need to get a problem solved PDQ.

So after chatting to Ben at Sterling Power, he advised us what we needed and we placed an order online. The next day I went to collect our new goodies and have a further chat to Ben.


2 Off – LH12200 – 12V 200Ah LiFePO4 – Lithium Iron Phosphate Battery w/ Bluetooth
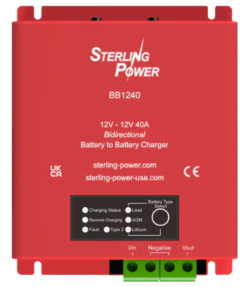
1 Off – Saturn BB1240 – 12V to 12V 40A Battery to Battery Charger

The Sterling is not the cheapest, I could easy find some low cost alternative products, but I was looking for a well know and reliable product that would be useable 24-7 & 365 days of the year, especially when the boat moored in a frozen canal in the middle of winter. The Sterling batteries include all the normal BMS (Battery Management System) stuff including a bluetooth connection to my phone, but I was also advised by Ben that these batteries also have an inbuilt 100W heater that is controlled by the BMS so that when the temperature is below 0°C it will divert any charging power to heating the battery first so it can be safely charged without damaging the battery.

Click for Explanation – LiFePO4 batteries and the COLD

LiFePO4 (Lithium Iron Phosphate) batteries should not be charged below 0°C (32°F) because lithium plating can occur, causing permanent damage, capacity loss, and increased safety risks such as internal short circuits. This chemical process, where metallic lithium accumulates on the anode, reduces the battery’s lifespan and can lead to dangerous failures.

Once back at the boat and with the excellent help of Steve Cowham from STC Marine Engineering, who is also based at Droitwich we started to talk through what we needed to do. The only sure thing was this was the first time either of us had done this before, but we had access to support from Ben at Sterling Power Products, available at the end of the phone.

A bit of a sudden panic on my part, as I had assumed this would all fit in the available space in the battery tray, something I should have checked first….
Luckily it all physically fitted.

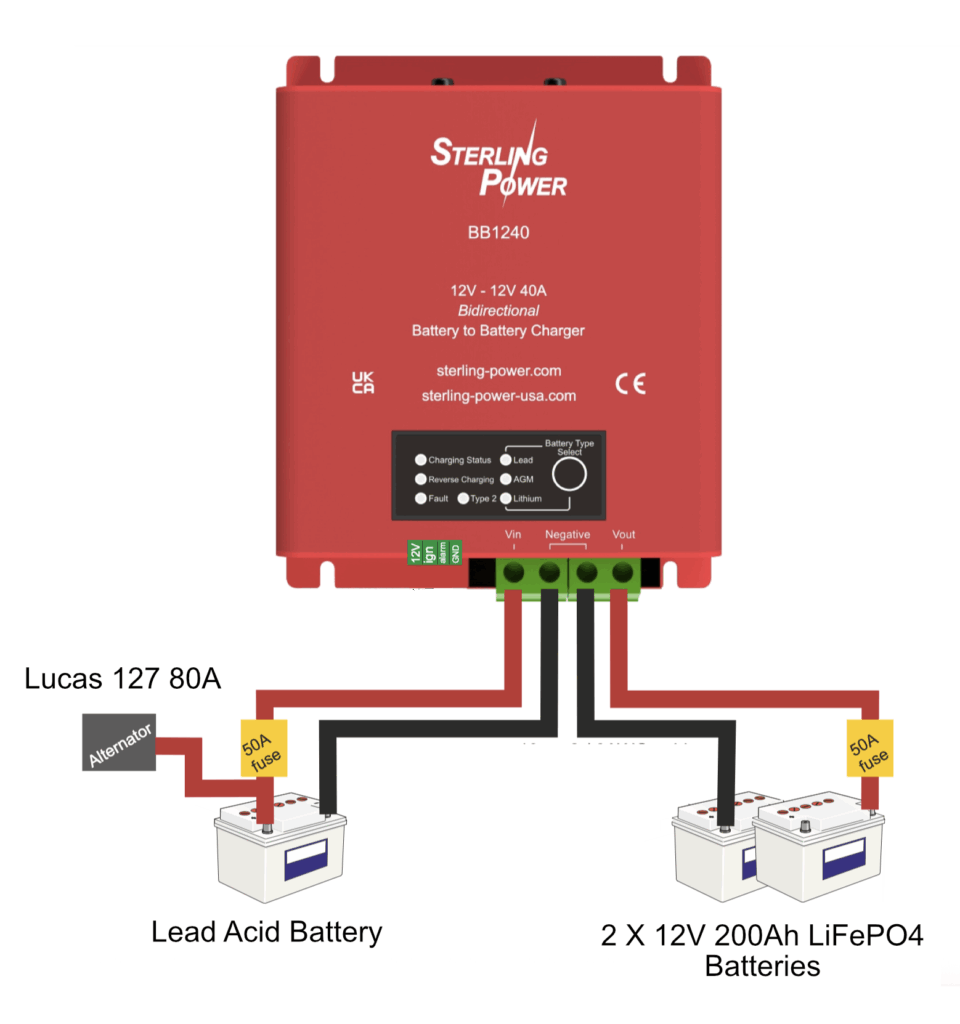
Our plan was to have a hybrid battery systems retaining one of the old leisure lead acid batteries to act as a buffer between the Lucas 75 Alternator and the new fancy LifePO4 batteries, as Alternators and LiFePO4 batteries do not play well.

Click for Explanation – LiFePO4 Batteries and Alternators – WHY not a good idea

The use of the Sterling Power BB1240 between a lead-acid and a LiFePO4 battery is to provide the correct, multi-stage charging profile for the LiFePO4 battery, as it has different charging voltage and current requirements than the lead-acid battery.

A simple direct connection to the alternator would cause damage to the alternator. LiFePO4 batteries have low internal resistance and can draw a massive amount of current from the alternator, potentially overheating and then failing. The alternator is not typically designed to operate at full output continuously. 

So, out with three old and tired lead acid batteries. We then put the LiFePO4 batteries sandwiched between the remaining lead acid buffer battery and the engine starter battery, which has its own alternator and is not effected by this upgrade.

While Steve was manhandling the batteries I was despatched to our local chandlery at Hanbury Wharf to get some longer M8 bolts as those supplied are a little short if you are connecting a few things to the terminals.

A question we asked Ben at Sterling was, “Where do we attach the solar charger, should this be on the lead acid buffer battery or on the LiFePo4 battery?” He came back with, “Direct to the LiFePO4 batteries as this does not need to pass through the Battery to Battery Charger”.

We have used most of the original cables to install these batteries. Unfortunately our cables would not let us connect the inverter directly to the LiFePO4 batteries, this was a problem as any power would not come from the LiFePO4 bank as while the Saturn BB1240 Battery to Battery Charger was bidirectional, it only charges the buffer battery when the LiFePO4 batteries are fully charged.

So for today we were as far as we could go. I later plugged us into the shore line power and, while not totally unexpected, the inverter kicked in and started charging the LiFePO4 bank via the Saturn BB1240 Battery to Battery Charger. I do not think I have heard the fan on the inverter run so fast, a few hours later we had charged the new batteries to 100%.

Now to connect the inverter directly to the new batteries we needed some extra longer 50mm2 cables, we also added a new isolation switch as we would now effectively need to be able to isolate the buffer battery from the Alternator. Another trip to Hanbury Wharf Chandlery and I had another isolator, luckily we have a ready made location for this next to the battery bank.

Steve had a very useful hydraulic crimp press and we trawled the Hanbury Wharf Chandlery collection of crimps as we adapted the cables we had to the correct sizes for the old lead acid batteries which had 10mm posts and the new LiFePO4 batteries that use 8mm and our fuse boxes that use 6mm

Steve also made a new cable for the Alternator as we expect to upgrade this later, and it only had a 10mm2 cable, as an over kill and as we had the cable to hand this was replaced with a 25mm2 which should give us enough capacity for future upgrades.

We added 50A fuses on the positive cable on the input and output cables from the Saturn BB1240 Battery to Battery Charger.

Now we have everything in working order, I will replace some of the old cables we used with some new ones of the optimal length and maybe add a couple of bus bars to make the wiring simpler, but that will be after our return from our September travels.

Note: I will include a simple wiring diagram in the next few days, once we are above the  Tardebigge Lock Flight and I am moored in Birmingham.
Battery Power Problems – We did have signs?

I have been complaining that our fridge does not get as cold as expected, but this year we have not had time for a real boat holiday and have been using the boat for short weekend trips with family or as a stopover for other longer trips, so I put the fridge temperature down to being switched off and on for just a short time.

But the fridge may have been an indicator of bigger problems, we are currently on a longer trip. We have not gone far yet, but we did try to use our new Monsieur Cuisine smart cooking gadget and it tripped out our 3000W Sterling Pro Combi S inverter, odd but I did not worry. This gadget has a larger very powerful motor and a cooking heater, so I suspected it sent something ugly on to the 240V circuit (I know I am old but stuff like this used to happen a lot in our family home,).

So we are out for the first week and decide to put on some washing, we don’t leave our inverter on all the time, so I switched it on and them we loaded and started the washing machine. Within a minute it had also tripped the inverter, we were a few days from passing our home base mooring on the way to Birmingham, so we stopped and moored up by the Droitwich Canal turning and I called Sterling to see if they had any advice.

Sterlings Tech support was quick and insightful. He recommended checking the voltage on the big terminals at the bottom of the inverter, alas it was only 11.4V way too low and the inverter had been switching it self off.

After that call I did a few simple tests. I started the engine and started to charge the batteries. The starter battery was very happy at over 14 volts, but the house batteries started to charge but remained lower that I expected at just sub 14 volts and with the engine switched off the voltage was starting to drop quite quickly.

Our house battery bank is approx 400 Ah made up of 4 X 100 Ah lead acid batteries, plus a separate starter battery with its own alternator. These batteries came with the boat are were probably installed late 2020 or early 2021 by Black Prince, so this is getting near the 4-5 year expected life for lead acid batteries.

The next call was then back to Sterling to see what advice they would give me on what I should fit to replace my batteries with something a little more modern.

They recommended two AMPS LH12200 (12V 200Ah LiFePO4) and a Sterling BB1240 (DC to DC 40A Bidirectional Battery to Battery Charger). We would then retain one of the original 12V lead acid batteries to act as a buffer and then connect the Battery to Battery charger between that and the new LiFePO4 batteries.

Original Image stolen from Stirling Power and modified

This was then ordered on their website for next day collection, luckily they are based in Driotwich, and we have access to our car so we can go and collect.

Next we will document the install and configuration, and maybe some performance figures if we can work any out, but I am looking forward to a greater useable capacity than the 50% we got with the lead acid.

New Cooking Gadget for the boat – Monsieur Cuisine smart

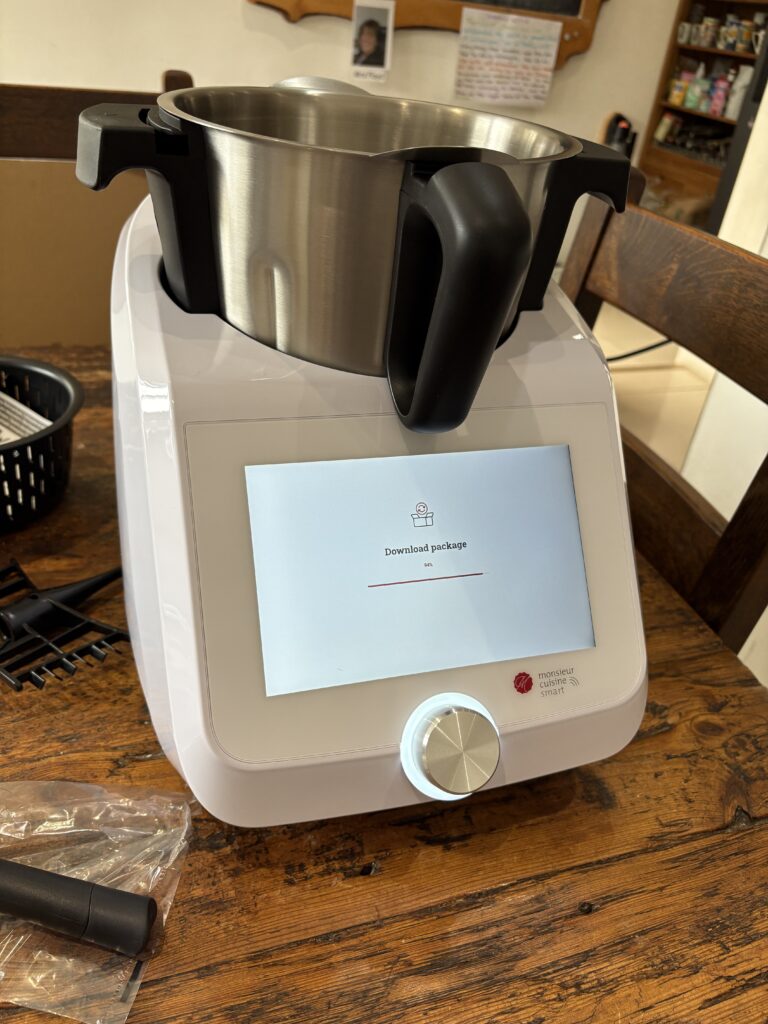
New in Lidl is the Monsieur Cuisine smart, which is a cheap Lidl version of the Vorwerk Thermomix TM6, which at around £1600 is well outside my budget, the Lidl Monsieur Cuisine smart comes in at £299 reduced from £399 (Probably will never be sold for that much).

While this is quite a large gadget for the boat kitchen, it does replace a lot of devices I could never get onboard at one time including:-

  • Slow cooker
  • Blender – Inc Smoothies etc
  • Sous-Vide
  • Steamer
  • Mixer
  • Scales (Up to 5Kg)
  • Soup Maker (Up to 3 Litres)
  • Rice Cooker
Monsieur Cuisine smart

It comes with some very sticky feet so it will remain on the counter even during a disaster. Power is max’d out at 1200W which is no problem with our 3KW inverter and if forgotten and left on standby it uses approx 4W.

It does however require a WIFI/Internet connection to gain access to 600+ recipes with instruction and shopping lists etc. I will probably try a few of the recipes for guidance and then adapt it to my style of cooking/available ingredients.

StarLink Mini has arrived – What did we get in the box.

Ordered for our Canal Boat from Currys a couple of days ago for delivery to our local store for collection, the process could not have been simpler.

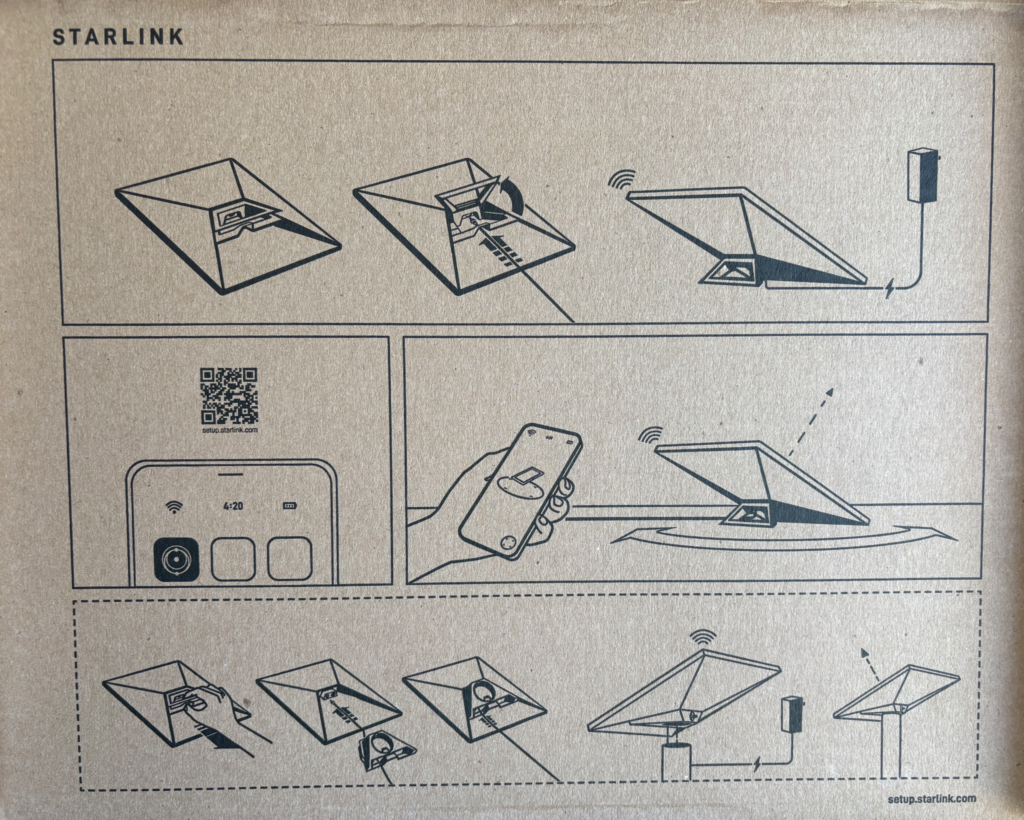
Once home, it was time to open the box, inside we find on the inside of the lid some simple getting started instructions, it the base are all the bits you need to get started (Well almost – more on that later).

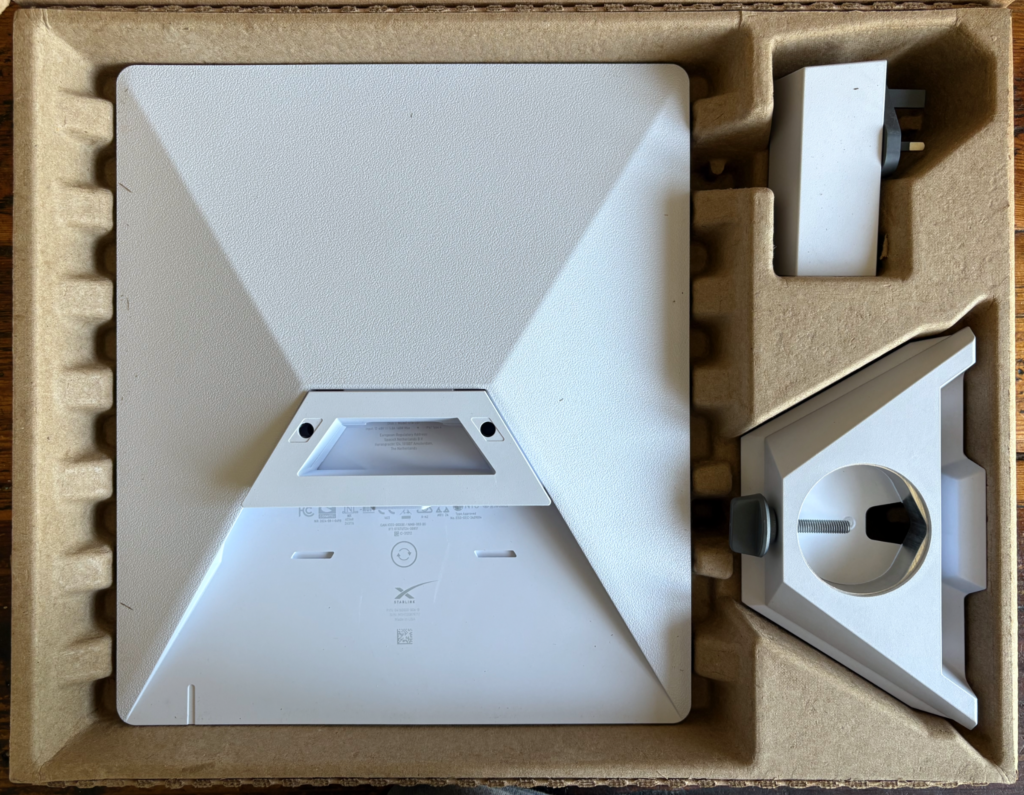
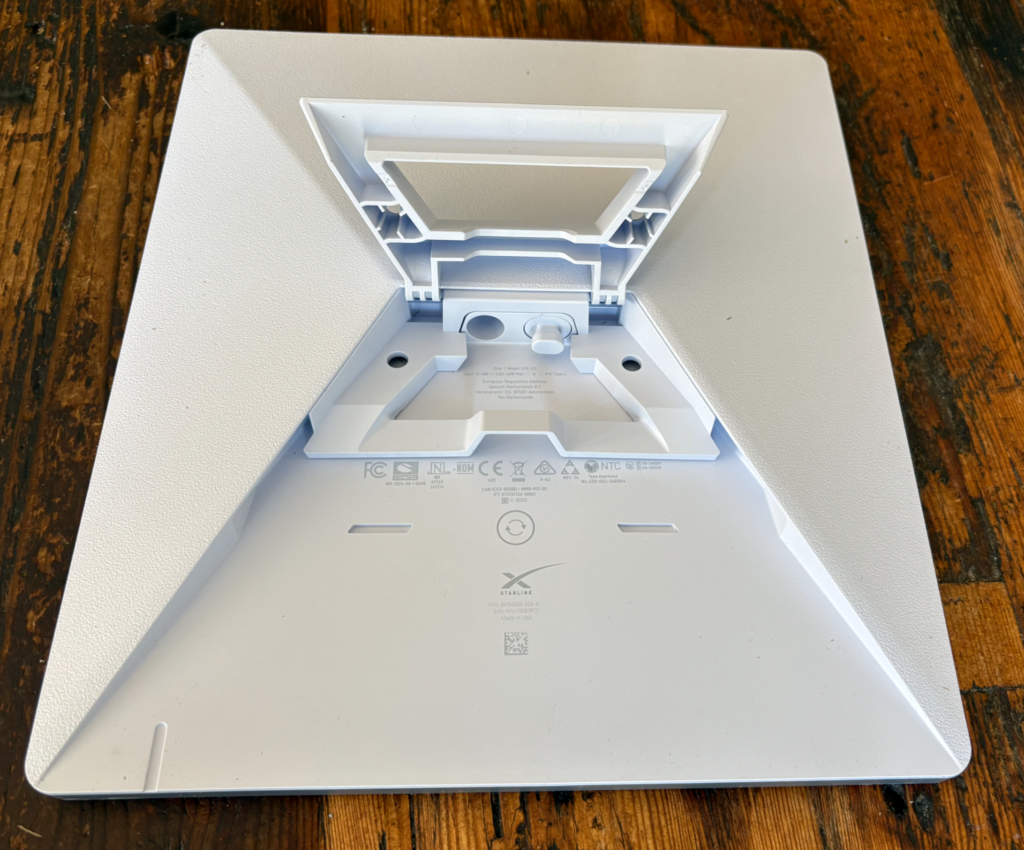
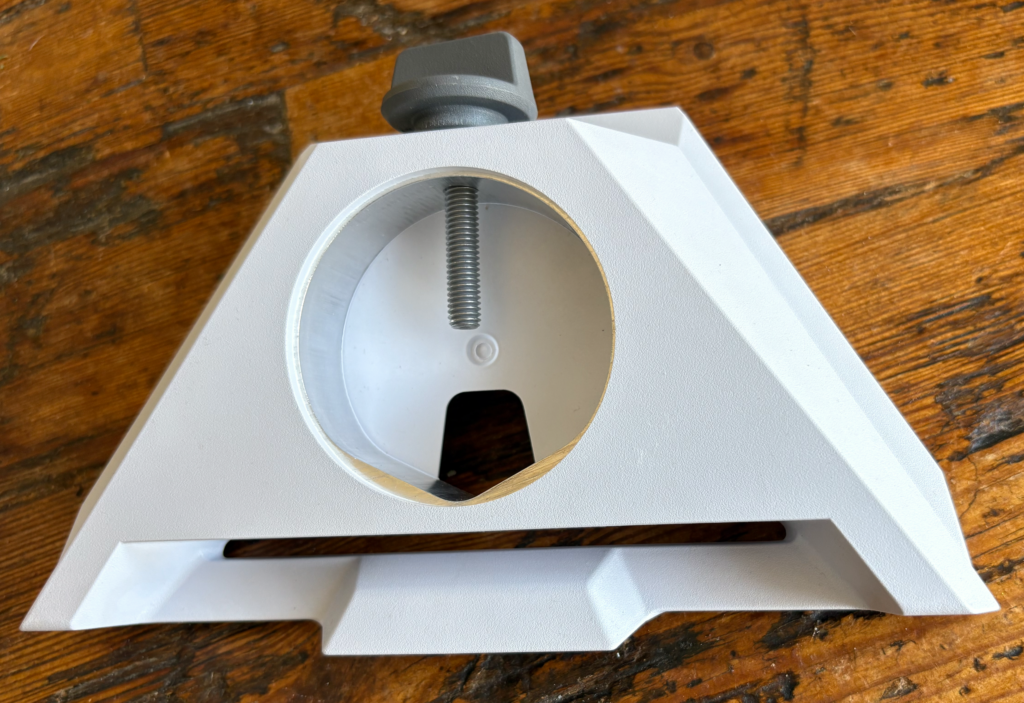
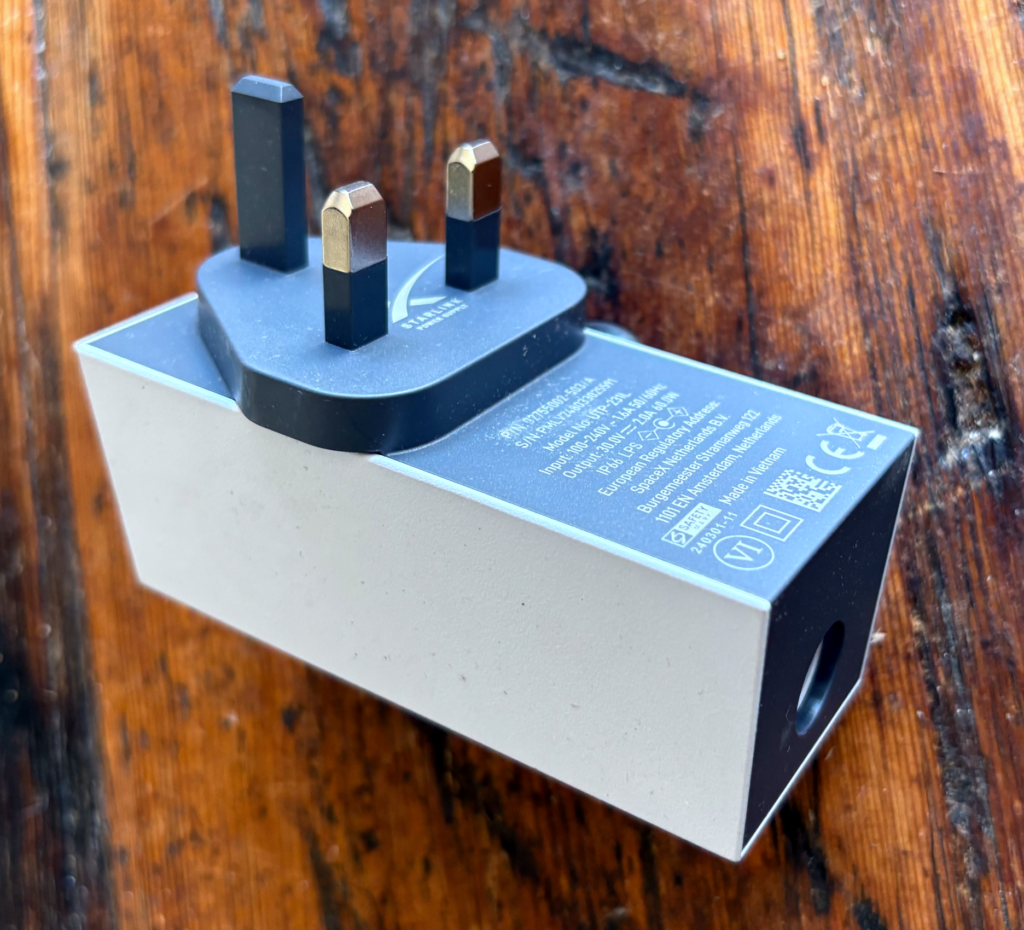
On the image above we can see the back of the StarLink Mini, the UK power supply and the Pipe mount.

The StarLink Mini is approx 29cm X 26cm and comes with the kick stand installed, as can be seen above.

Included in the box is the Pipe mount, this replaces the kick stand and can be mounted on pipes 31 mm (1.25 inches) to 50 mm (2 inches).

There are lots of mounting system that use this adapter, I have also seen Tripod adapters that fit in the mount providing a standard camera tripod socket.
The power supply for the UK is the standard 3 Pin plug, it can take input from 100-240v 1.6 Amps at 50/60Hz.

Output is 30v 2 Amps (60W).

It is unlikely we will use this onboard as we try to minimise the use of our 240v supply as our inverter so ineffiecent for such a small load. (Our inverter was installed so we could use a Washing Machine and power tools when needed and can output 3000W.
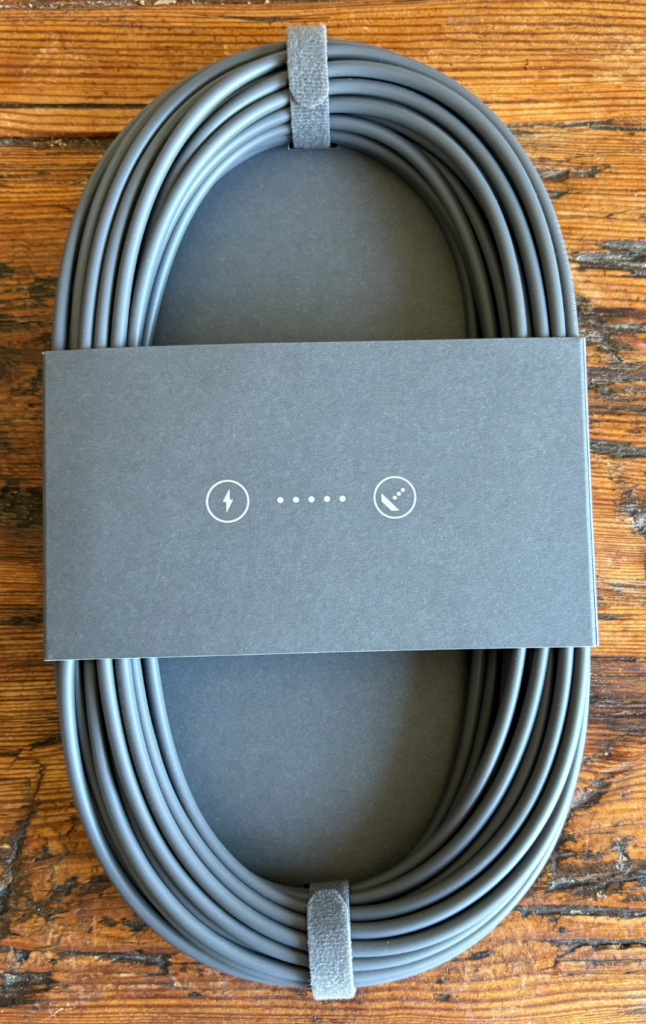
The 15m (approx 50ft) power lead supplied is nice and long and is designed for use with the mains adapter, it has a special water tight connector at each end.

It is again unlikely we will use this on the boat, as I hope to run the system on 48V using a power over Ethernet solution (More on that later)

As well as a power plug on the back of the StarLink Mini there is also a Ethernet RJ45 which we will use to get the network inside to our boat WIFI. The StarLink has it own built in WIFI, but this is probably not be very effective on our all steel narrow boat (we will test this once we have it all installed on the boat.

We have a few more bits on order including a POE (Power Over Ethernet) adapter and power supply and some external high quality ethernet cable.

Starlink Mini only £189 for our Narrow boat

We have just purchased a StarLink Mini from Curry’s for £189, they were £399 just a short while ago so once we are back on the boat at the end of August for our next trip, we will do a series on how to install this on the roof of our Canal Boat, what options are available and how to power successfully from 12v.

Starlink Mini from Currys £189

There are a number of options we are looking at for the roof mounting, we don’t want it to be a permanent fixture as this will also be used in other locations, but magnetic and suction mounts are a possibility. We also expect to remove the panel when we are not on the boat if needed.

The monthly running costs of a StarLink system are not cheap, but the ability to connect in remote locations is a big plus point for us when we travel.