Slowly we are redirecting the map on this website to our new home for maps www.canalmaps.co.uk, it will take a while as I am tidying up as I go.
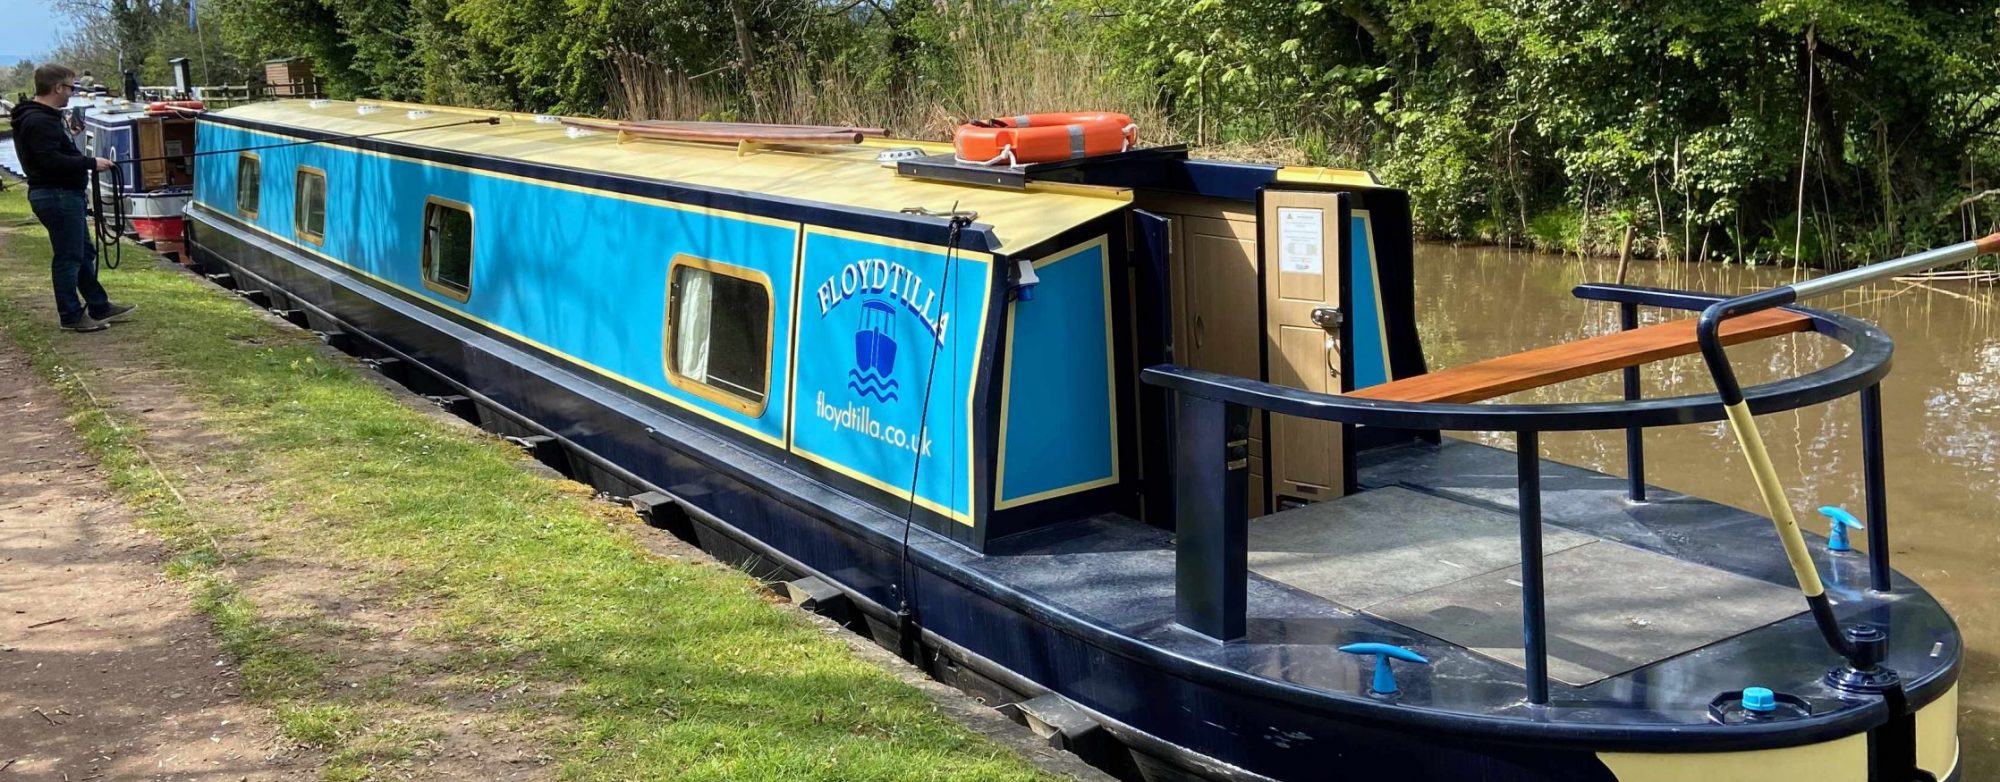
So please don’t be to surprised if the get a redirection to the Canal Maps website, this site will remain but will be more of a blog or our travels and upgrades etc to our boat Floydtilla.
Also soon you can get a version of the Canal Maps Maps for your iPhone and Android phones (Just waiting for approval for the Android version.
Whether you are cruising the Grand Union, moored up on the Kennet & Avon, or navigating the northern reaches of the system, there is one thing every boat-based business needs: to be found.
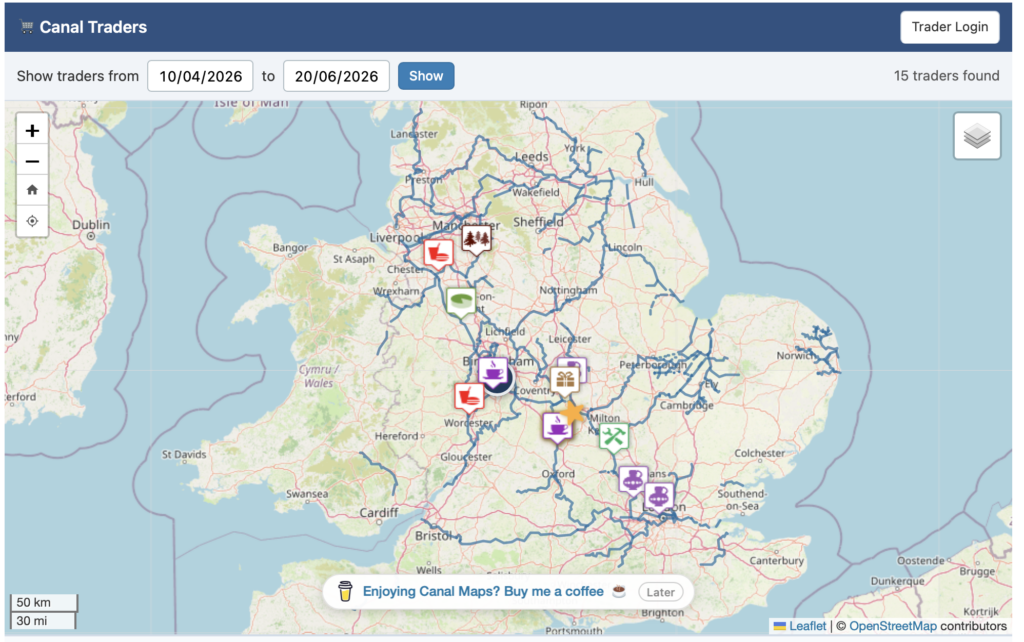
canalmaps.co.uk Canal Traders Map
As many of you know, I’ve been working on the Canal Traders Map over at canalmaps.co.uk. It’s a project designed to bridge the gap between the people living and traveling on the towpath and the fantastic mobile businesses that make life on the water so unique.
Why get your business on the map?
The biggest challenge for any canal trader is visibility. Unlike a high-street shop, your “storefront” moves. You might be in a prime spot for a festival one week and tucked away in a quiet cutting the next.
The Canal Traders map solves this by giving you a digital presence that moves with you.
Be found by visitors: People planning their trips can look ahead at their route, enter their travel dates, and see exactly which traders will be moored nearby.
Increase your “Passing Trade”: It’s not just about the people who happen to walk past your boat. By listing your future locations, you’re inviting people to make a specific detour to visit you.
National Reach: With the map gaining traction—including interest from major publications like Waterways World—being listed puts your business in front of a massive audience of boaters, walkers, and tourists.
It’s incredibly easy to set up
I know that when you’re running a business from a boat, you don’t want to spend hours behind a laptop screen. That’s why I’ve made the signup process as straightforward as possible.
Register: Head over to the Canal Traders Map and create your account.
Pin Your Location: You can enter your current mooring or, more importantly, plan out your future stops.
Set Your Dates: Tell the map when you’ll be arriving and when you’ll be moving on.
Once that’s done, you’re live! You can log in at any time from your phone to update your location as you cruise.
Join the community
The more traders we have on the map, the better the resource becomes for everyone on the cut. Whether you’re a floating cafe, a craft boat, a coal merchant, or a fender maker, I want to help you get seen.
If you have any questions about setting up your account or how to make the most of the map, feel free to drop me an email at dfloyd@floyd.co.uk.
This a quick test of the Canal Maps Boat Log to see if we can embed a map on a different website, the map is completely dynamic, any updates will update here as well.
Try pressing a few of the buttons to see what happens.
Since January we have been developing new software for our maps. It is all new code, with thousands of extra locations already added. We have approximately 1,000 items on our fix list, and thousands more locations scouted out and ready to add.
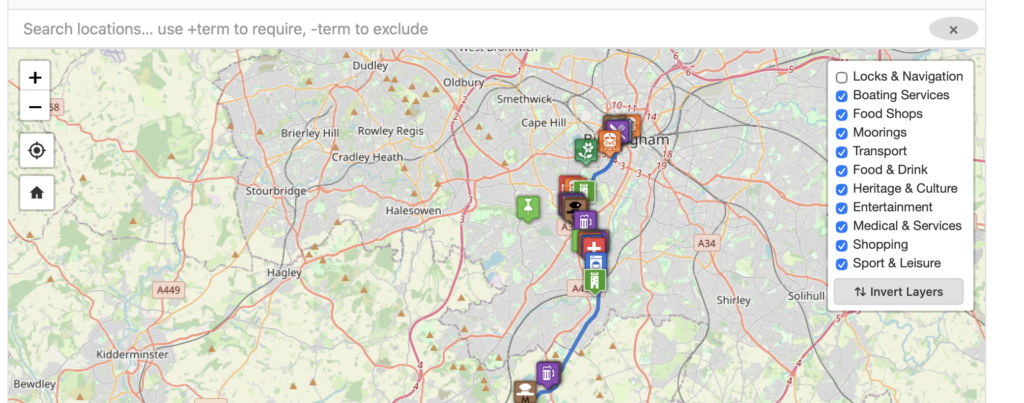
Among the new features is a Layers option in the top right corner of the map. This lets you switch certain layers on or off — so you can choose to see only Moorings or Food Shops, for example. By default we have switched off the layer containing navigation information for Locks, Bridges, Winding Holes etc., but this can be turned back on with a single click.
We have also optimised the GPX files — these are what create the blue lines on the maps. They have been stripped down to the bare minimum, so a file that was previously 7 MB has been reduced to just 2 MB, and many are now just a few kilobytes. This makes our maps even faster on the new system, and significantly better for mobile users.
On the front page of the site is a map of all the canals currently on the system. You can mouse over them to see their names, and click to be taken to the detailed map with all the locations.
Please note this is a work in progress and is being updated daily with new features and locations.
The problem has always been: How much water do I have it the tank? This is part 3, the development of our solution.
Software development is now pretty much complete, and the User Interface is detailed below. Next will come the installation process, but this will have to wait till warmer weather.
The User Interface (via a small 320X240 touch display) in the cabin.
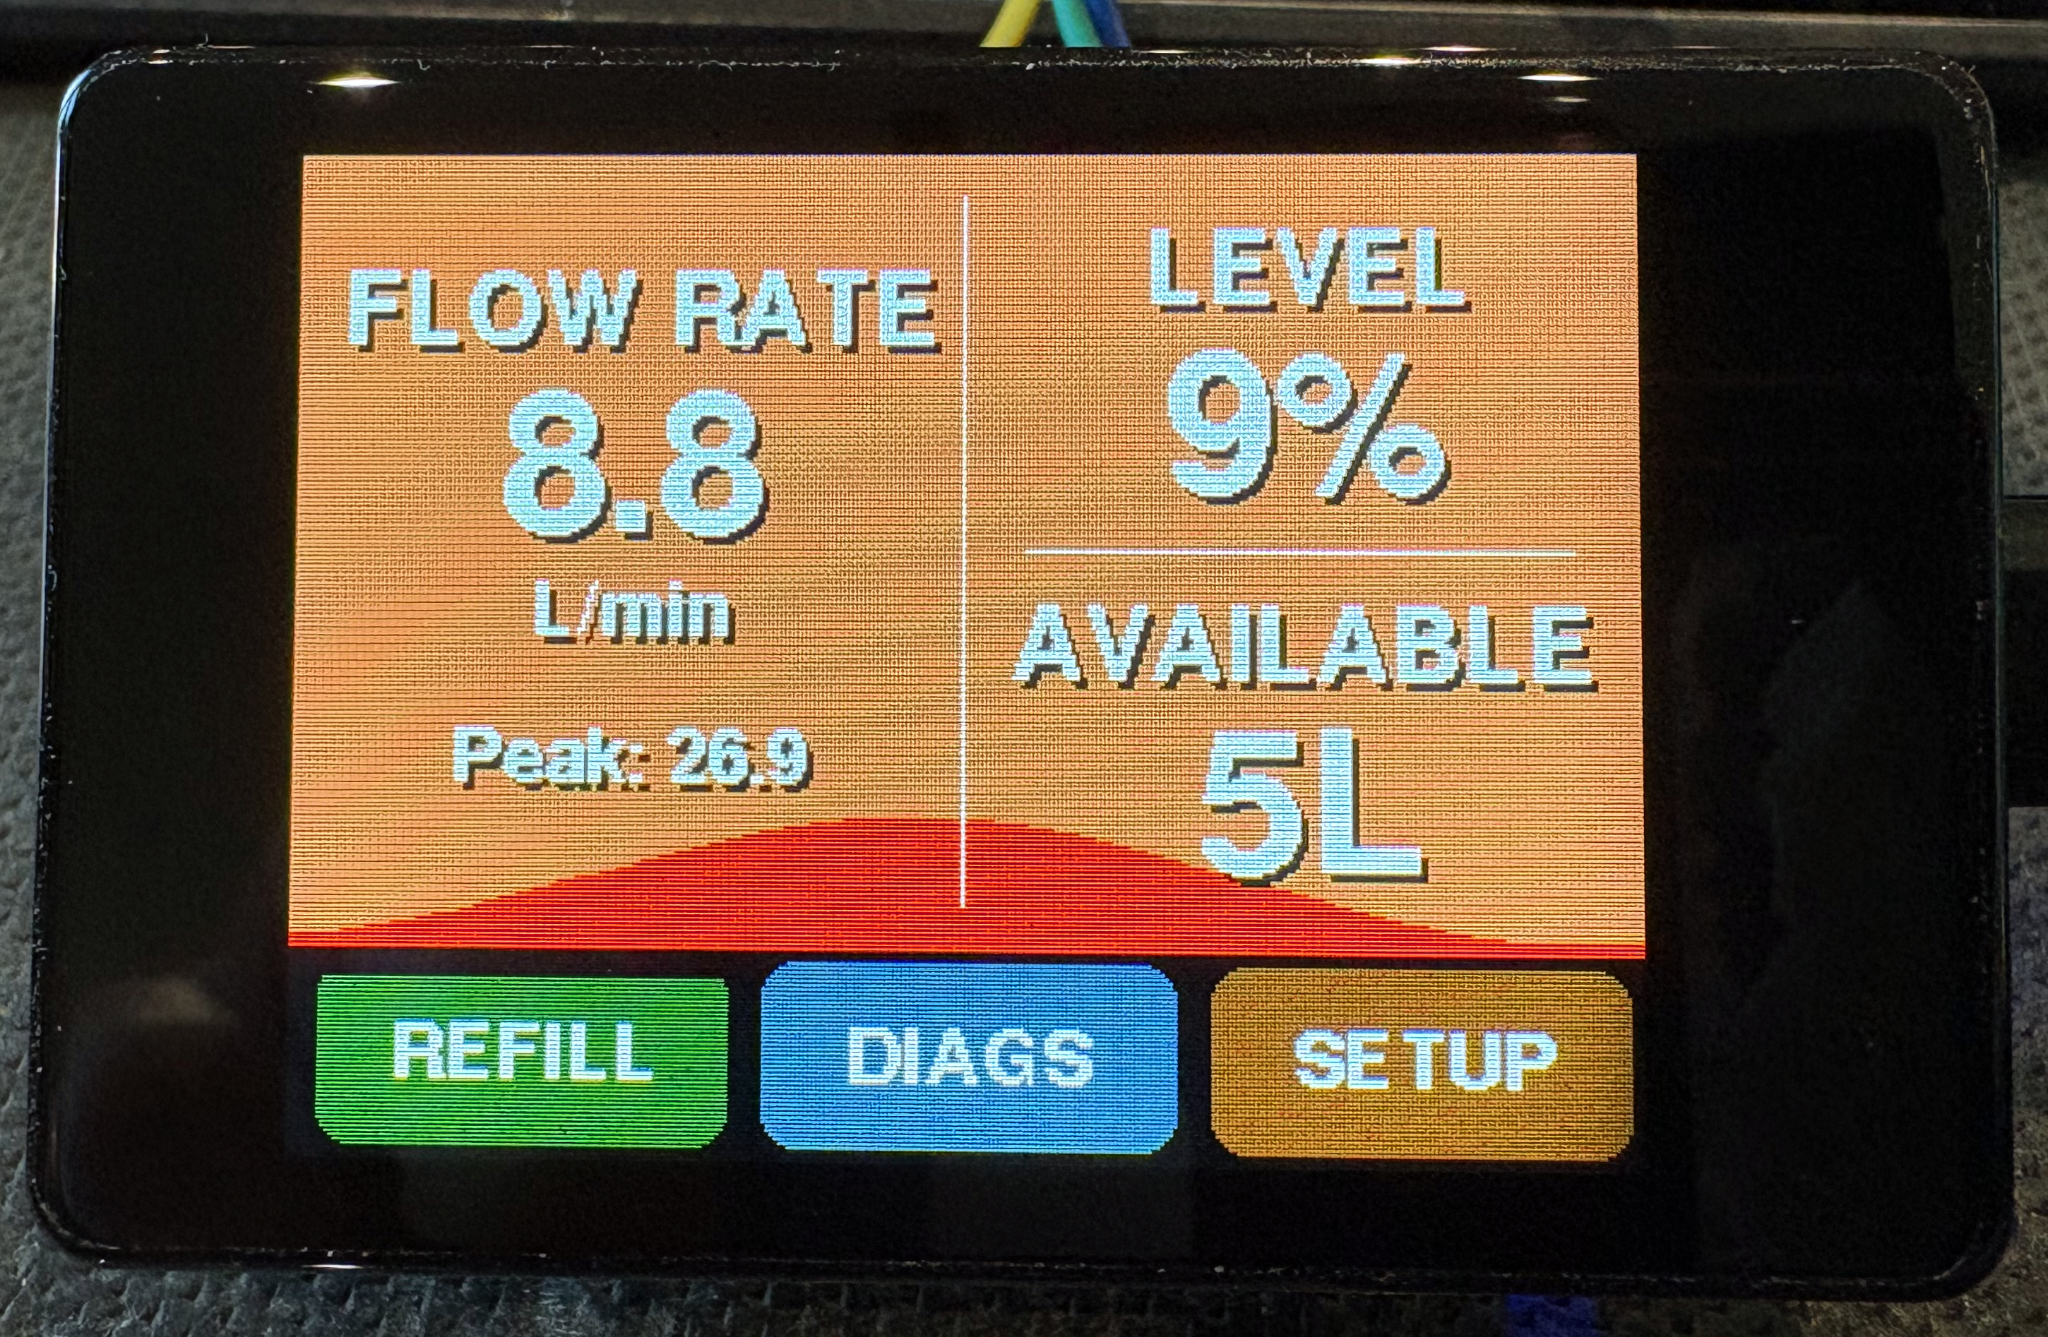
After a bit of a promotional splash screen the water meter starts on its main information screen.
This quickly shows you the important information, The tank level as a % and the number of litres available, also included is the current flow rate in litres per minute and just for the hell of it the peak flow rate.
The three buttons across the bottom are our main navigation: the REFILL button does just that and should be used once the tank has been refilled, it will reset the tank back to 100% full. BUT it is very easy to just press this button, so to make it operate you need to hold it for 3 seconds and then you will be asked if you want to refill the tank with a Yes/No option.
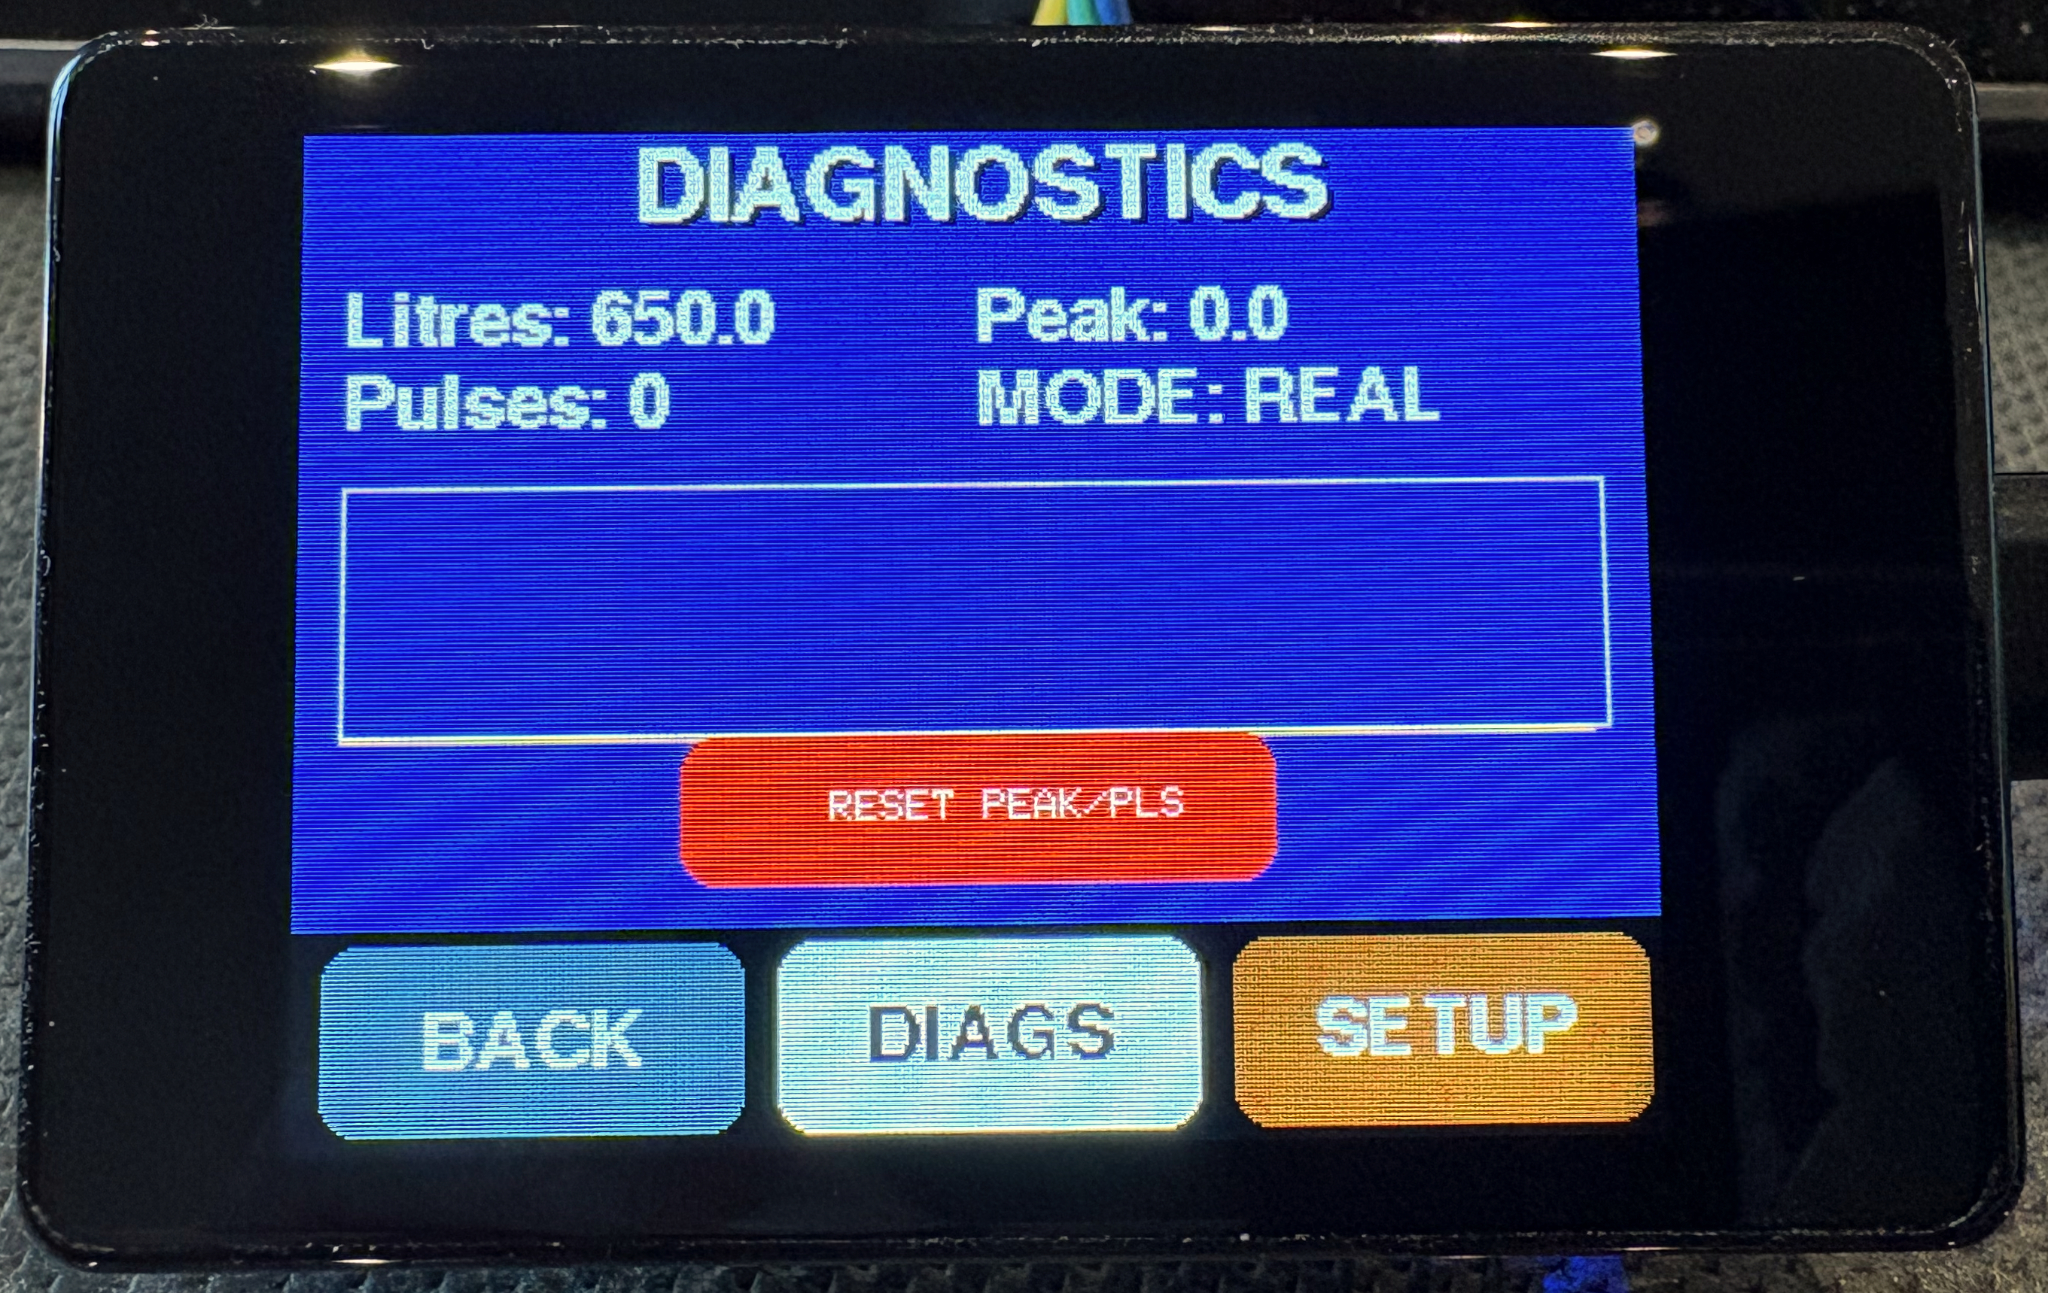
The DIAGS button takes you to a new screen that has a few options, like seeing the number of pulses the meter has counted since the last reset. This is very useful to help setup the meter so it knows how many pulses there are to a litre. On mine it is 644.
I found this out by measuring 5L of water pass the Flow Sensor a few times and calculating an average per litre.
The pulse counter is reset using the big red RESET button.
On this screen is a MODE: display, if you touch the DIAGS button again you will put the meter into DEMO mode, this was added during development of the user interface (UI) so I could see how everything operated, it simulates flow and reduces the volume in the now smaller tank.
The box above the reset button is a graph of the flow over approx the last 30 seconds, it self scales, so only useful as a guide/fun.
P.S. to get out of DEMO mode press the DIAGS button again and the system will toggle from REAL to DEMO, it should, when returning from DEMO mode, remember the last water level in the tank so you can try it at any time.
The last button of the three is SETUP, this is where you can customise the setup to your Tank size, the number of pulses per litre, and when to raise the alarm (more on those later).
The timeout option sets how long the display will remain active before switching off (it returns to full brightness when you tap anywhere on the display.
The last option on the right LAND can be used to switch the display from landscape to portrait mode, so when you mount this you have the choice.
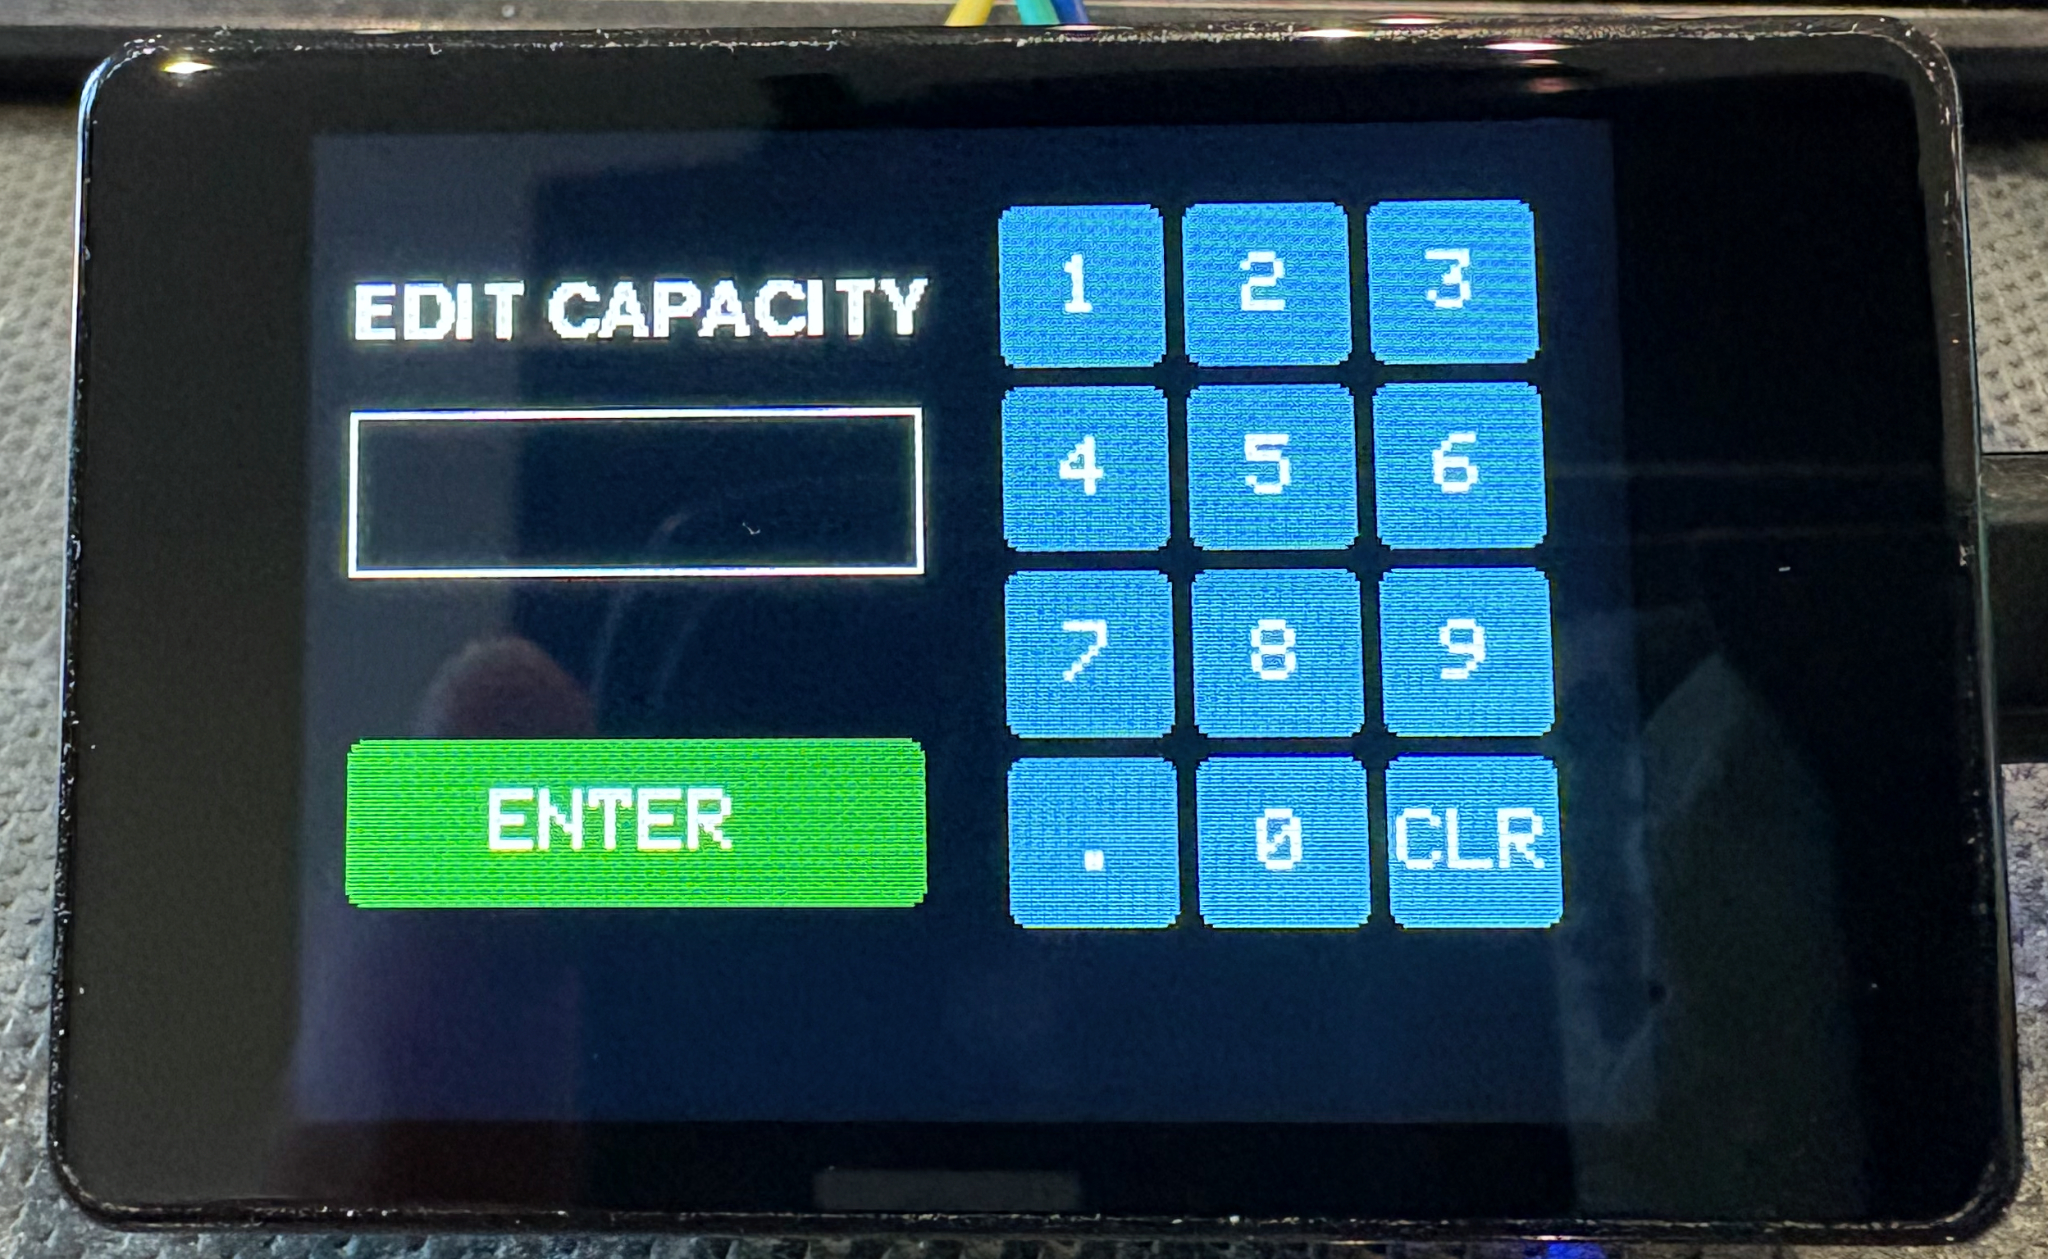
If you tap on a setting box the system will display an edit page where you can enter the relevant value. If you don’t want to change a value just make sure the input is empty and press the green ENTER button
The display in use
For a bit of fun I added a moving wave in the background graphic, but the light blue / dark blue is also an indication of the remaining water level.
Another setting you can adjust are the warning levels by default at 30% remaining the background wave turns yellow
The last warning by default at 10% the wave turns red
The display will switch off if left untouched, but it will wake to 10% brightness if the sensor detects any water flow. I did not want to have the display too bright at night, but I did want to know if water was flowing.