Isuzu 42 Diesel Engine – Service Time (Basic)

We log all our engine hours in a book with a running total, I know I have a gauge for this, but in a book I can note down anything else that happens and it reminds me when I need to do a service.

At or about 250 hours we change all the filters, I would rather be early that late with this as it is an old engine and while currently working fine, I want to keep it that way.

We got our last batch of filters from Online Filters I have found them to be quick and efficient, I always order double what I need for the service, filters are cheap so it seems best to keep some stock onboard.

For our IZUSU IM 4LC38 diesel engine I ordered the following filters


The oil we use is the recommend 15W/40 which came from Smith & Allan Lubricants (can be ordered from Amazon, but direct is just as quick and may well be cheaper). I ordered the 20 Litres pack as this should give me enough oil for engines  6.7 Litres and the gearbox 1.7 Litres for 2 complete changes.

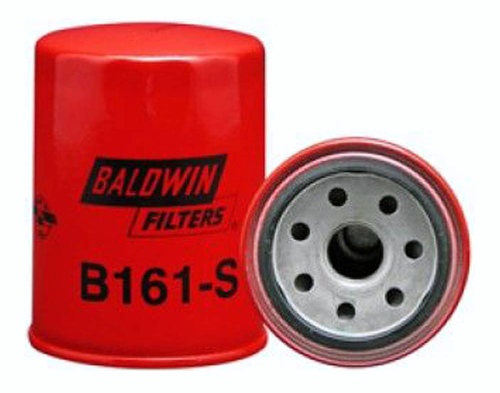
Baldwin B161-S from Online Filters

A tool that may well be needed at this points is a ‘Draper Redline 100mm Oil Filter Strap Wrench‘ which, after operations on both thumbs over the years, has come in very handy for these modern cartridge filters.

The Engine Oil Filter

  1. First we need to warm the engine so that the oil is warm and flowing, a few minutes of gentle running on tick over should do this. If your engine is hot already, probably best to give it 30 mins to cool down first, it is easy to get burned when playing with a hot engine.
  2. Now is a good time to recommend and place an Oil and Fuel Absorbent Pad under the engine to collect any spills
  3. Now we can drain the oil. On our Isuzu 42 we have a pump for draining the engine sump (in a boat it is much harder, if impossible to get below the engine to collect the oil)
  4. Once the oil is drained we can remove the oil filter, that is when you may need the oil filter strap wrench.
    • Remove and carefully discard the filter, check the rubber seal has come off with the filter, then clean the mating surface on the engine is clean.
    • Using some clean oil, lightly lubricate the rubber seal on the oil filter.
    • Screw the filter in place hand tight, then with the oil filter strap wrench tighten it a further ¼ to ½ turn.
  5. Now replace the oil, being careful not to over fill the engine, do not just pour in the full 6.7 Litres, add some oil via the oil filler, then check the level with the dip stick, remember it takes a while for the oil to flow to the engines sump (so take your time) give it a few minutes for the oil to sink down.
    Note: An over filled engine with increase oil pressure and may prematurely age your engine.

The Fuel Filter

Our boat has a flow and return pipe from the high pressure diesel pump and near the tank are two taps that are normally in the ‘on’ position, before changing the fuel filter these need to be turned off.

The fuel filter on our boat is a cartridge type, and looks similar to the oil filter, again you may need the oil filter strap wrench to loosen it, diesel will leak out, so wear gloves (You can normally find some in a petrol station near the diesel pump, I usually pick up an extra pair when needed, they are very thin but do the job).

Our fuel filter could not been released with our normal oil filter strap wrench, but instead we use some adjustable oil filter pliers similar this these on amazon.

Also remember to put down an Oil and Fuel Absorbent Pad under the filter before trying to remove it, I put my old filters into a zip lock bag for disposal at out local domestic waste centre, they cannot be disposed of in domestic rubbish.

Replacing the filter is the same as the engine oil filter, clean the surfaces, lightly oil the rubber seal on the filter and tighten hand tight, and then a ¼ to ½ a turn more using the oil filter strap wrench.

Our boat is also fitted with a fuel Agglomerator (AKA a water separator), which is used to collect water in the glass (in our case) container below the pipe, the diesel floats on water so passes through the filter while the water drops into the bowl and can be removed by either removing the bowl or unscrewing a drain plug in the bottom.

Do remember to turn on the fuel taps, else things will not go well when starting the engine .

The Air Filter

The Air Filter is nice and easy to change, just three spring clips to remove the lid and a quick swap of the filter. I would normally only changes this every 2nd oil service, but I do check it each time.

Changing the Gearbox oil PRM 150

Our boat is fitted with a Newage PRM 150 gearbox, this uses the same oil as the engine 15W/40 and takes about 1.7 Litres.

  1. First we need to remove the dip stick/ oil filler plug with a 19 mm spanner .
  2. Under the gearbox is a sump plug that also uses a 19 mm spanner to remove, but before removal you will need to find a container big enough but also small enough to fit under the gearbox to collect the oil.
  3. Once drained, clean the sump plug and its washer, as well as the mating surface on the gearbox and refit hand tight and then pinch tight with a socket.
  4. Now fill with oil slowly vis the dipstick hole, checking the amount with the dipstick as needed.

NOTE: Having said all the above, my oil was last changed after just 250 hours usage and the oil looked like new, so we decided not to change it this time.

Other basic checks

At this point, we also check for any loose bolts and wear and tear in the prop shaft and its couplings, then check the engine mounts bolts and any other ancillaries that are bolted on. Also check any cables and pipes for chaffing where they pass through bulkheads and finally look at the exhaust pipe for leaks (generally obvious due to black soot marks).

We did find that one of the alternators was loose and the long 130mm bolt was very warn, so this is also being replaced.

Basic service is now complete for another 250 hours

Thanks to:-

My thanks goes to Steve Cowham of STC Marine Engineering, without whom I would not have been able to watch him do all the hard work while I recover from an operation on my left hand.

Useful documents for Isuzu Users
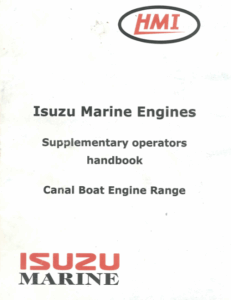
HMI Isuzu Manual
HMI Isuzu Manual


Isuzu Diesel Engine 4LB1, 4LC1, 4LE1 Instruction Manual

INDUSTRIAL
DIESEL ENGINE
4LB1, 4LC1, 4LE1
MODELS
WORKSHOP MANUAL

Isuzu Diesel Engine 4LB1, 4LC1, 4LE1 Workshop Manual

Tiverton Canal Co. – Horse Drawn Canal Trip

What was once common place on the canals is now down to probably just two boats on the UK canal network. The Tiverton Canal Co. is only an hour away for us so we booked our places a few days before by phone, payment was not required until we arrived. Our GPS directed us to the basin, we heard something very uncommon ‘Turn left on to Canal Hill’ and it was an oddly an upward hill drive to the basin. The Grand Western Canal is just over 11 miles long from Tiverton to the hamlet of Lowdwells and is lock free and amazingly from the basin you get to look down on to Tiverton.

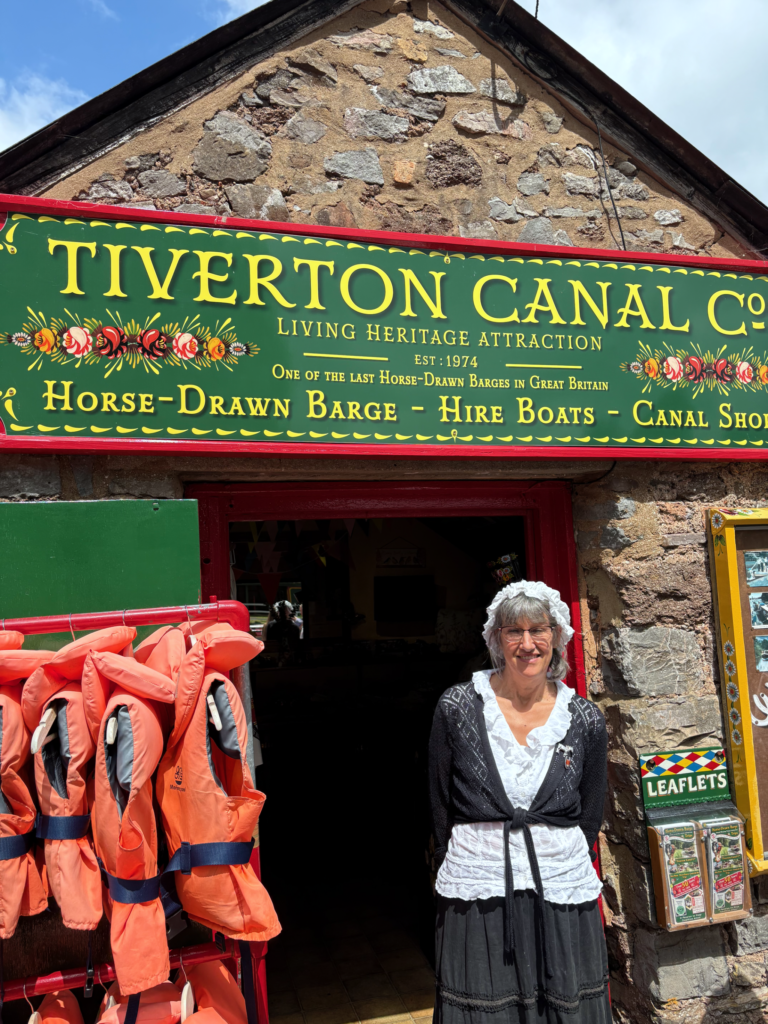
On arrival we checked in with Jacquie in the gift shop, we had booked the 2 ½ hour cruise which cost £21.60 PP.

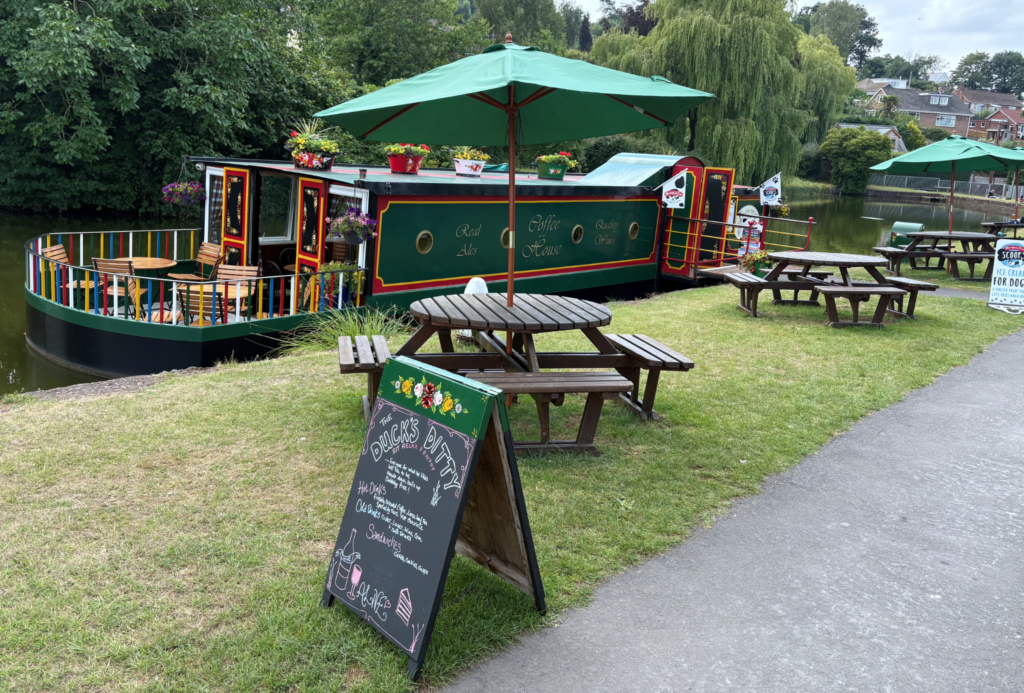
We had arrived early to take a look around. We had a drink on the Duck’s Ditty which used to be part of the same business as the Tiverton Canal Co. but was sold off in April 25  and is now owned and run by the same family that owns the Canal Tea Rooms in the Tiverton Basin.

Duck's Ditty

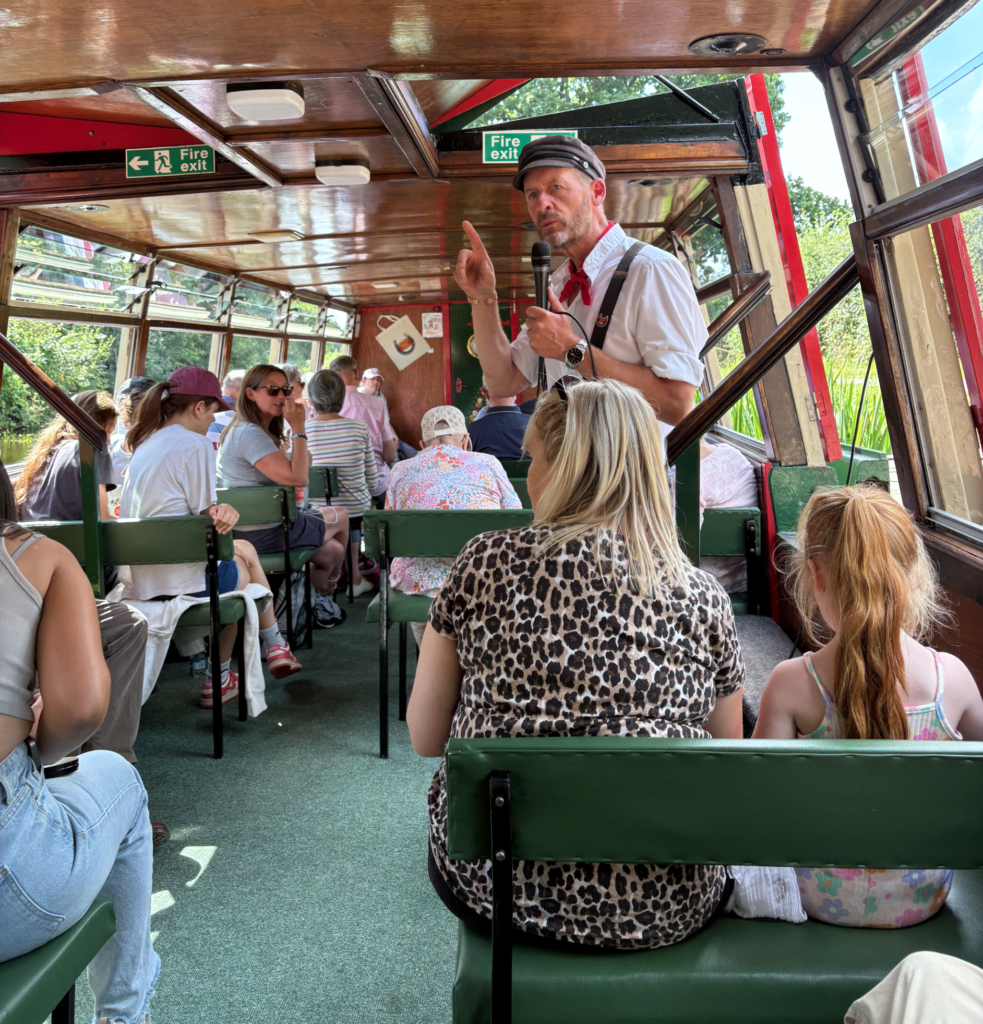
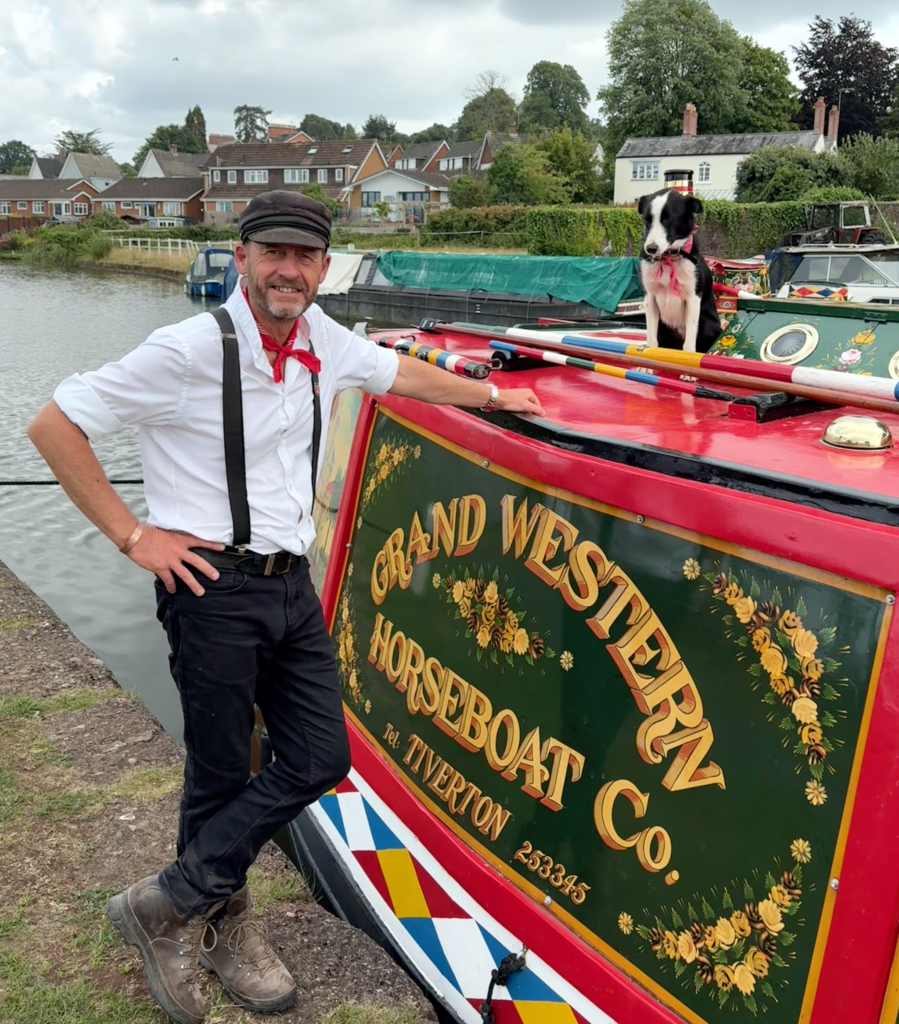
Well before the start of our trip the boat arrived in the basin and a queue started to form and then Philip (The Captain) talked to us about the boat and the trip before we all boarded. In the bow of the boat is a Toilet, and in the aft is a bar with snacks run by the very capable Sue.

Philip explaining the boat and our trip

Once onboard Philip did his health and safety announcements, and then introduced the team including his daughter Becky who looks after the horses.

After a loverly slow glide up the canal with a beer (at a very reasonable price, I should mention) and some duck food for the wild life we turned around just after East Manley Bridge

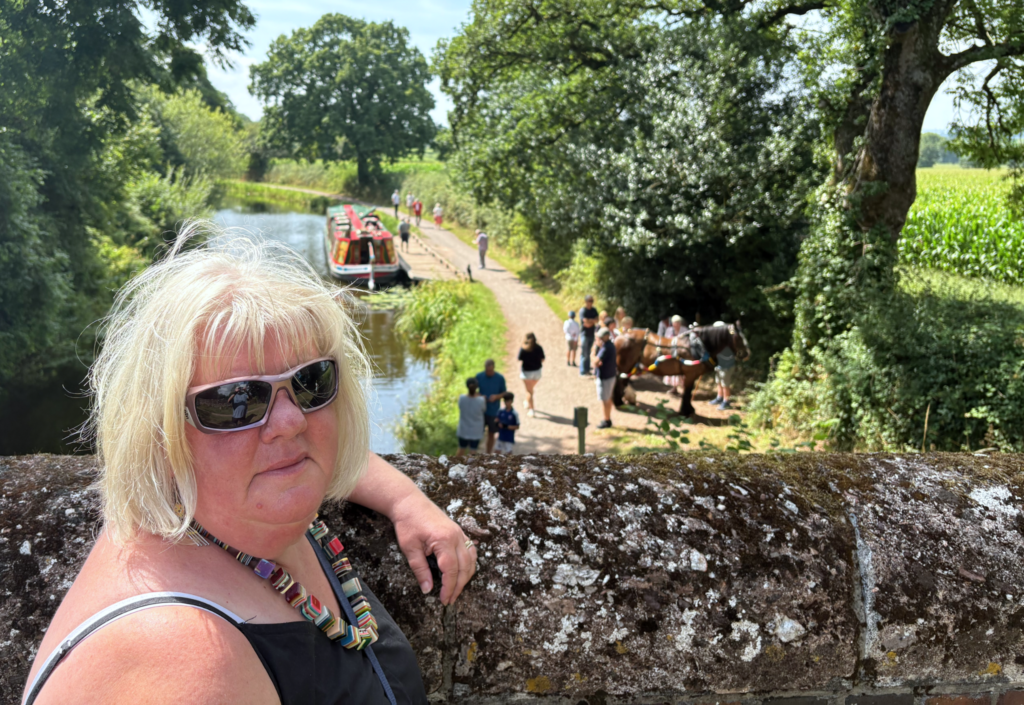
Sonia on East Manley Bridge

Sonia is standing on East Manley Bridge with the boat moored and George, the horse, taking a rest in the shade

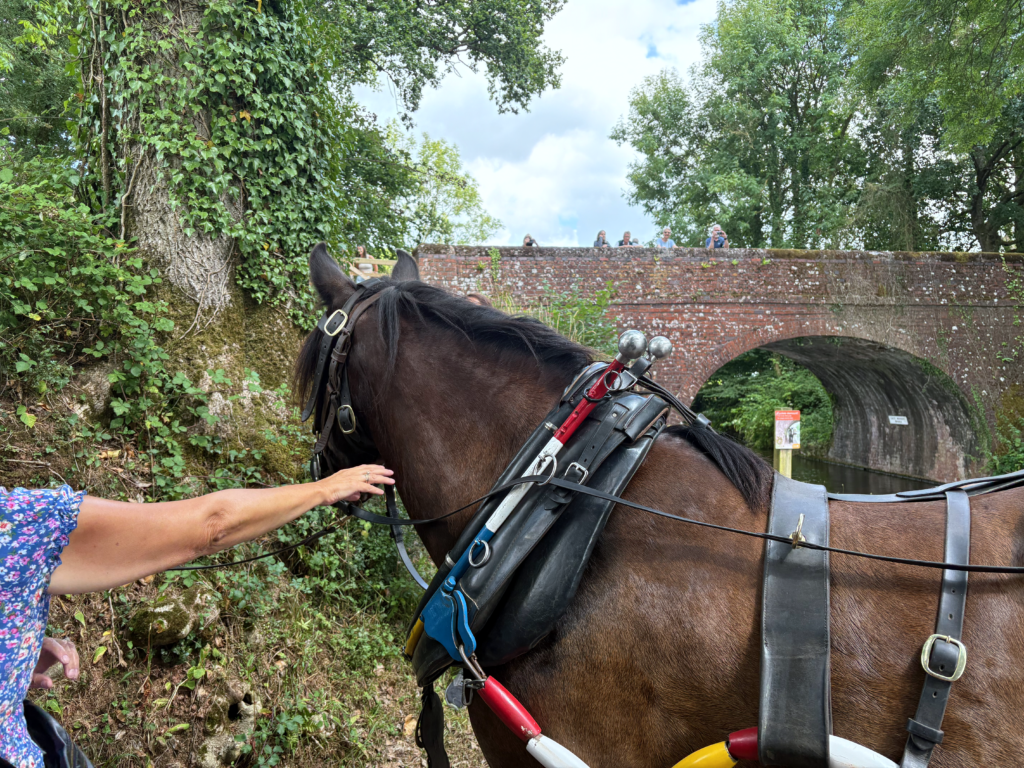
George the Heavy Horse

George was a little camera shy, but very calm and peaceful. After a 15 minutes break we all boarded again for the return journey. We sang happy birthday to a couple of the guests and then Philip arranged some silent time so we could all appreciate the gentle sound of the water, the wildlife and the gentle clip clop of George on the towpath.

Then we returned to the Tiverton basin and a quick trip back into the gift shop for some mementos.

I almost forgot to mention Hogan the loverly 1 year old Boarder Collie, who seemedto lover keeping watch on us all from the roof of the boat.

If you are interested in taking this trip, make sure you book in advance, it was busy when we went and a delightful time was had by us all.

Business for sale

This business is up for sale, you can find more information at their business sales agents EMF so if you are looking for a canal based business with a difference this may be the one for you.

Update – BBC Interview

Hear Phil Brind, talk about buying the business 20 years ago and now selling it on BBC sounds

Tardebigge top lock update 25th June 2025

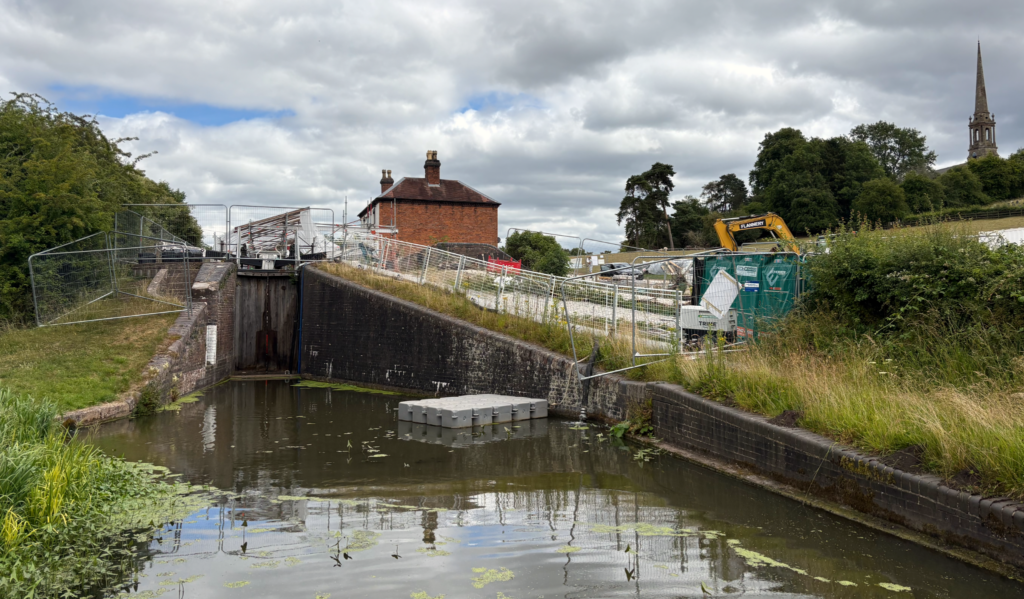
We took a drive up to see how the work on the Tardebigge top lock, on the Worcester and Birmingham Canal, was progressing this 200 year old lock flight must be a maintance headache for the CRT, but it is a major gateway to Birmingham and the rest of the network, if you don’t what to take the long route up the river Severn.

The Lock was closed on the 17th February 2025 and they hope to open it again by the end of August 2025, about 6 ½ months if all goes well.

Temporary Dam above the Tardebigge top lock
Behind the temporary dam above the Tardebigge top lock
Info sign at the Tardebigge top lock
The Paddle exposed inside the lock
Tardebigge top lock covered over while the work progresses
Downstream of the Tardebigge top lock

There seems to a team working away on getting this complete.

It has been recommended that if you want more detail on what is going on watch Martin Zero’s video on you tube

Also just published a Video from Court Above The Cut

Facebook Mapping Group Now Has Over 17,000 members

Very happy with our supporting Facebook group, we have now cleared 17K members, the group is now in its second year.

I try to keep it up to date with any news about the maps, and answer any questions as quickly as I can, it also the best place to contact me.

This year we are continuing to add lots of new map locations as well as a major update to the rings maps

Looking forward to getting back out on the canal, but at the moment I am recovering from an Op on my left hand, I am was told a 12 week recovery process.

StarLink Mini has arrived – What did we get in the box.

Ordered for our Canal Boat from Currys a couple of days ago for delivery to our local store for collection, the process could not have been simpler.

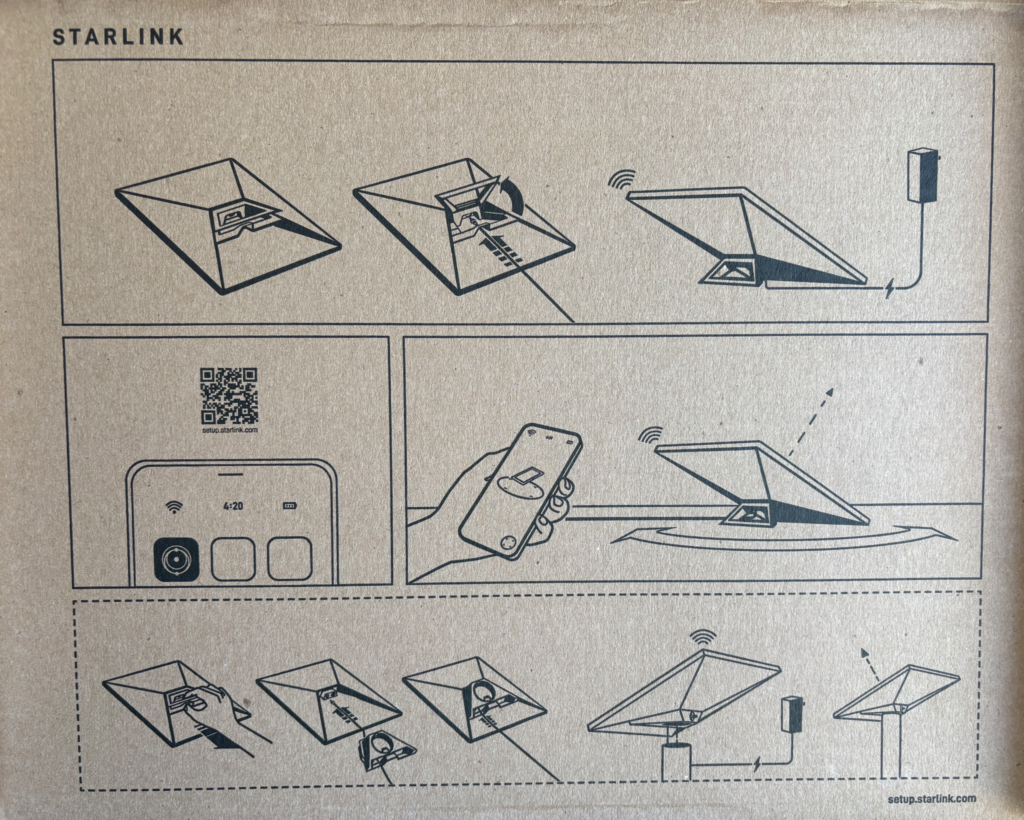
Once home, it was time to open the box, inside we find on the inside of the lid some simple getting started instructions, it the base are all the bits you need to get started (Well almost – more on that later).

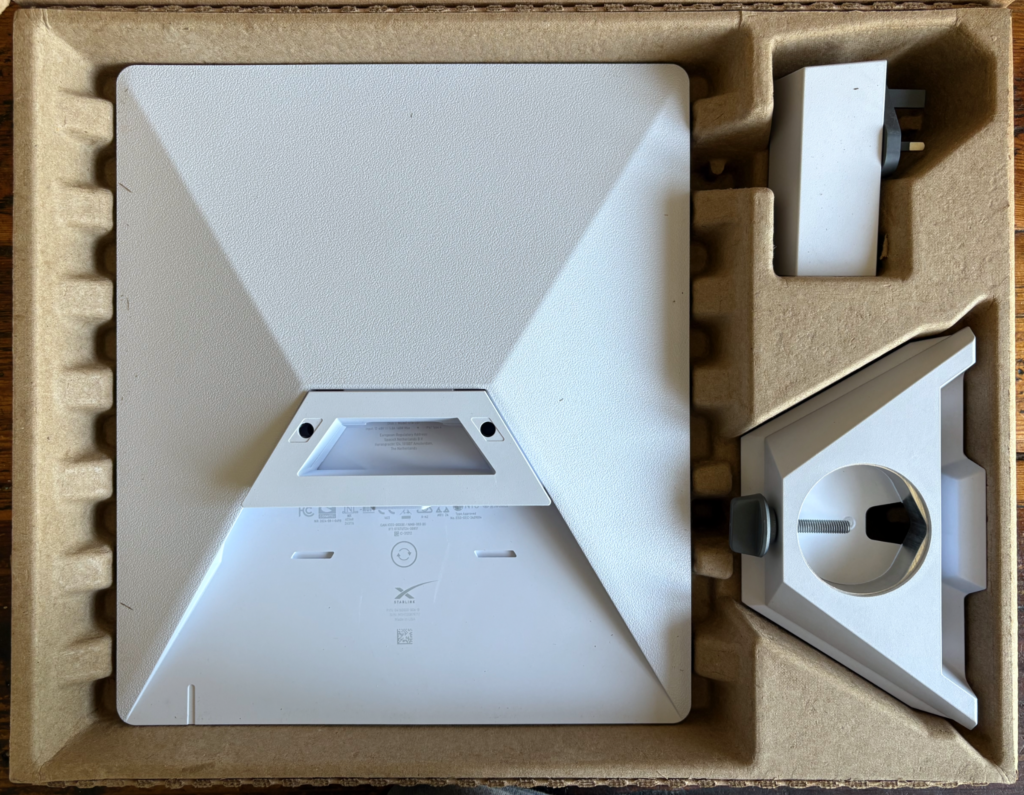
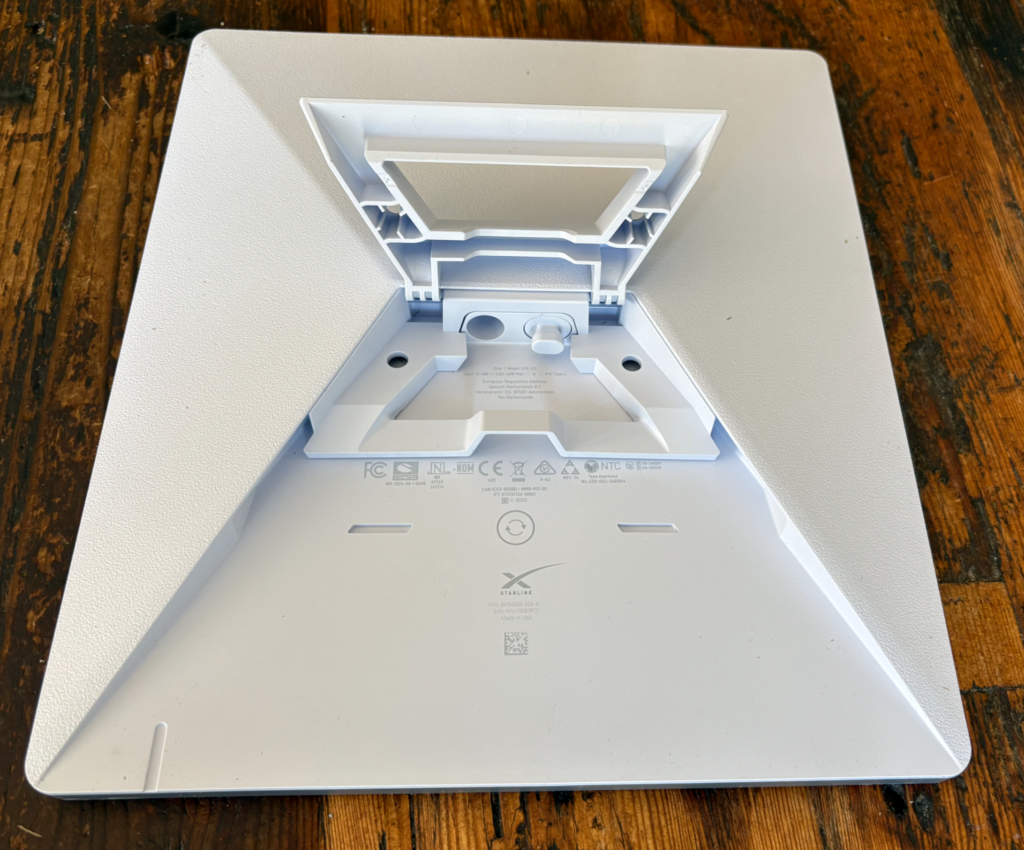
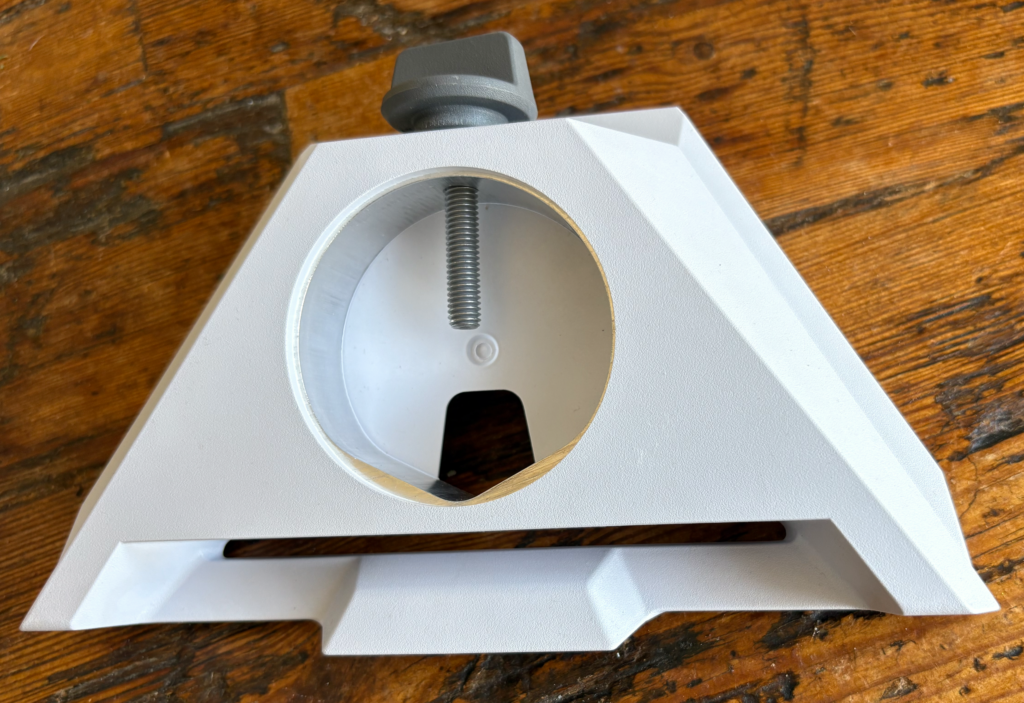
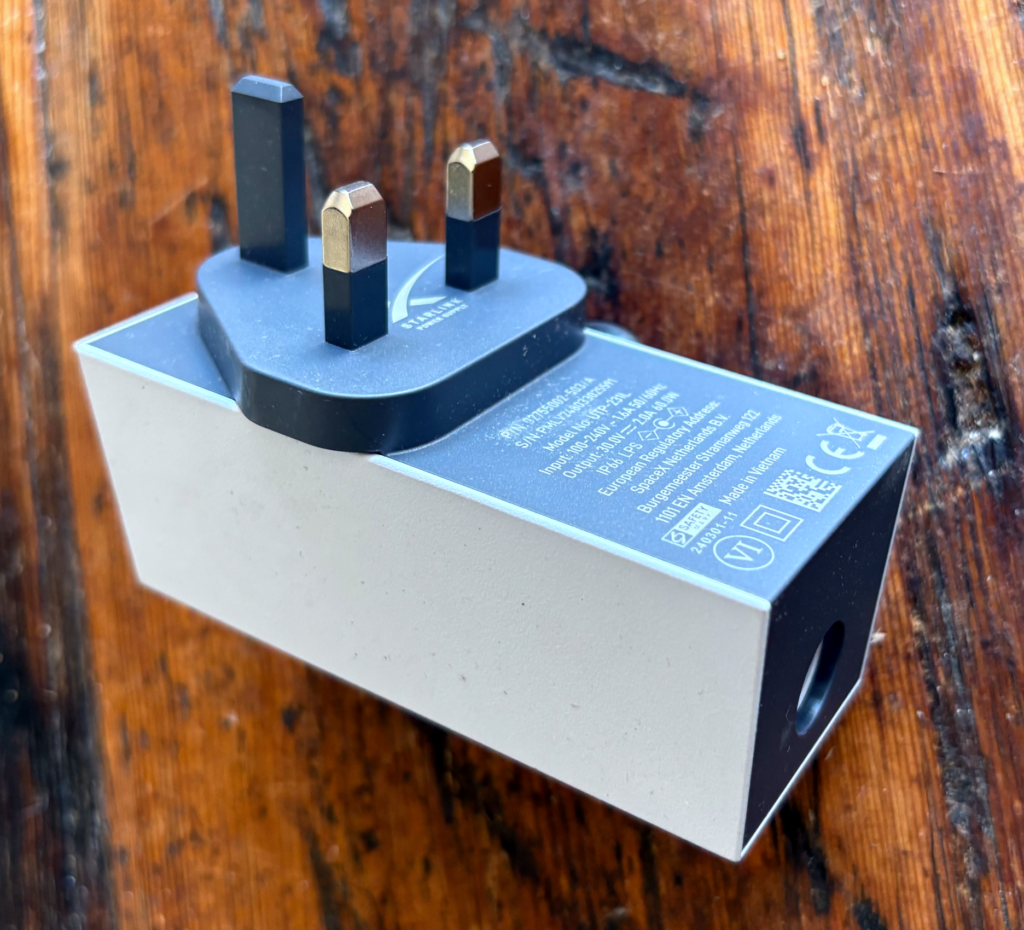
On the image above we can see the back of the StarLink Mini, the UK power supply and the Pipe mount.

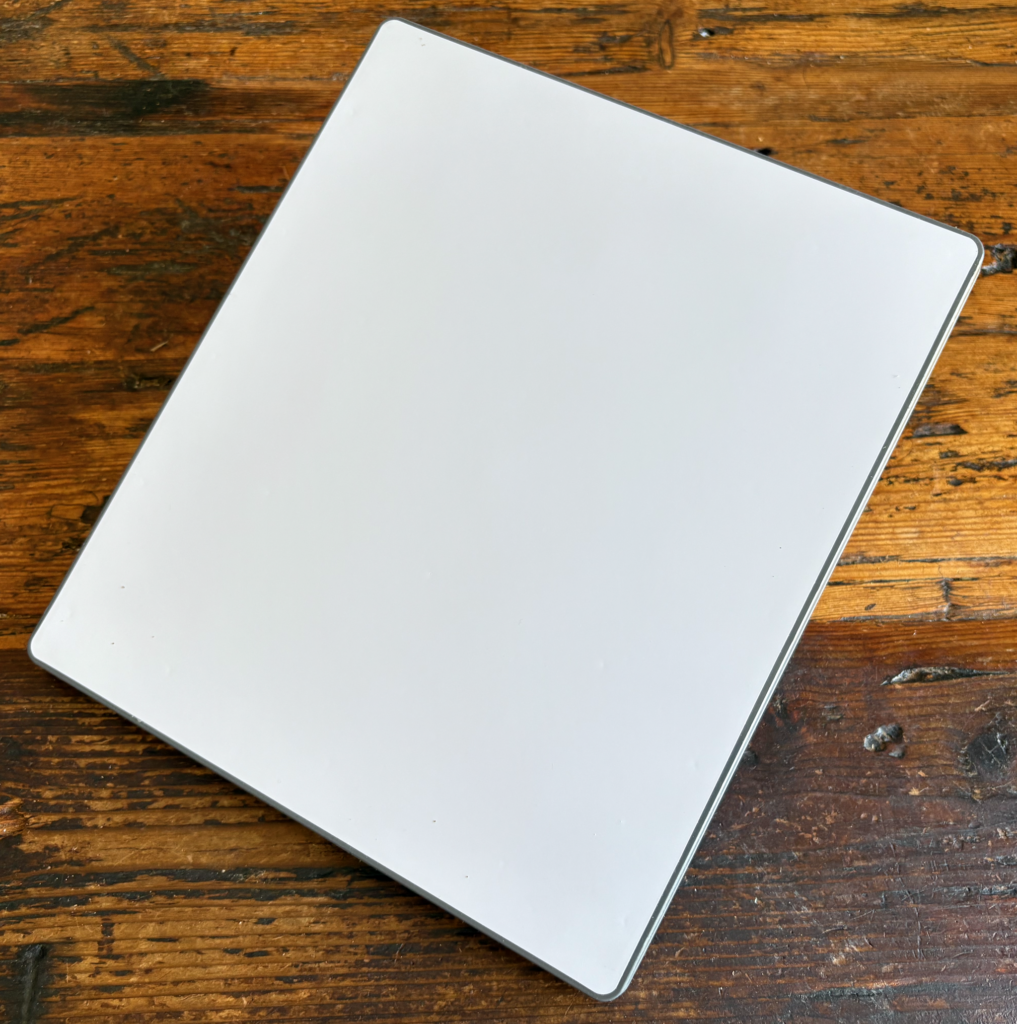
The StarLink Mini is approx 29cm X 26cm and comes with the kick stand installed, as can be seen above.

Included in the box is the Pipe mount, this replaces the kick stand and can be mounted on pipes 31 mm (1.25 inches) to 50 mm (2 inches).

There are lots of mounting system that use this adapter, I have also seen Tripod adapters that fit in the mount providing a standard camera tripod socket.
The power supply for the UK is the standard 3 Pin plug, it can take input from 100-240v 1.6 Amps at 50/60Hz.

Output is 30v 2 Amps (60W).

It is unlikely we will use this onboard as we try to minimise the use of our 240v supply as our inverter so ineffiecent for such a small load. (Our inverter was installed so we could use a Washing Machine and power tools when needed and can output 3000W.
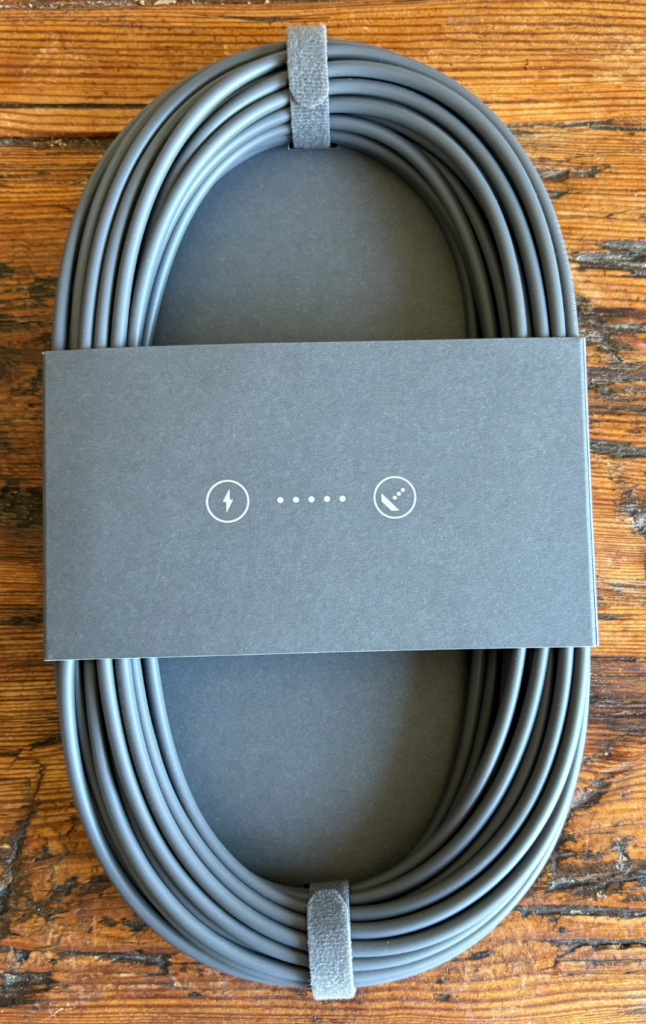
The 15m (approx 50ft) power lead supplied is nice and long and is designed for use with the mains adapter, it has a special water tight connector at each end.

It is again unlikely we will use this on the boat, as I hope to run the system on 48V using a power over Ethernet solution (More on that later)

As well as a power plug on the back of the StarLink Mini there is also a Ethernet RJ45 which we will use to get the network inside to our boat WIFI. The StarLink has it own built in WIFI, but this is probably not be very effective on our all steel narrow boat (we will test this once we have it all installed on the boat.

We have a few more bits on order including a POE (Power Over Ethernet) adapter and power supply and some external high quality ethernet cable.