Day 54 of our 2026 Adventure – Tamatanga for lunch.

Late start, we did not arise until after 9am this morning, Obi had his usual poo walk with Sonia, while I got up, we started the engine to get some hot water for Mary to have a shower.

When Obi retuned he had his breakfast we then walked to Nero in Bridley Place for coffee, I returned with Obi to the boat while the girls went to the Birmingham City Library and then up New Street to the Bull Ring.

Obi sat on the bow of the boat and watched people go past, he is ever hopeful of them stopping for a stroke. In the mean time I found out web sites were returning a 503 error when you tried anything more complicated that a text page, so no maps or app updates available and I could not get into the server backend.

I contacted our ISP, who responded quickly with a have checked and yes 503 error and escalated it to the next level of support, within an hour, we had an email saying they had effectively restarted the server and it would take a while to get back to speed, I then went and cleared our Cloudflare cache and then just had to wait. Probably an hour later it all seems to be up and running again.

While I waited I worked on the Dry Bilge Pump for Canal Boats , at the moment it is a manual system that you switch on when needed, but I wanted to automate it so when I am not on the boat it will pump our any remnants of water that the normal bilge pump has left.

Lunch at Tamatanga
Lunch at Tamatanga

At about 2:15pm Mary called to say they would meet me at Tamatanga for lunch, so I took Obi out for a wee and asked him to stay in the boat, after a couple of biscuits he was quite happy to stay and doze.

Mary had not been to a Tamatanga before, but I think my description of Indian Fast Food did not do it justice. Once there, she enjoyed her selection, it is much more filling than it looks and I am always impressed.
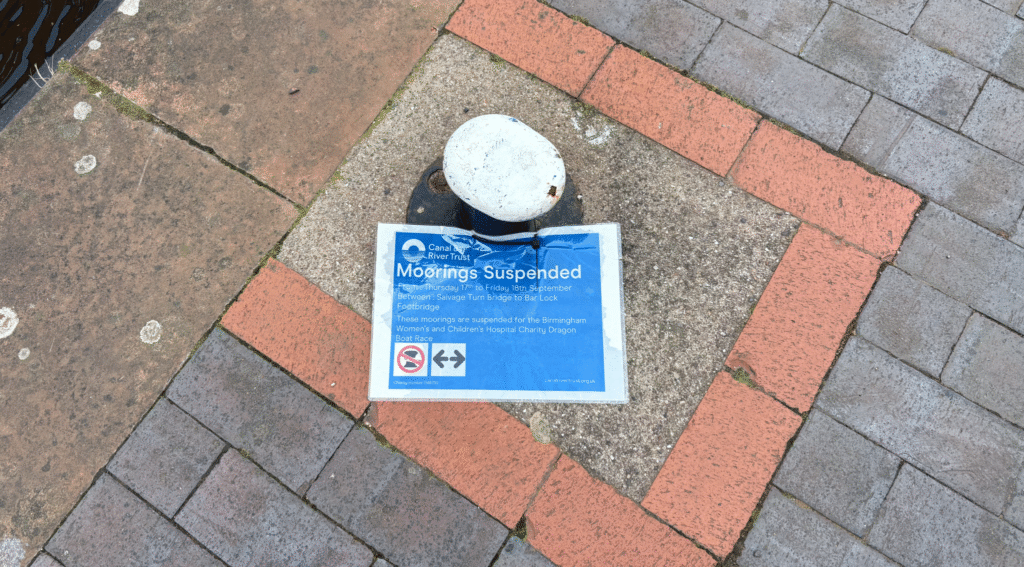
Mooring Suspended 17th-18th September

We walked back via the Mailbox and along the canal, when we noticed this attached to all the mooring bollards. It is a warning that between 17th-18th September the moorings along this section of canal between Salvage Bridge and Bar Lock Footbridge will be suspended for a charity Dragon Boat Race in support of the Birmingham Women’s and Children’s Hospital.

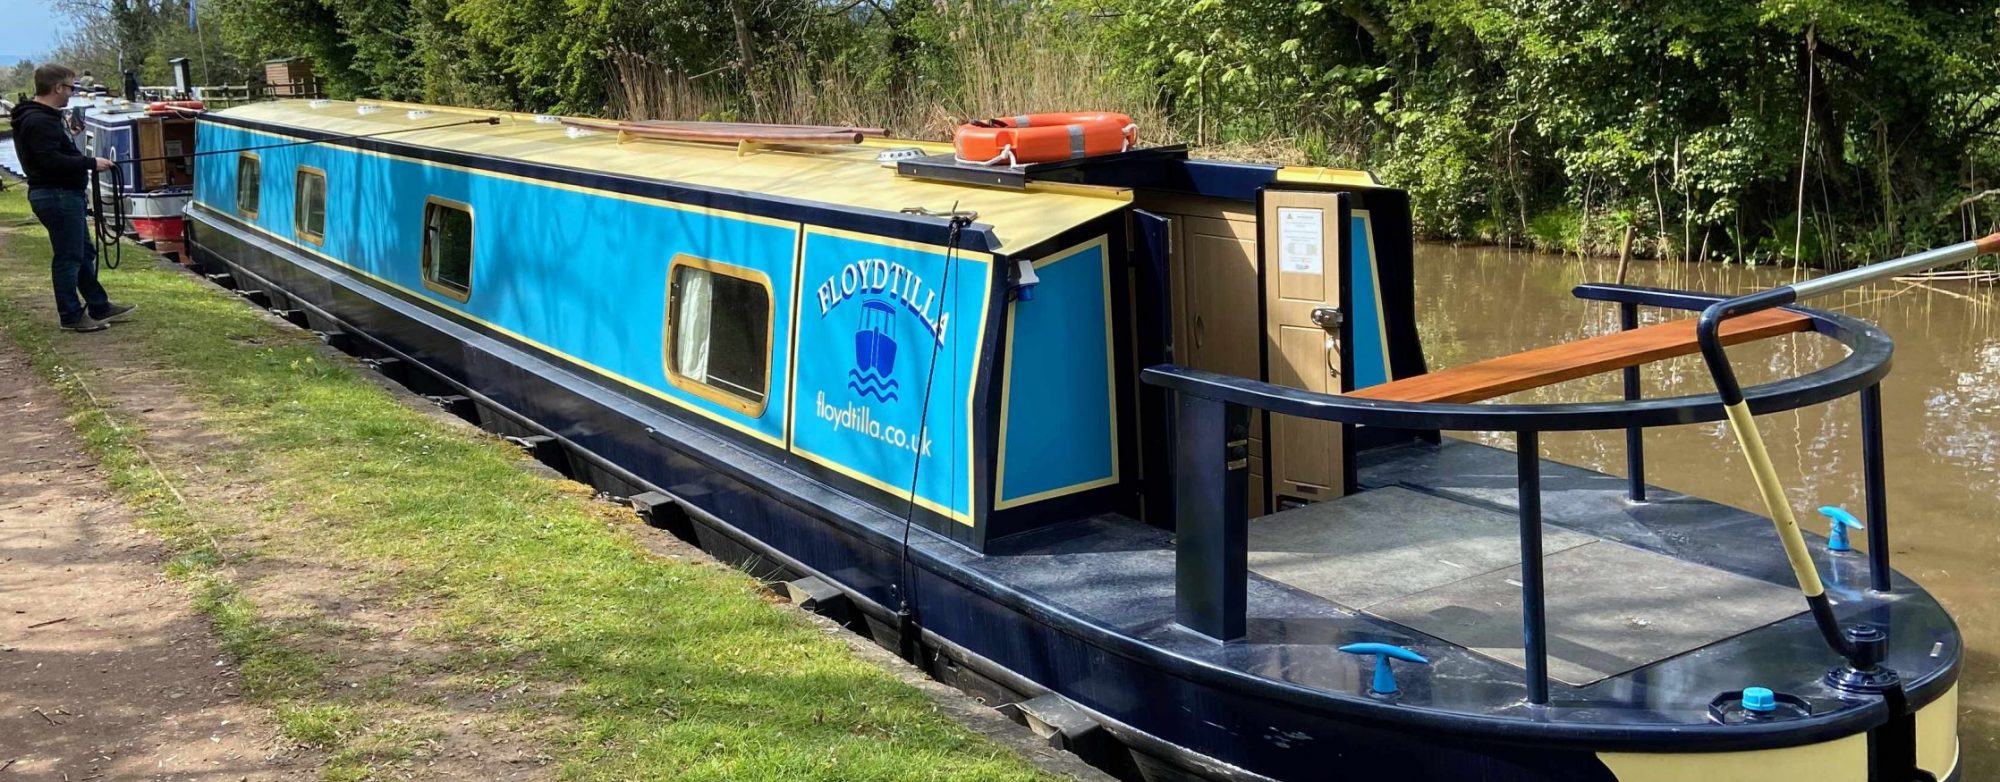
Travel Stats so far – Today we have stayed at our mooring at Sheepcote Street Visitor Mooring. Our total stays at 173 ¾ miles and we have not added any locks today so our total is stays at 182, no tunnels today, so that’s still 10 and one swing bridge for the our first 54 days

Building a DIY Dry Bilge Pump for a Canal Boat

I have a perfectly working automatic bilge pump on my steel canal boat. However, due to its design, it always leaves about an inch (2.5 cm) of standing water behind. Because a damp environment inside a metal boat is a recipe for rust, this always worries me.

When the main bilge pump kicks in, it removes high volumes of water very quickly, but that last little bit is incredibly annoying. While looking for a solution, I came across the commercial SeaFlo Dry Bilge system. It looked interesting, but it is quite expensive, and it seems you cannot easily replace individual components if they fail.

My objective wasn’t to replace my main bilge pump entirely, but rather to find a way to suck out that final inch of nuisance water after the main pump has finished its job.

Sourcing the Components

I decided to see if I could build a custom system myself. While browsing Amazon, I found what looked like the ideal pump—which actually happened to be made by SeaFlo: a Seaflo 12V 1.2 GPM 35 PSI Water Pressure Diaphragm Pump for £23.99. Because diaphragm pumps can pull a vacuum and run dry without immediate damage, it was perfect for the task.

To protect the pump, I grabbed a POFET 3/8-inch inline water pump strainer to filter out any large debris. I also purchased 10 meters of 10mm (⅜”) PVC hose to plumb everything together, along with some pipe clamps to hold it all securely in place.

Prototype 1: The Tupperware Container

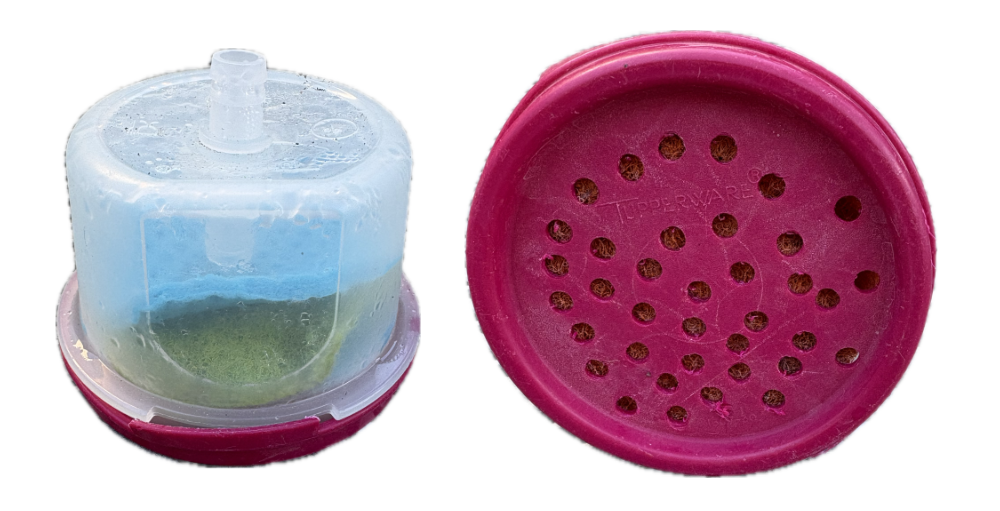
After assembling the pipe, pump, and inline filter, I needed to figure out how to actually scavenge the water from the floor. A quick look through the kitchen cupboards turned up an old Tupperware container.

I installed a 10mm (⅜”) push-fit bulkhead adapter into the bottom of the container and drilled a series of small intake holes around it. I then packed the inside with discs of standard washing-up sponges and scouring cloths to act as a fine filter, securing them in place with the container lid.

While this successfully proved the suction concept, it had two major flaws:

  1. It was too light and kept floating away in the water.
  2. If I manually held it down, it would immediately suck itself flat against the bottom of the bucket, cutting off the flow.


Prototype 2: The Weighted Tesco Pots

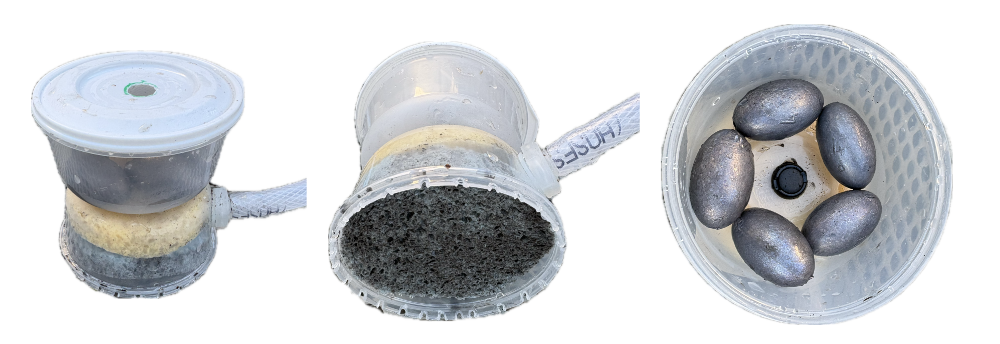
To fix these issues, I took a trip to Tesco and picked up some cheap plastic storage pots with lids. I also bought some thicker sponge material, and visited a local fishing tackle shop to get some lead weights.

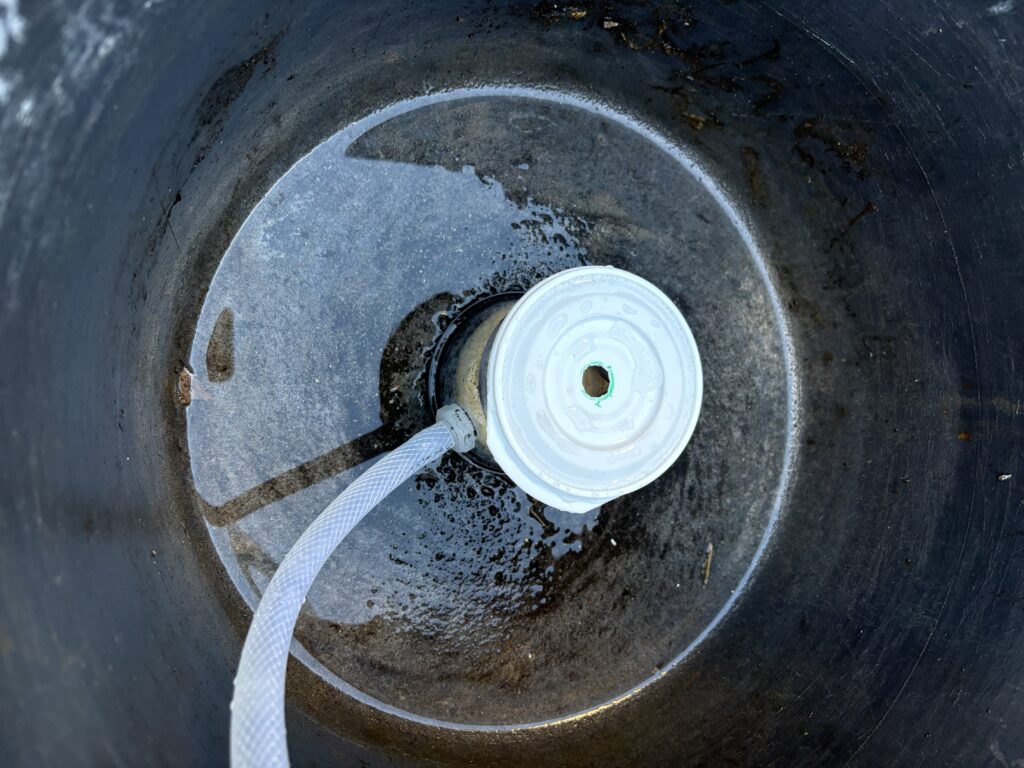
This time, I mounted the hose connector into the side of the pot rather than the bottom, which made the unit much more stable and less likely to tip over from the tension of the hose. I mated two of the pots together using a spare car dashboard clip left over from a previous DIY project.

Using a soldering iron, I carefully melted small 2mm slots along the bottom rim of the pot. This small modification successfully stopped the container from creating a vacuum seal against the floor. I left a pre-existing hole in the lid intact so air could easily escape, allowing water to fill the container without getting trapped.

Testing and Next Steps

Tested the complete setup in a standard household bucket, and the results were highly impressive. It completely emptied the bucket in under five minutes. Because the bottom of my test bucket is slightly raised in the centre, a tiny amount of water was missed around the edges, but the intake foot itself worked flawlessly.

Once the bucket was empty, the line started sucking air and made a distinct “drinking straw” slurping sound, making it very obvious that the cycle was done.

Moving forward, I want to automate the system so I don’t have to manually monitor it. I am going to explore ways to detect when the bilge is dry—perhaps by monitoring the pump’s power consumption to see if it changes when it runs dry, or by adding a dedicated fluid sensor. I may also design a custom, 3D-printable version of the pickup foot to replace the plastic pots.

The immediate next step is to get it onto the boat, securely mount the pump and filter, and wire it up to the 12V system via an independent fuse and toggle switch.