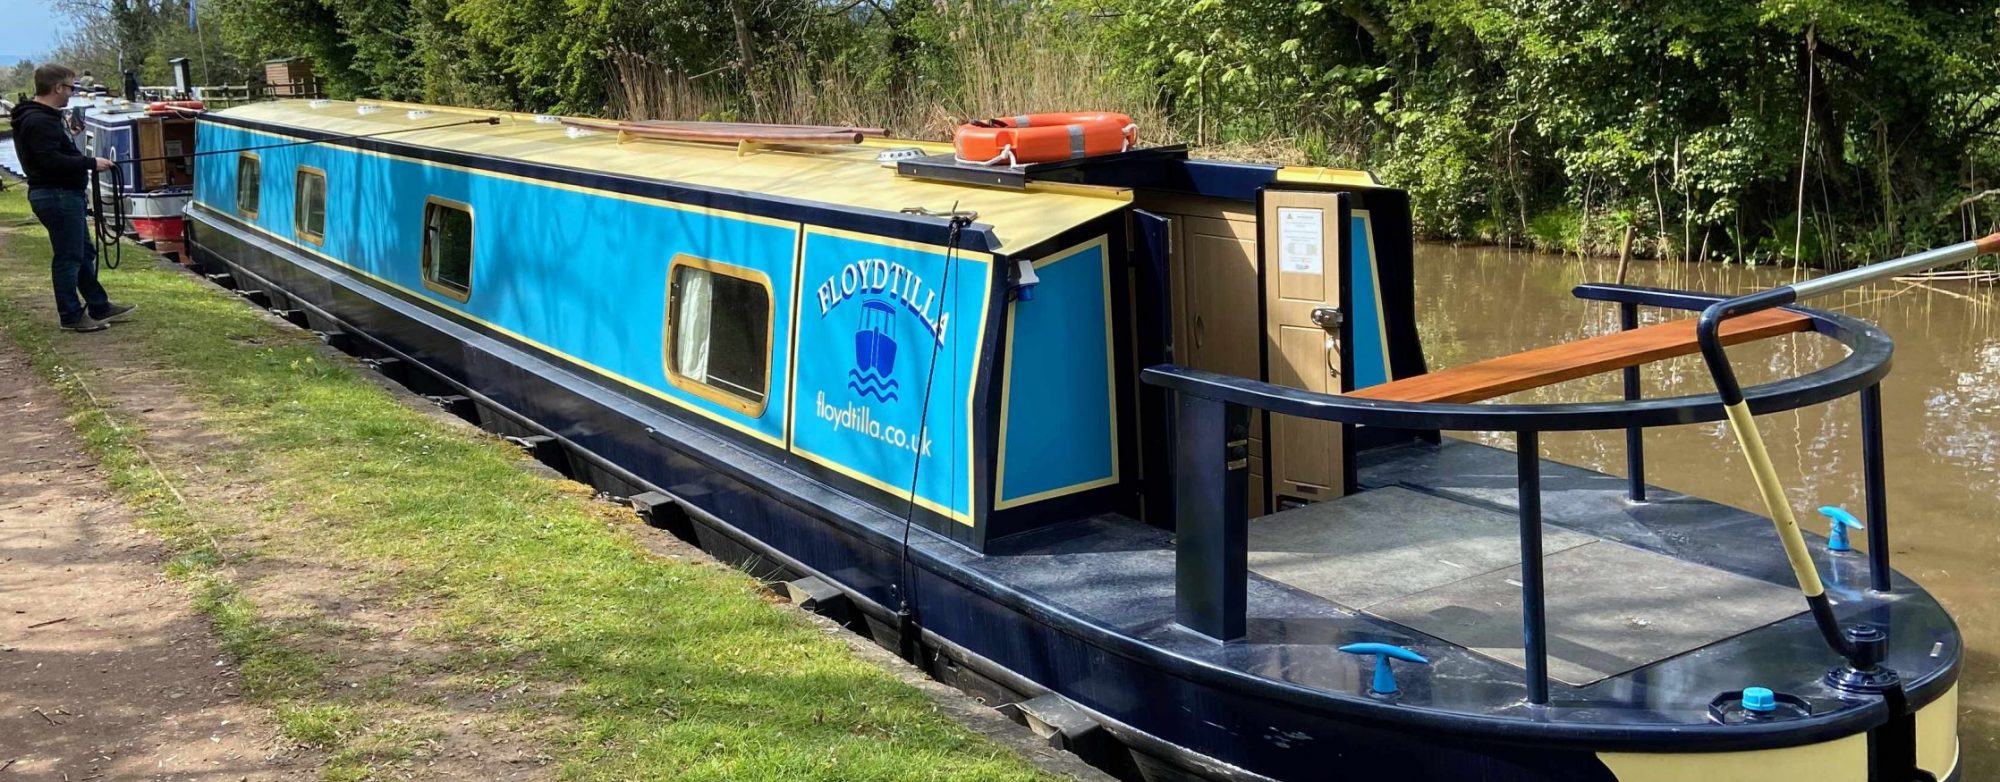

Installing LiFePO4 Leisure Batteries on our Canal Boat

We already have a 3000W Sterling Pro Combi S inverter which was installed by Black Prince Boats when we purchased our Ex-Hire canal boat in 2021. Luckily for us Sterling Power Products are based in the UK and in Droitwich very near our Marina. They also have their Sales/Support and Stock on-site, very useful when you need to get a problem solved PDQ.

So after chatting to Ben at Sterling Power, he advised us what we needed and we placed an order online. The next day I went to collect our new goodies and have a further chat to Ben.
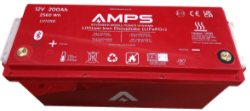


2 Off – LH12200 – 12V 200Ah LiFePO4 – Lithium Iron Phosphate Battery w/ Bluetooth
1 Off – Saturn BB1240 – 12V to 12V 40A Battery to Battery Charger

The Sterling is not the cheapest, I could easy find some low cost alternative products, but I was looking for a well know and reliable product that would be useable 24-7 & 365 days of the year, especially when the boat moored in a frozen canal in the middle of winter. The Sterling batteries include all the normal BMS (Battery Management System) stuff including a bluetooth connection to my phone, but I was also advised by Ben that these batteries also have an inbuilt 100W heater that is controlled by the BMS so that when the temperature is below 0°C it will divert any charging power to heating the battery first so it can be safely charged without damaging the battery.

Click for Explanation – LiFePO4 batteries and the COLD

LiFePO4 (Lithium Iron Phosphate) batteries should not be charged below 0°C (32°F) because lithium plating can occur, causing permanent damage, capacity loss, and increased safety risks such as internal short circuits. This chemical process, where metallic lithium accumulates on the anode, reduces the battery’s lifespan and can lead to dangerous failures.

Once back at the boat and with the excellent help of Steve Cowham from STC Marine Engineering, who is also based at Droitwich we started to talk through what we needed to do. The only sure thing was this was the first time either of us had done this before, but we had access to support from Ben at Sterling Power Products, available at the end of the phone.

A bit of a sudden panic on my part, as I had assumed this would all fit in the available space in the battery tray, something I should have checked first….
Luckily it all physically fitted.

Our plan was to have a hybrid battery systems retaining one of the old leisure lead acid batteries to act as a buffer between the Lucas 75 Alternator and the new fancy LifePO4 batteries, as Alternators and LiFePO4 batteries do not play well.

Click for Explanation – LiFePO4 Batteries and Alternators – WHY not a good idea

The use of the Sterling Power BB1240 between a lead-acid and a LiFePO4 battery is to provide the correct, multi-stage charging profile for the LiFePO4 battery, as it has different charging voltage and current requirements than the lead-acid battery.

A simple direct connection to the alternator would cause damage to the alternator. LiFePO4 batteries have low internal resistance and can draw a massive amount of current from the alternator, potentially overheating and then failing. The alternator is not typically designed to operate at full output continuously. 

So, out with three old and tired lead acid batteries. We then put the LiFePO4 batteries sandwiched between the remaining lead acid buffer battery and the engine starter battery, which has its own alternator and is not effected by this upgrade.

While Steve was manhandling the batteries I was despatched to our local chandlery at Hanbury Wharf to get some longer M8 bolts as those supplied are a little short if you are connecting a few things to the terminals.

A question we asked Ben at Sterling was, “Where do we attach the solar charger, should this be on the lead acid buffer battery or on the LiFePo4 battery?” He came back with, “Direct to the LiFePO4 batteries as this does not need to pass through the Battery to Battery Charger”.

We have used most of the original cables to install these batteries. Unfortunately our cables would not let us connect the inverter directly to the LiFePO4 batteries, this was a problem as any power would not come from the LiFePO4 bank as while the Saturn BB1240 Battery to Battery Charger was bidirectional, it only charges the buffer battery when the LiFePO4 batteries are fully charged.

So for today we were as far as we could go. I later plugged us into the shore line power and, while not totally unexpected, the inverter kicked in and started charging the LiFePO4 bank via the Saturn BB1240 Battery to Battery Charger. I do not think I have heard the fan on the inverter run so fast, a few hours later we had charged the new batteries to 100%.

Now to connect the inverter directly to the new batteries we needed some extra longer 50mm2 cables, we also added a new isolation switch as we would now effectively need to be able to isolate the buffer battery from the Alternator. Another trip to Hanbury Wharf Chandlery and I had another isolator, luckily we have a ready made location for this next to the battery bank.

Steve had a very useful hydraulic crimp press and we trawled the Hanbury Wharf Chandlery collection of crimps as we adapted the cables we had to the correct sizes for the old lead acid batteries which had 10mm posts and the new LiFePO4 batteries that use 8mm and our fuse boxes that use 6mm

Steve also made a new cable for the Alternator as we expect to upgrade this later, and it only had a 10mm2 cable, as an over kill and as we had the cable to hand this was replaced with a 25mm2 which should give us enough capacity for future upgrades.

We added 50A fuses on the positive cable on the input and output cables from the Saturn BB1240 Battery to Battery Charger.

Now we have everything in working order, I will replace some of the old cables we used with some new ones of the optimal length and maybe add a couple of bus bars to make the wiring simpler, but that will be after our return from our September travels.

Note: I will include a simple wiring diagram in the next few days, once we are above the  Tardebigge Lock Flight and I am moored in Birmingham.
Isuzu 42 Diesel Engine – Service Time (Basic)

We log all our engine hours in a book with a running total, I know I have a gauge for this, but in a book I can note down anything else that happens and it reminds me when I need to do a service.

At or about 250 hours we change all the filters, I would rather be early that late with this as it is an old engine and while currently working fine, I want to keep it that way.

We got our last batch of filters from Online Filters I have found them to be quick and efficient, I always order double what I need for the service, filters are cheap so it seems best to keep some stock onboard.

For our IZUSU IM 4LC38 diesel engine I ordered the following filters


The oil we use is the recommend 15W/40 which came from Smith & Allan Lubricants (can be ordered from Amazon, but direct is just as quick and may well be cheaper). I ordered the 20 Litres pack as this should give me enough oil for engines  6.7 Litres and the gearbox 1.7 Litres for 2 complete changes.

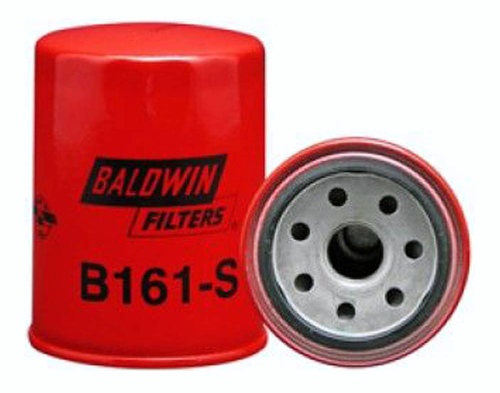
Baldwin B161-S from Online Filters

A tool that may well be needed at this points is a ‘Draper Redline 100mm Oil Filter Strap Wrench‘ which, after operations on both thumbs over the years, has come in very handy for these modern cartridge filters.

The Engine Oil Filter

  1. First we need to warm the engine so that the oil is warm and flowing, a few minutes of gentle running on tick over should do this. If your engine is hot already, probably best to give it 30 mins to cool down first, it is easy to get burned when playing with a hot engine.
  2. Now is a good time to recommend and place an Oil and Fuel Absorbent Pad under the engine to collect any spills
  3. Now we can drain the oil. On our Isuzu 42 we have a pump for draining the engine sump (in a boat it is much harder, if impossible to get below the engine to collect the oil)
  4. Once the oil is drained we can remove the oil filter, that is when you may need the oil filter strap wrench.
    • Remove and carefully discard the filter, check the rubber seal has come off with the filter, then clean the mating surface on the engine is clean.
    • Using some clean oil, lightly lubricate the rubber seal on the oil filter.
    • Screw the filter in place hand tight, then with the oil filter strap wrench tighten it a further ¼ to ½ turn.
  5. Now replace the oil, being careful not to over fill the engine, do not just pour in the full 6.7 Litres, add some oil via the oil filler, then check the level with the dip stick, remember it takes a while for the oil to flow to the engines sump (so take your time) give it a few minutes for the oil to sink down.
    Note: An over filled engine with increase oil pressure and may prematurely age your engine.

The Fuel Filter

Our boat has a flow and return pipe from the high pressure diesel pump and near the tank are two taps that are normally in the ‘on’ position, before changing the fuel filter these need to be turned off.

The fuel filter on our boat is a cartridge type, and looks similar to the oil filter, again you may need the oil filter strap wrench to loosen it, diesel will leak out, so wear gloves (You can normally find some in a petrol station near the diesel pump, I usually pick up an extra pair when needed, they are very thin but do the job).

Our fuel filter could not been released with our normal oil filter strap wrench, but instead we use some adjustable oil filter pliers similar this these on amazon.

Also remember to put down an Oil and Fuel Absorbent Pad under the filter before trying to remove it, I put my old filters into a zip lock bag for disposal at out local domestic waste centre, they cannot be disposed of in domestic rubbish.

Replacing the filter is the same as the engine oil filter, clean the surfaces, lightly oil the rubber seal on the filter and tighten hand tight, and then a ¼ to ½ a turn more using the oil filter strap wrench.

Our boat is also fitted with a fuel Agglomerator (AKA a water separator), which is used to collect water in the glass (in our case) container below the pipe, the diesel floats on water so passes through the filter while the water drops into the bowl and can be removed by either removing the bowl or unscrewing a drain plug in the bottom.

Do remember to turn on the fuel taps, else things will not go well when starting the engine .

The Air Filter

The Air Filter is nice and easy to change, just three spring clips to remove the lid and a quick swap of the filter. I would normally only changes this every 2nd oil service, but I do check it each time.

Changing the Gearbox oil PRM 150

Our boat is fitted with a Newage PRM 150 gearbox, this uses the same oil as the engine 15W/40 and takes about 1.7 Litres.

  1. First we need to remove the dip stick/ oil filler plug with a 19 mm spanner .
  2. Under the gearbox is a sump plug that also uses a 19 mm spanner to remove, but before removal you will need to find a container big enough but also small enough to fit under the gearbox to collect the oil.
  3. Once drained, clean the sump plug and its washer, as well as the mating surface on the gearbox and refit hand tight and then pinch tight with a socket.
  4. Now fill with oil slowly vis the dipstick hole, checking the amount with the dipstick as needed.

NOTE: Having said all the above, my oil was last changed after just 250 hours usage and the oil looked like new, so we decided not to change it this time.

Other basic checks

At this point, we also check for any loose bolts and wear and tear in the prop shaft and its couplings, then check the engine mounts bolts and any other ancillaries that are bolted on. Also check any cables and pipes for chaffing where they pass through bulkheads and finally look at the exhaust pipe for leaks (generally obvious due to black soot marks).

We did find that one of the alternators was loose and the long 130mm bolt was very warn, so this is also being replaced.

Basic service is now complete for another 250 hours

Thanks to:-

My thanks goes to Steve Cowham of STC Marine Engineering, without whom I would not have been able to watch him do all the hard work while I recover from an operation on my left hand.

Useful documents for Isuzu Users

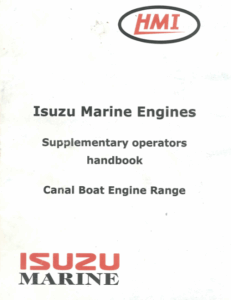
HMI Isuzu Manual
HMI Isuzu Manual


Isuzu Diesel Engine 4LB1, 4LC1, 4LE1 Instruction Manual

INDUSTRIAL
DIESEL ENGINE
4LB1, 4LC1, 4LE1
MODELS
WORKSHOP MANUAL

Isuzu Diesel Engine 4LB1, 4LC1, 4LE1 Workshop Manual

New Macerator Pump Fitted

A couple of weeks ago we visit the Marina fit more new curtains and measure the roof to find the best options for solar panels. Unfortunately we found the toilet was not working as expected, it would flush, but after flushing there would be more water in the bowl that expected, and after a second flush it would increase again.

We tried cleaning the toilet and using a plunger to push the water into the tank, but we could not resolve the problem and so had decided put it off to another visit, when I would have more time and tools.

On the way home I decided to texted Steve Cowham, who had come to our rescue fitting the water pump in the summer, I have poorly thumbs and am trying to save myself from further operations, luckily Steve was able to take a look and soon called me back.

Tecma 12V Silence / Elegance Macerator PumpHis suggestion was that the Macerator Pump had probably worn out, having been an X-Black Prince hire boat for 12 years, it would have been well used. He was happy to fit one for us and recommend we order one from Midland Chandlers the part we needed was a “Tecma 12V Silence / Elegance Macerator Pump” part number TG-224.

This was ordered and shipped directly to Steve via the marina, at £249.50 they are not cheap, but they need to work.

A few days later it is all fitted and working, we will be back to the boat soon and I am sure we will be testing it.

Steve, don’t forget to send us the bill, thanks 🙂

The Summer Adventure 2022 Part 2 – Regroup and Repair

12th to 19th August Back in Droitwich Spa Marina

On the way back we had to make the obligatory stop at The Queen’s Head for Pizza, we where lucky to get a table, it is very popular in the summer.

Pizza at The Queen’s Head

While I have all the tools for fixing such eventualities, my hands have suffered over the years and my thumbs are not working very well, so luckily, we had made the acquaintance of Steve Cowham, of STC Marine Engineering, who was happy to do the repairs, and worked very efficiently getting us ready to head out again.

Steve Cowham repairing Floydtilla

A new Jabsco Par-Max HD4 water pump was ordered from Midland Chandlers, that was a quick couple of hundred pounds, but it arrived the next day as promised.

We even fixed an annoying leak on the top seal of our Calorifier/hot water tank with parts from Screwfix and also replaced a faulty bilge pump.

Leaking Calorifier/Hot Water Tank – Needed new seal from Screwfix

During this time while Steve and I played with the boat, Sonia and Mary went to Birmingham on the train, and looked around Droitwich.