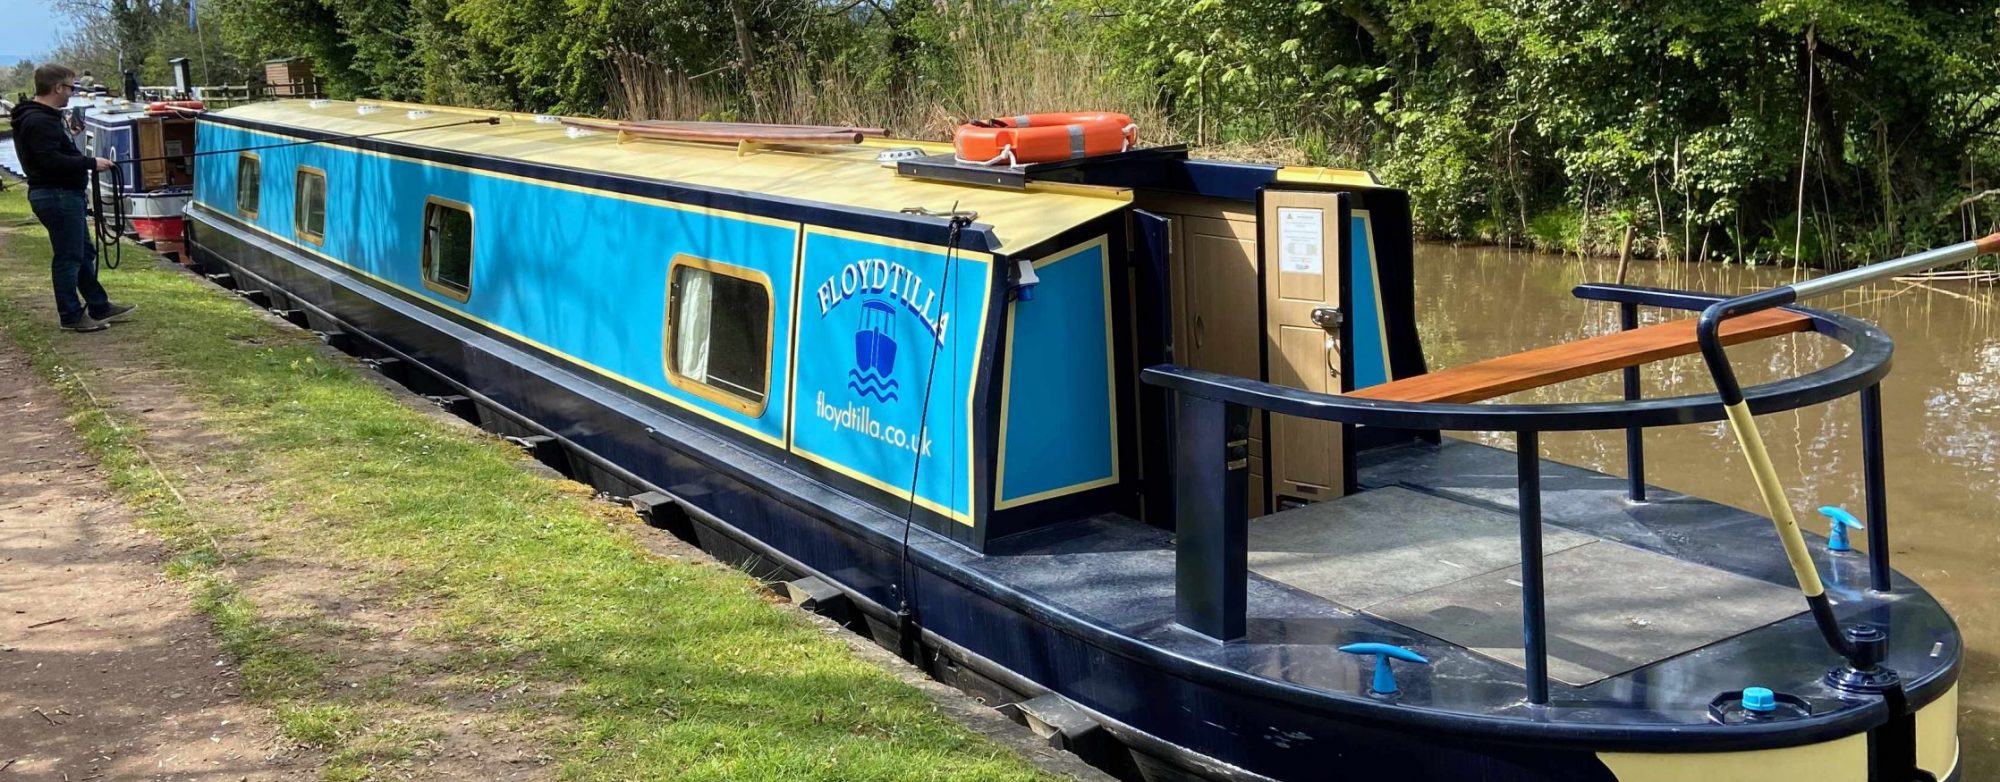

The problem has always been: How much water do I have it the tank? This is part 3, the development of our solution.
Software development is now pretty much complete, and the User Interface is detailed below. Next will come the installation process, but this will have to wait till warmer weather.
The User Interface (via a small 320X240 touch display) in the cabin.
 |
After a bit of a promotional splash screen the water meter starts on its main information screen.
This quickly shows you the important information, The tank level as a % and the number of litres available, also included is the current flow rate in litres per minute and just for the hell of it the peak flow rate. |
|
The three buttons across the bottom are our main navigation: the REFILL button does just that and should be used once the tank has been refilled, it will reset the tank back to 100% full. BUT it is very easy to just press this button, so to make it operate you need to hold it for 3 seconds and then you will be asked if you want to refill the tank with a Yes/No option. |
|
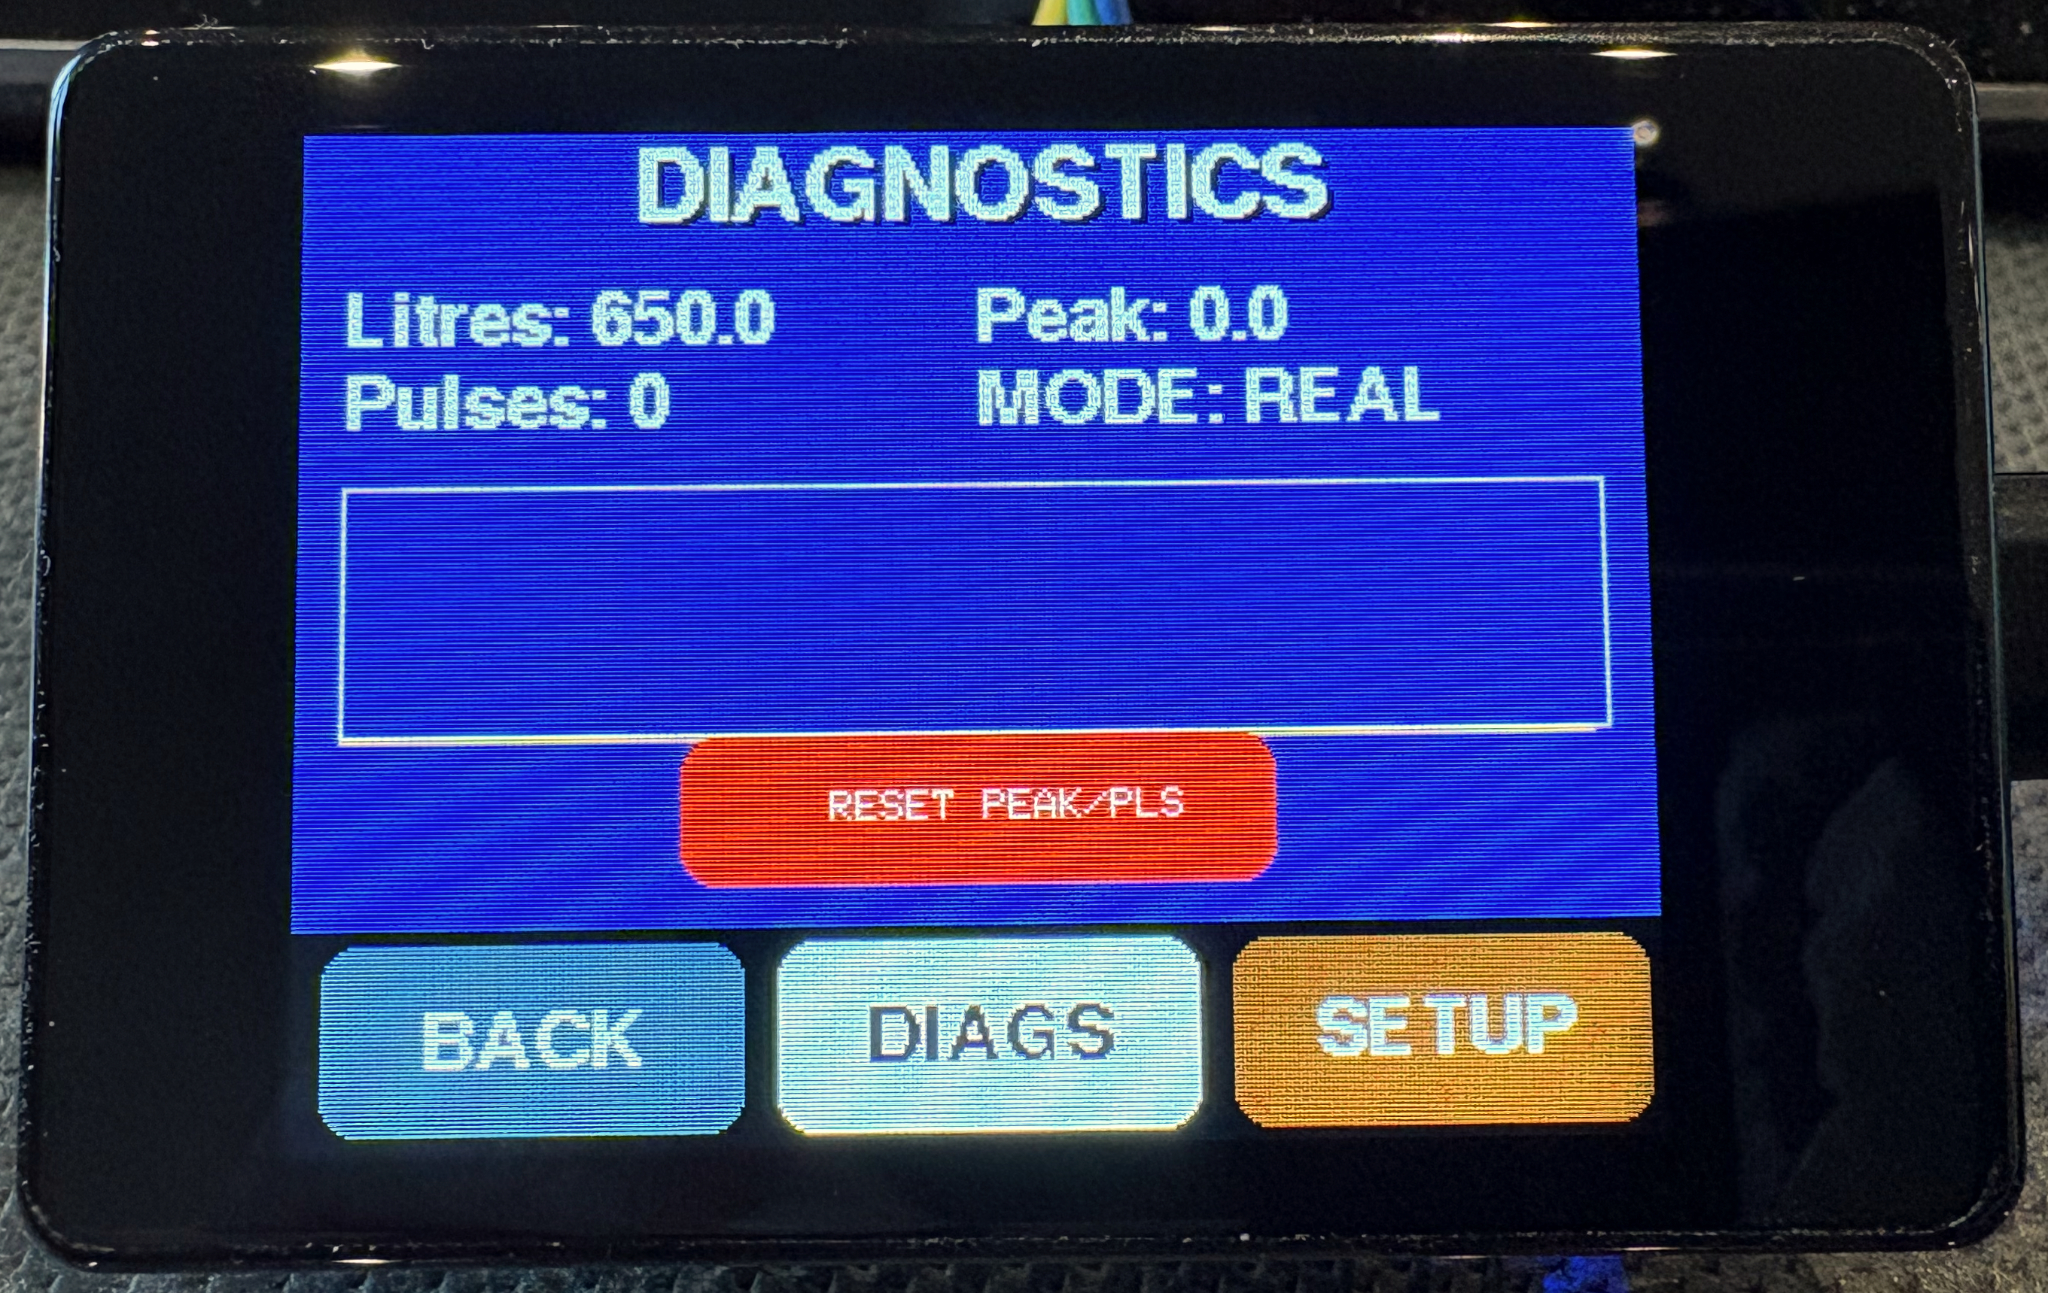 |
The DIAGS button takes you to a new screen that has a few options, like seeing the number of pulses the meter has counted since the last reset. This is very useful to help setup the meter so it knows how many pulses there are to a litre. On mine it is 644.
I found this out by measuring 5L of water pass the Flow Sensor a few times and calculating an average per litre. |
|
The pulse counter is reset using the big red RESET button. On this screen is a MODE: display, if you touch the DIAGS button again you will put the meter into DEMO mode, this was added during development of the user interface (UI) so I could see how everything operated, it simulates flow and reduces the volume in the now smaller tank. The box above the reset button is a graph of the flow over approx the last 30 seconds, it self scales, so only useful as a guide/fun. P.S. to get out of DEMO mode press the DIAGS button again and the system will toggle from REAL to DEMO, it should, when returning from DEMO mode, remember the last water level in the tank so you can try it at any time. |
|
 |
The last button of the three is SETUP, this is where you can customise the setup to your Tank size, the number of pulses per litre, and when to raise the alarm (more on those later).
The timeout option sets how long the display will remain active before switching off (it returns to full brightness when you tap anywhere on the display. |
| The last option on the right LAND can be used to switch the display from landscape to portrait mode, so when you mount this you have the choice. | |
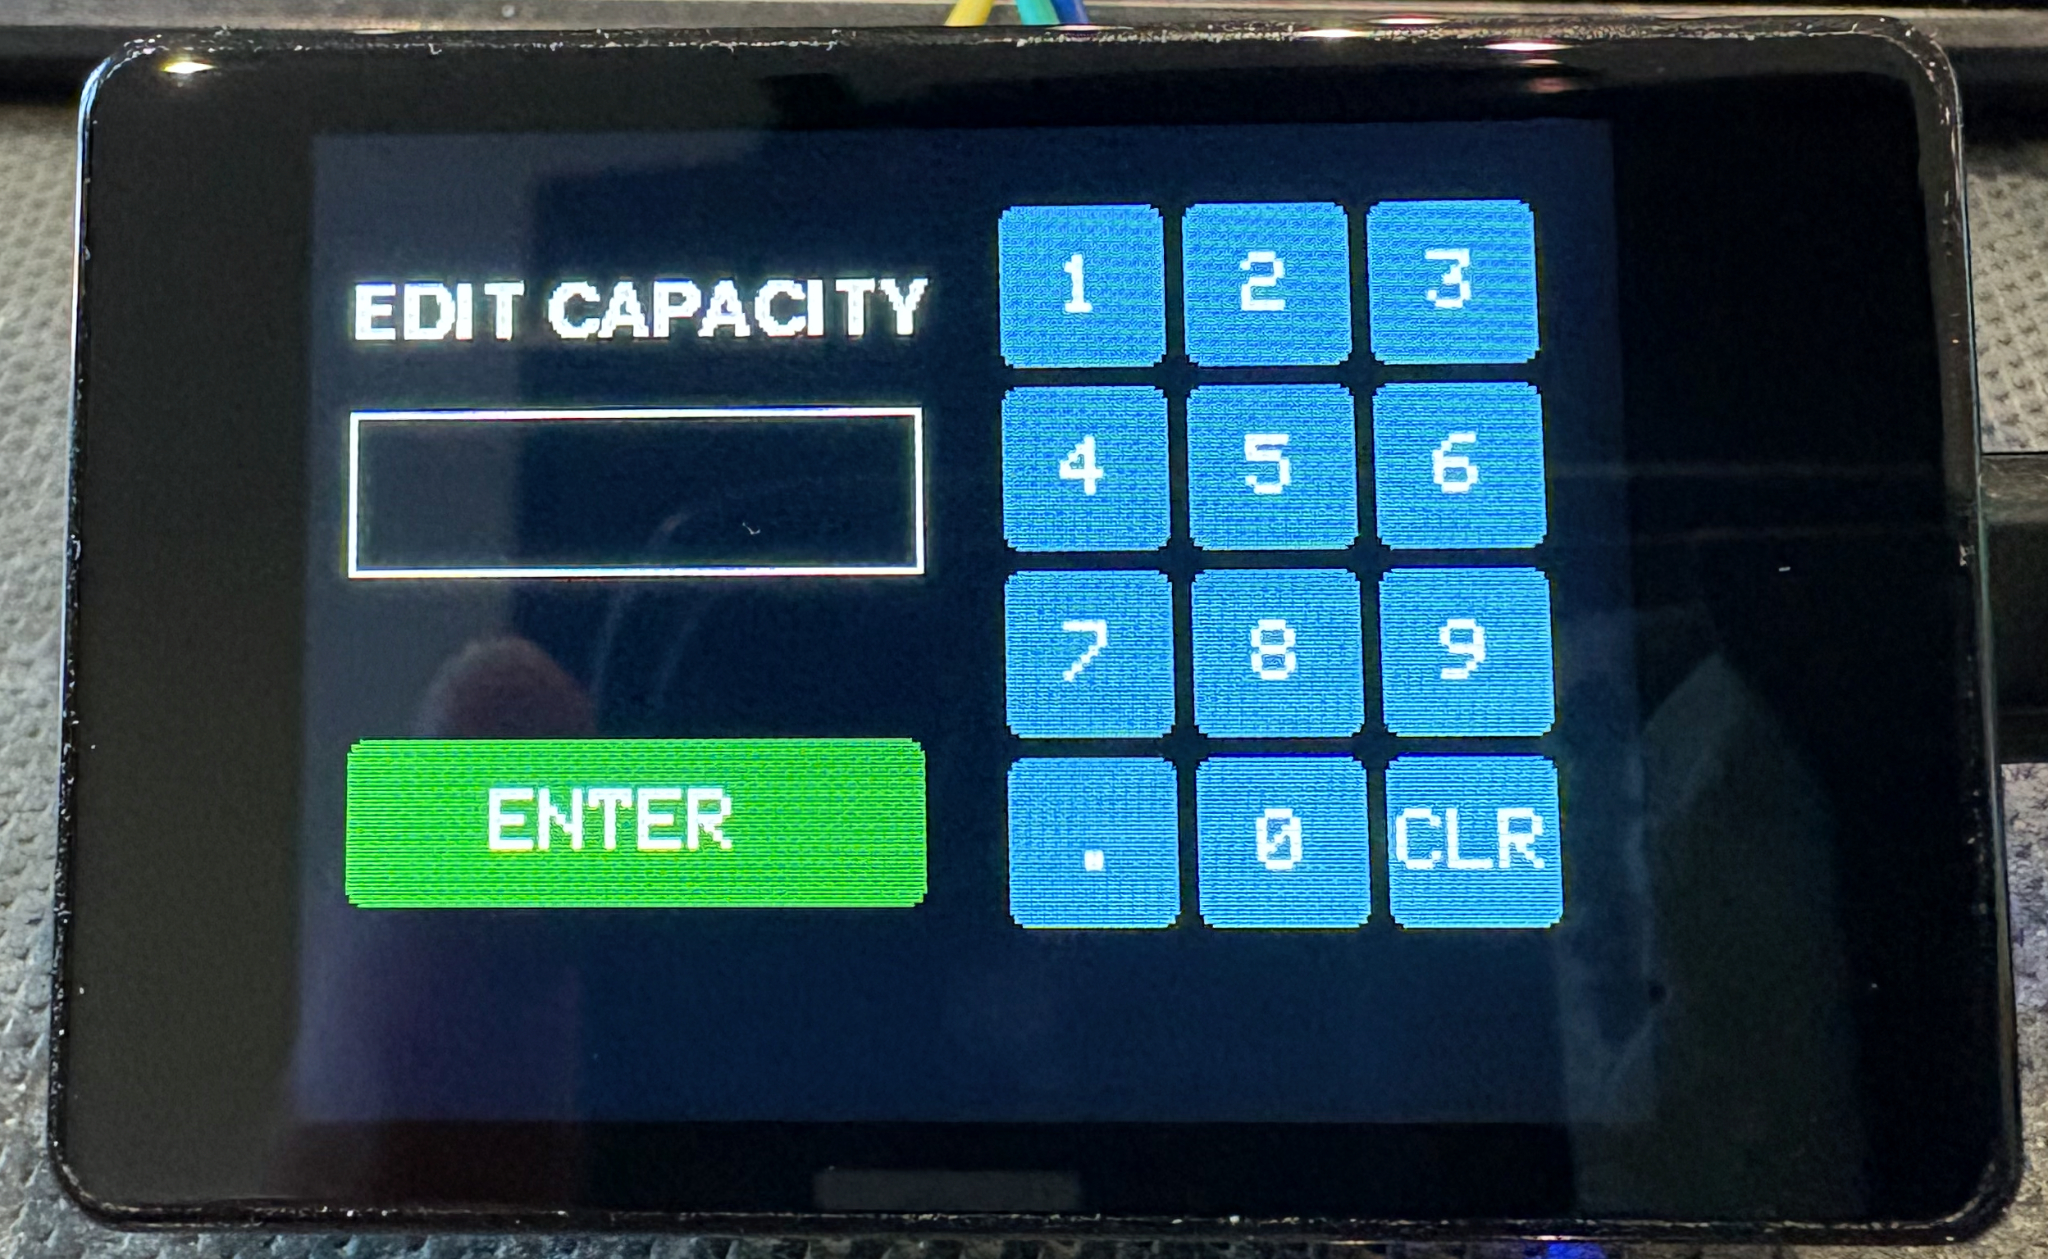 |
If you tap on a setting box the system will display an edit page where you can enter the relevant value. If you don’t want to change a value just make sure the input is empty and press the green ENTER button |
The display in use |
|
 |
For a bit of fun I added a moving wave in the background graphic, but the light blue / dark blue is also an indication of the remaining water level. |
 |
Another setting you can adjust are the warning levels by default at 30% remaining the background wave turns yellow |
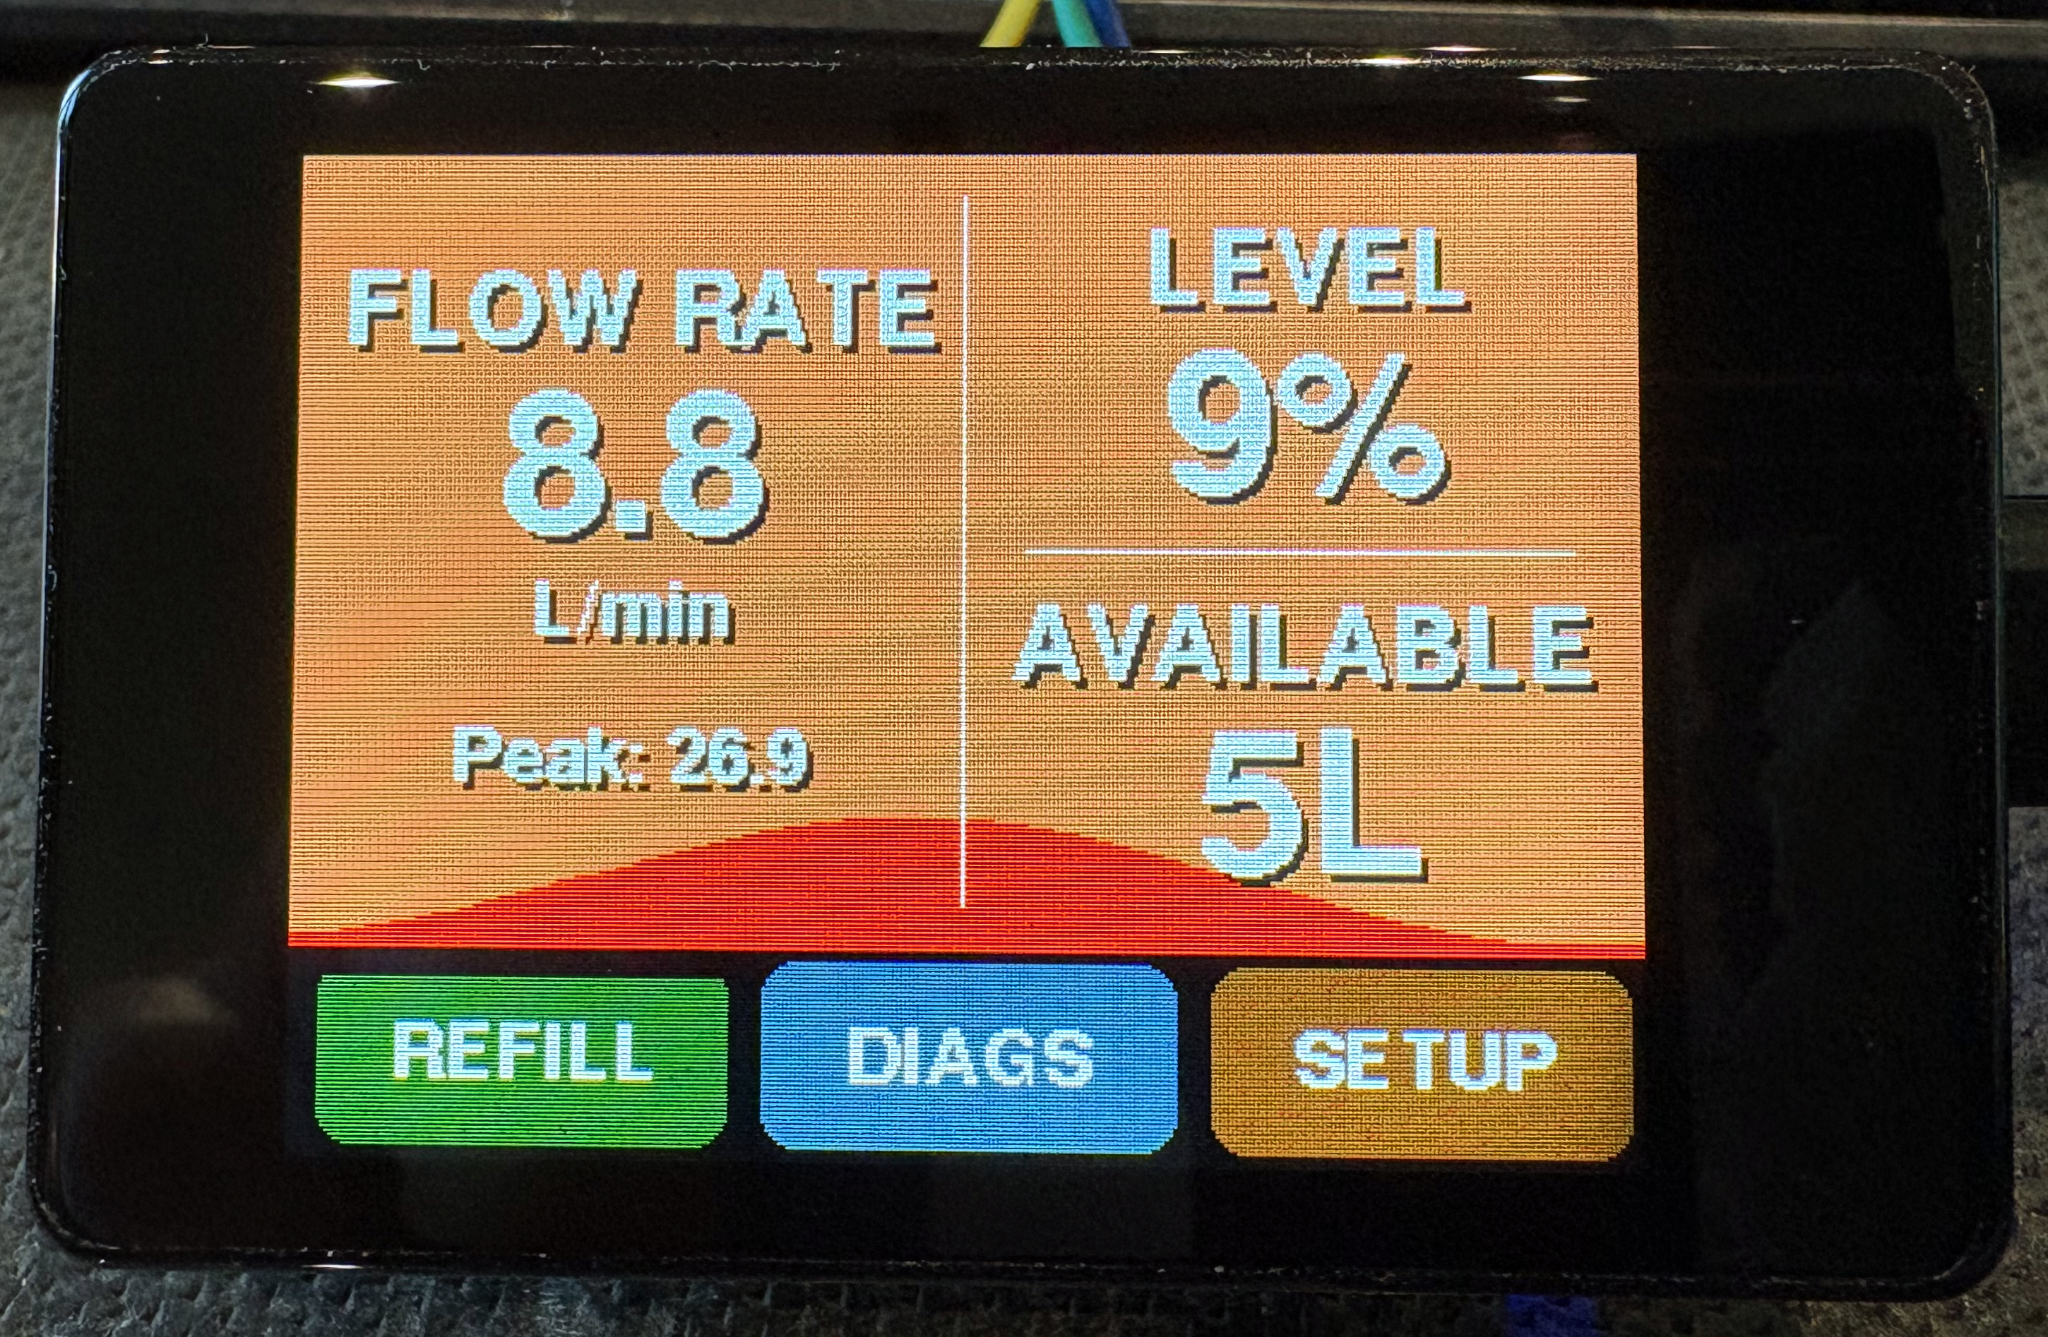 |
The last warning by default at 10% the wave turns red |
| The display will switch off if left untouched, but it will wake to 10% brightness if the sensor detects any water flow. I did not want to have the display too bright at night, but I did want to know if water was flowing. | |
Next Part 4 – installation and testing