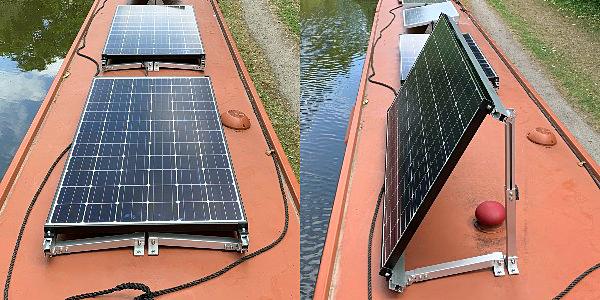
After much reseach we have built up a kit of parts to install our 870W solar panels on the roof or our narrow boat, I will need to add a few cables and some mounting wood plates.
Image
Description
Price
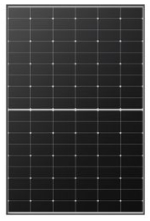
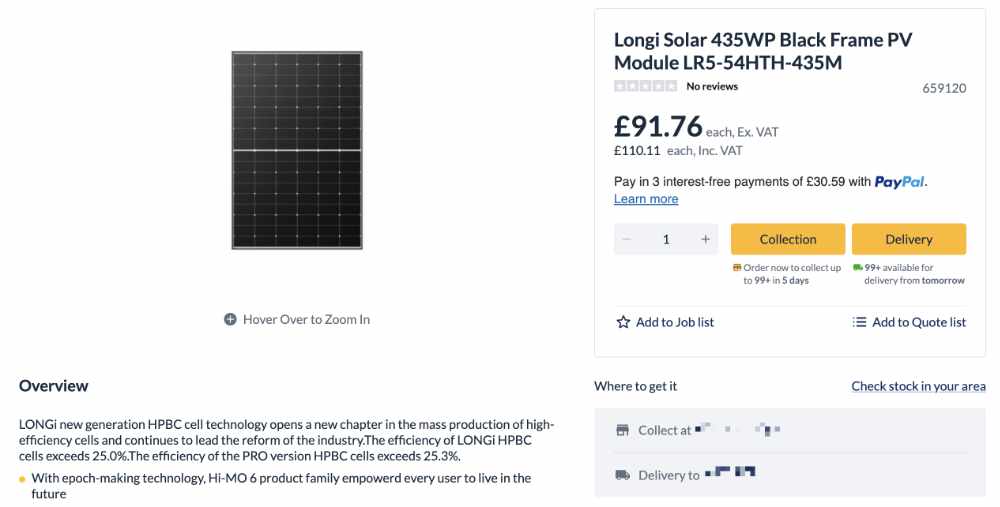
Longi Solar 435WP Black Frame PV Module LR5-54HTH-435M
Selected as they have a 3.2mm glass rather that the much cheaper 1.6mm and provide almost the maximum output when combined for the Victron SmartSolar MTTP 100|50 MPPT solar controller. Ordered 2 from City Plumping, they deliver free next day from stock, for £91.76 (£110.11 inc VAT) each. (Prices have dropped since)
£220.22
Semi-Permanent Adjustable Mounting Set for Narrow Boats
Ordered and built to size by Midsummer Energy 2 needed 1 per panel installed at £98.00 each
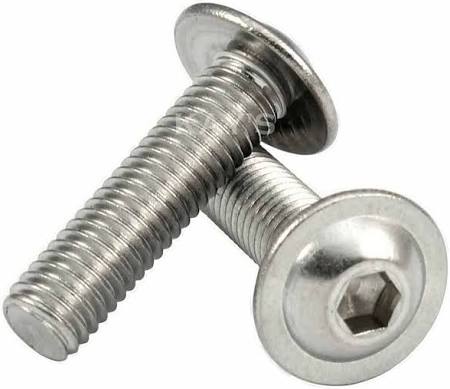
1 off 6.1mm Drill bit 1 off M8 Tap 16 off M8 Allen Flanged Bolts 16 off M8 Nylock Nuts Tube of Sikaflex etc
£20.00
Total (Inc VAT)
£768.15
There will be some additional cost from Steve for his time, so I would expect this to have cost approx £1000.00 when complete, but cost have been falling even over the past 6 months.
Two days of wind and rain, and for today the forecast looks good, everything is now ready for an 9am ish start.
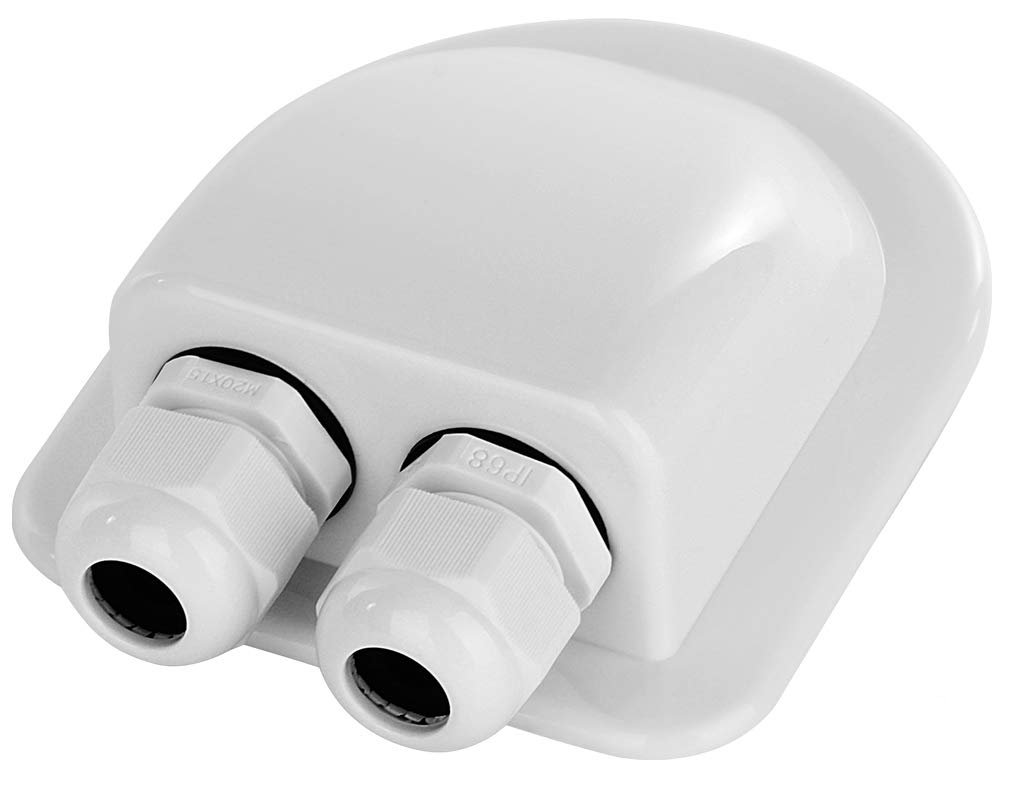
I showed Steve what we had done so far, we then made some measurement to find the best position for the cables to exit through the roof in to the Waterproof Solar Cable Entry Gland I had purchased on Amazon.
The first hole we drilled up a 6.1mm hole from inside the boat through the wooden batten and then out in to the roof, the position was perfect. Now from the top we drill down a second hole next to the first, and then we widened them both with a 10mm drill and then used a 12mm drill is used to slightly countersink the holes.
I push the cables up through the holes to Steve and then with a sharp chisel cut a slot in the wooden batten so the cable can lay flush ready to put the skirting boards back on.
Cable Gland ready to stick down
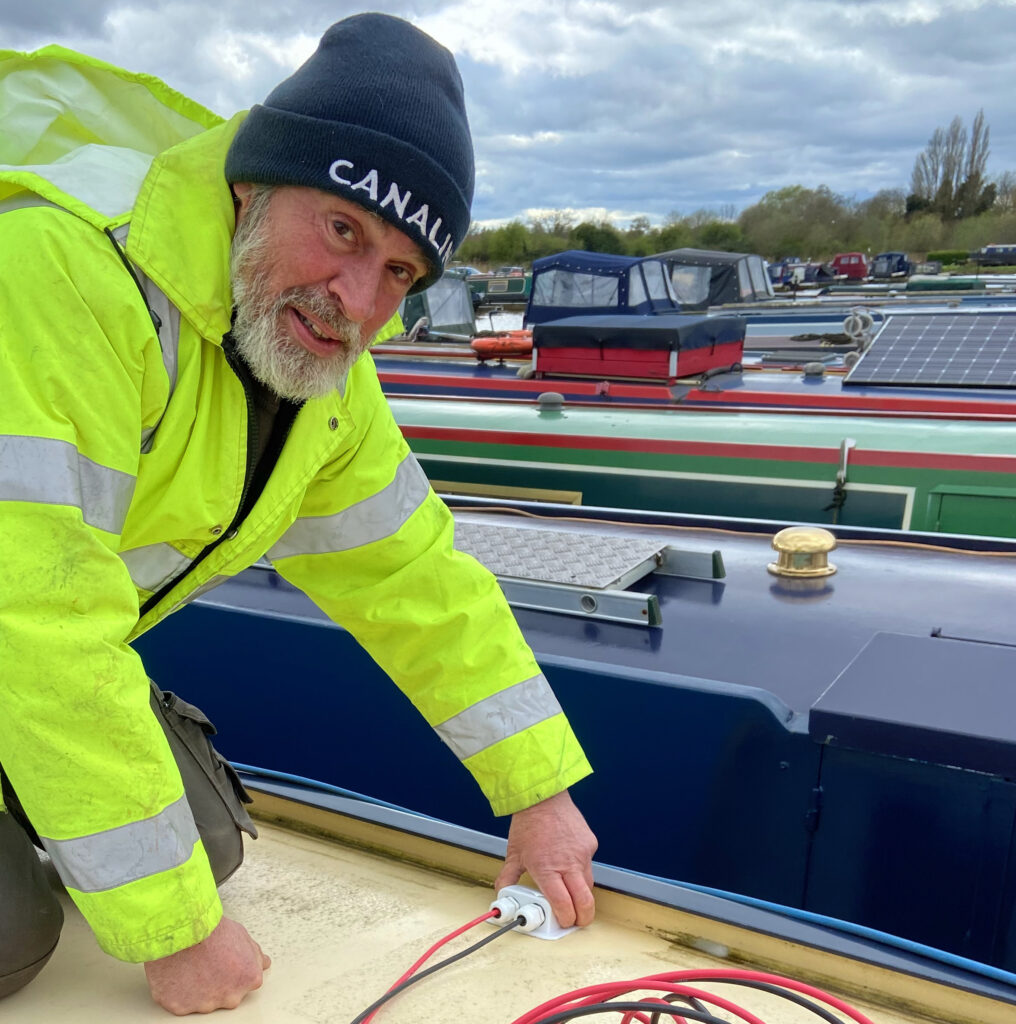
On the roof top the cables are feed through the cable glands and the surface where we are going to fit the housing was cleaned, then it is out with the Sikaflex 291i Marine Sealant and Adhesive, some is put around the cables as they pass through the roof to provide an extra seal and then around the flat base of the underside of the plastic housing, this is then carefully placed on the roof and held down with a weighty 5 litre water bottle while the adhesive is left to set.
Time to put the panels on the roof and find the positions for the feet. Once we have checked and rechecked the position (Steve has a the knack of doing this by eye very accurately), we then mark the positions of the feet with a marker pen, move the panel out the way and we remove one of the feet to check the positions again.
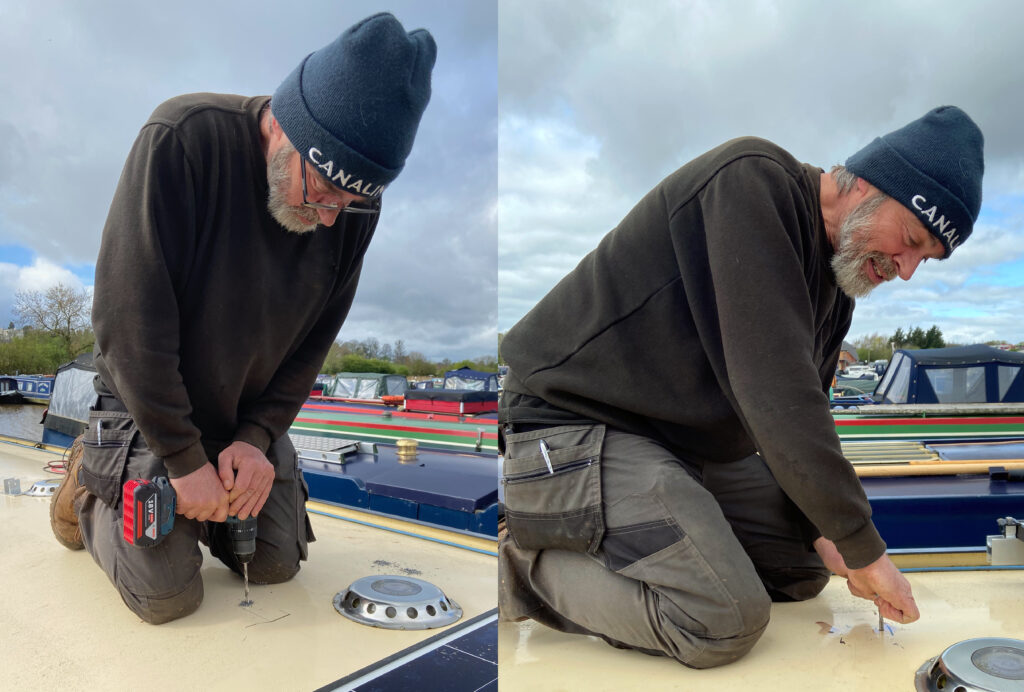
Steve Cowham – Drilling and tapping
We are using M8 bolts. so once we are sure we have the positions correct we drilled a 6.1mm hole and then tap this with an M8 tap, we are using 8 bolts to hold down each panel, so this process is repeated another 7 times..
We now remove the arms from the panel, leaving the 90 Degree angle bracket still attached so we keep the final position (See picture below)
The kit comes with some pre-cut rubber strips that sit under the aluminium feet, we use the Sikaflex to glue these down and then on the tops side of each apply another layer of Sikaflex remembering to put some in the drill holes before positioning the feet and bolting down them down tight. This squeezes out any excess Sikaflex which needs cleaning away with a bit of kitchen roll.
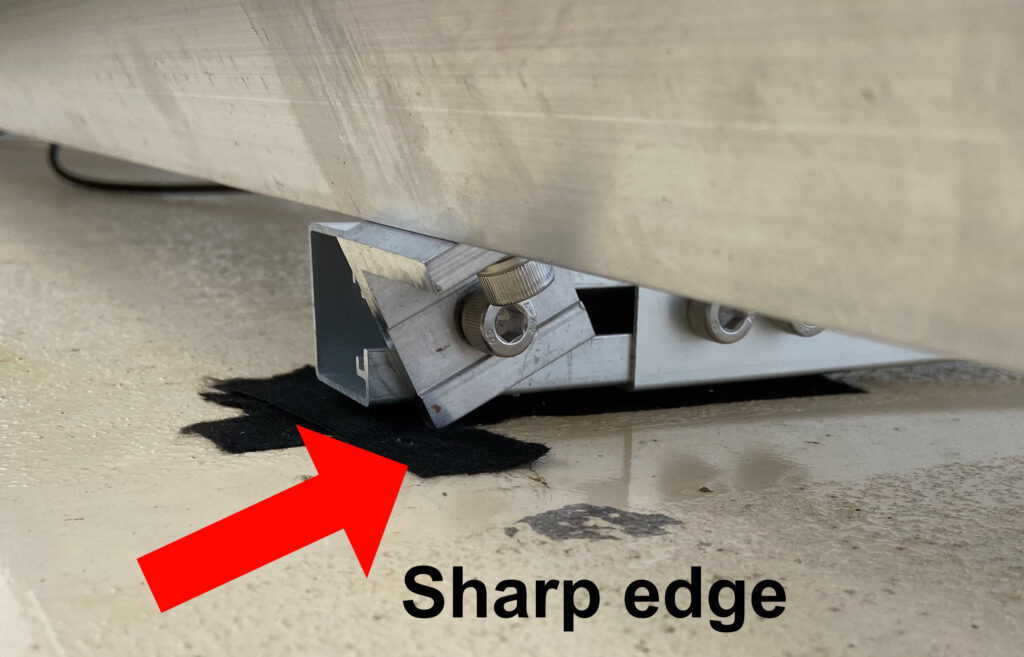
Once all four arms are attached we can move the panel into position and re-attach it to the arms. We do find one small problem with the design of the arms, in that they have a very sharp corner that easly scrapes away the roof paint.
I will have to find some rubber feet for this, but for the moment some tape will have to do. (Note: See added rubber feet)
We are now ready to do the second panel which after the learning curve of the first goes very smoothly.
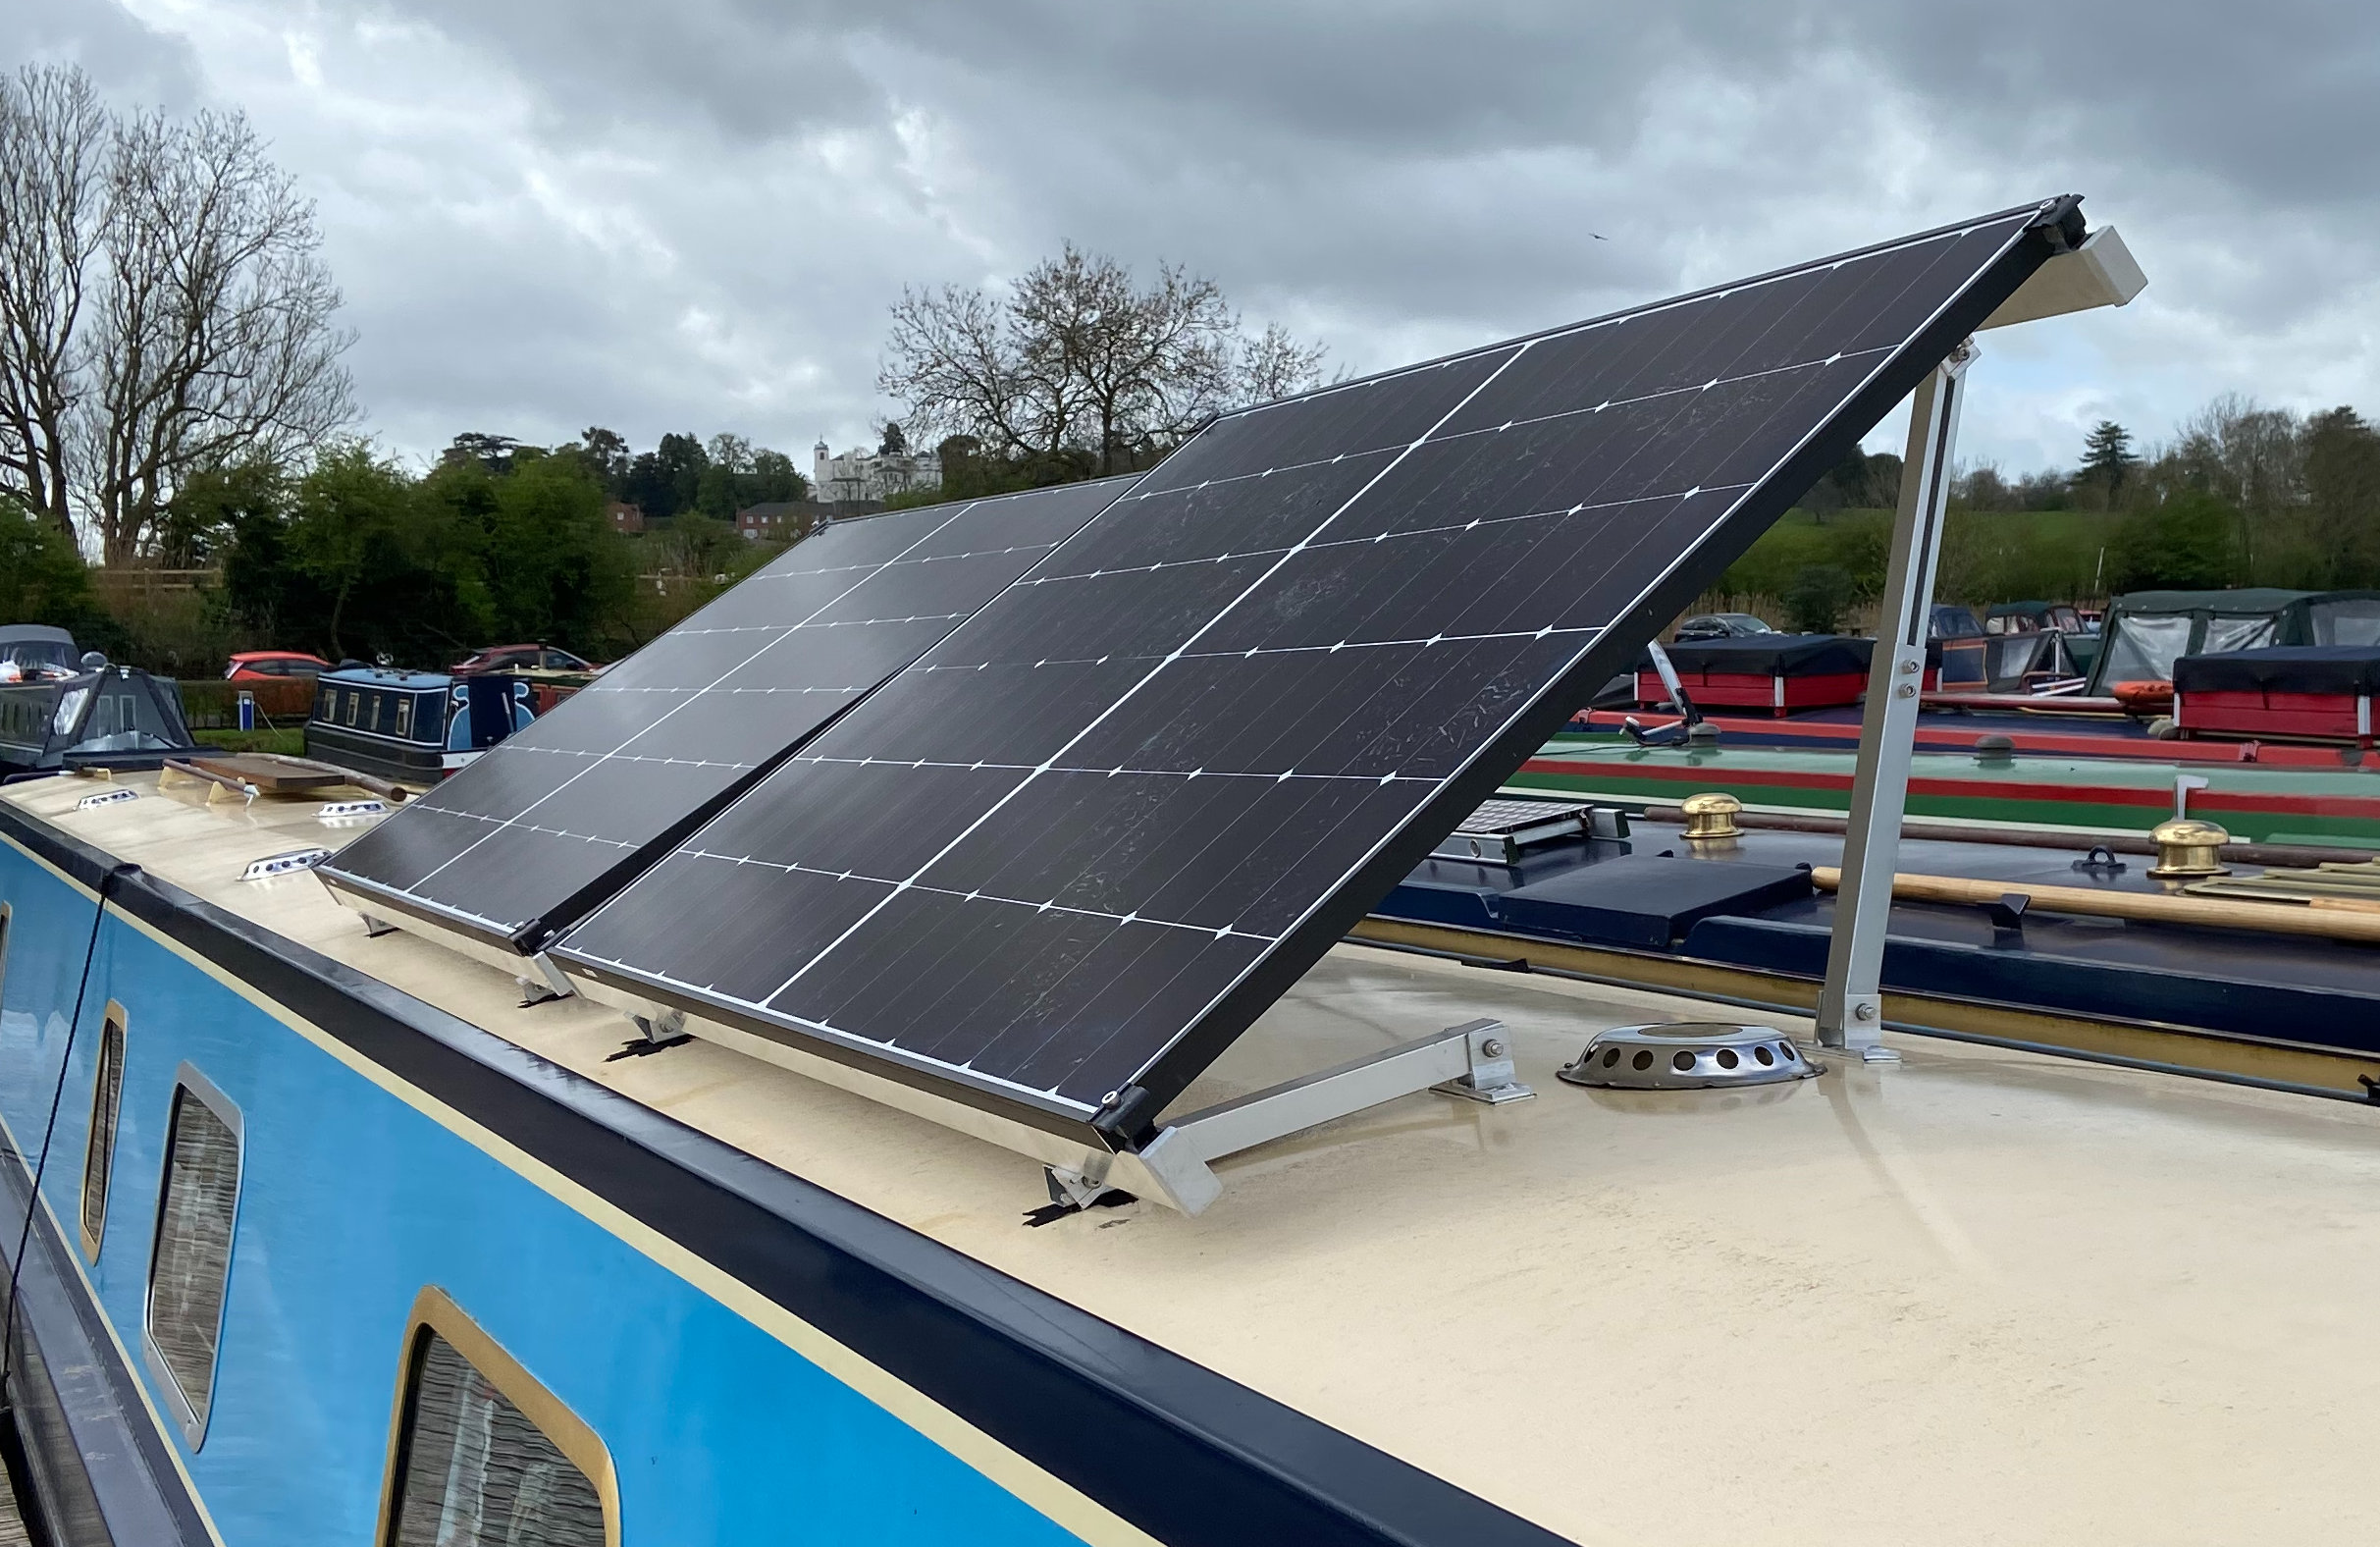
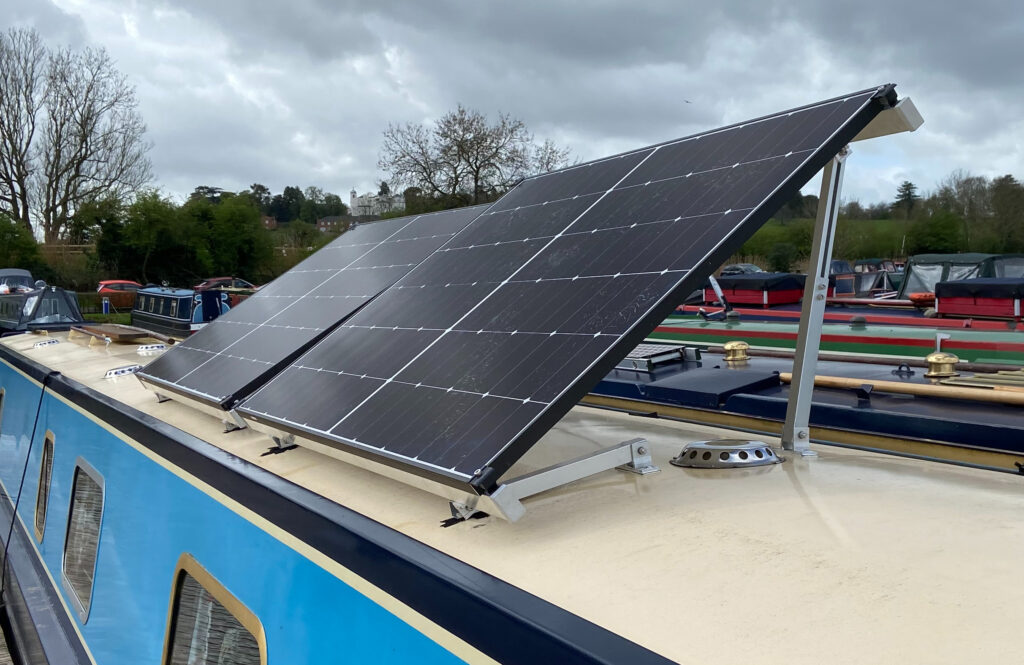
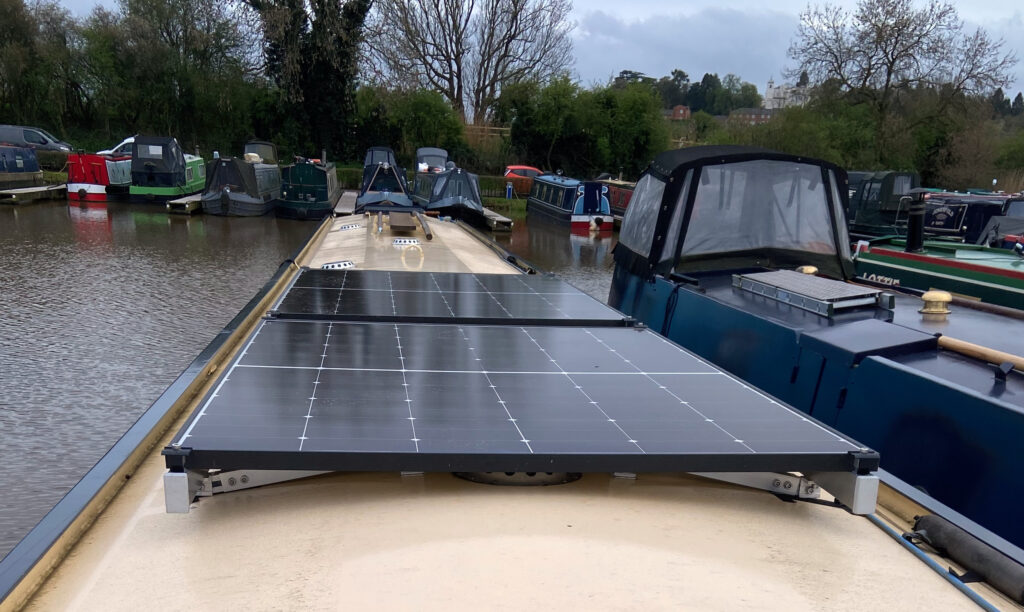
Two solar panels fitted
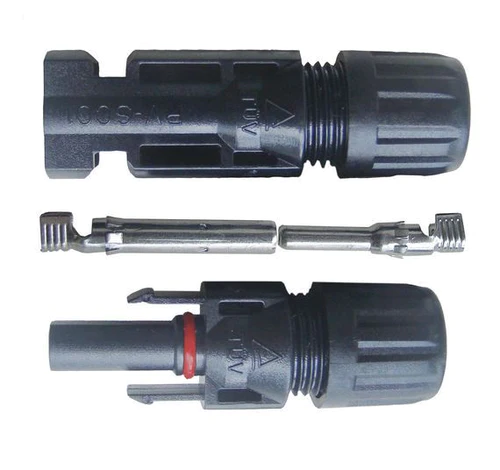
At this point all that is left is the check I have the wiring plan correct and then fit some MC4 connectors to the end of the cables and make another cable to join the two panels together in series.
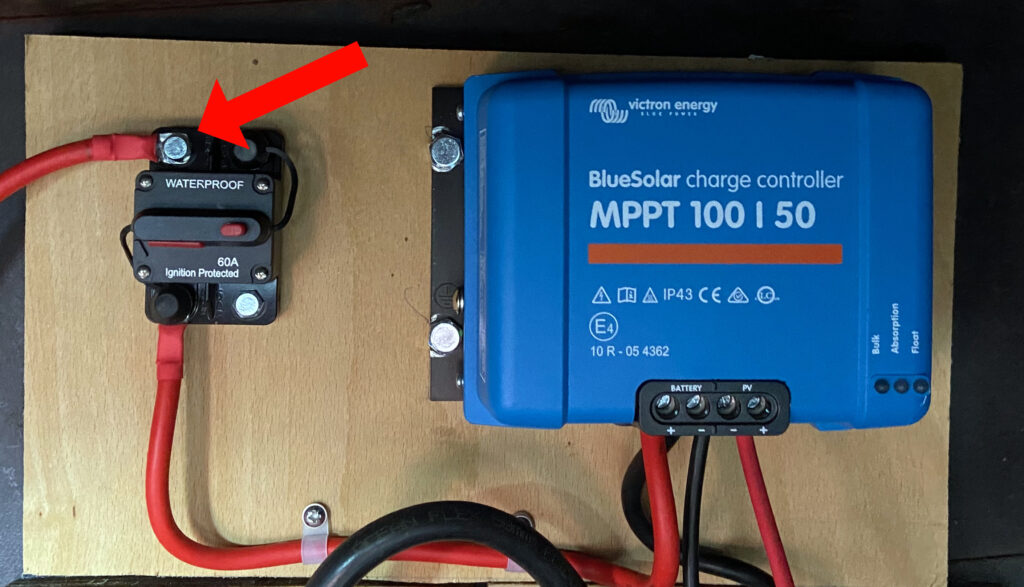
Now that the system should be up and running, I would see 70 Volts on the Victron App but no Amps which seemed a little odd. I traced and checked the cables from the solar panels back to the MPPT controller and finally noticed we had connected the cable from the battery to the bolt fixing the 60A breaker to the back plate, after swapping this around, we had power, not a lot as it was getting late, but proper power.. very exciting.
I left the boat unattached from the shoreline power overnight so we would have some space for the solar to do some battery charging the next day.
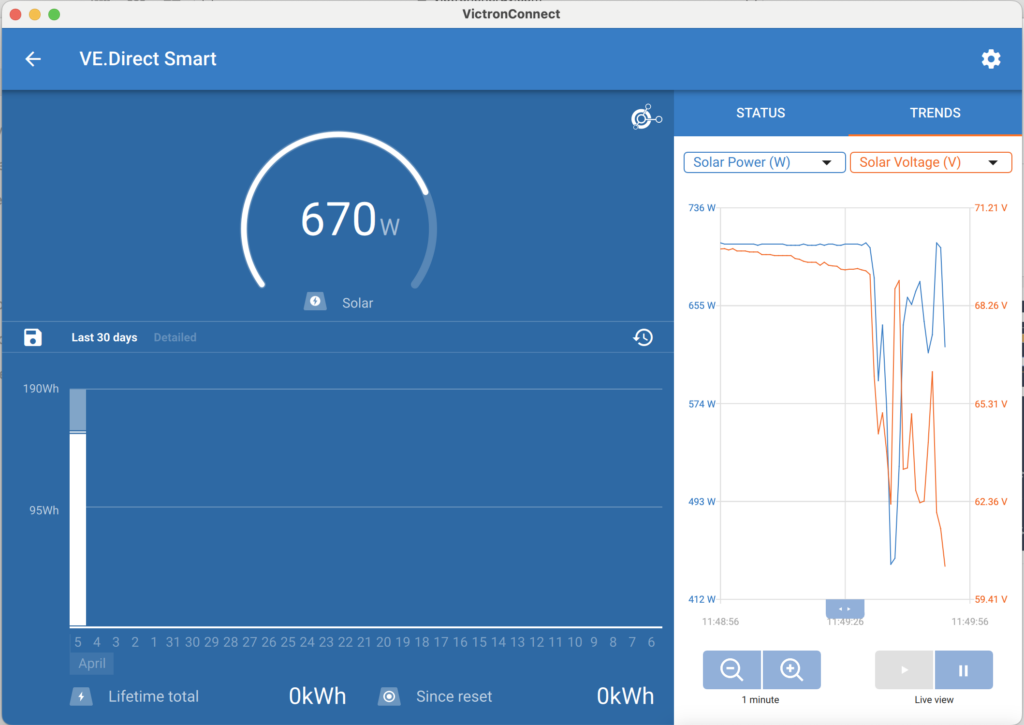
This is a screen shot from the Mac app for following day, and it shows the panels making 670w of power, as you may notice from the graph it is a cloudy day but the system had managed an amazing 710W earlier. with in 3 hours with the panels tilted towards the sun we had replaced our nights usage.
Tilting the panels – does it help?
I will generate some more accurate figures once I have had a chance to play, but it seemed that I could easily triple the power output early and late in the day by tilting the panels towards the sun.
In the next few days I will compile a find parts list with supplier details and costs.
My thanks to all the suppliers and advice I was given getting this all together and Steve Cowham for is work, If you need some work done on your boat book him early he always has a backlog, you can find his contact details on our Useful Contacts page.
It has been a long time since September last year when we where about to install our solar panels, we had almost all the parts ready (Except a few minor bits and bobs), now all we just needed a clear weekend for both me and the weather.
It is now the Easter weekend 2024 over 6 months later than expected, I have booked Steve Cowman to help as these panels as they are very very large and it has been over 30 years since I have tapped a hole…
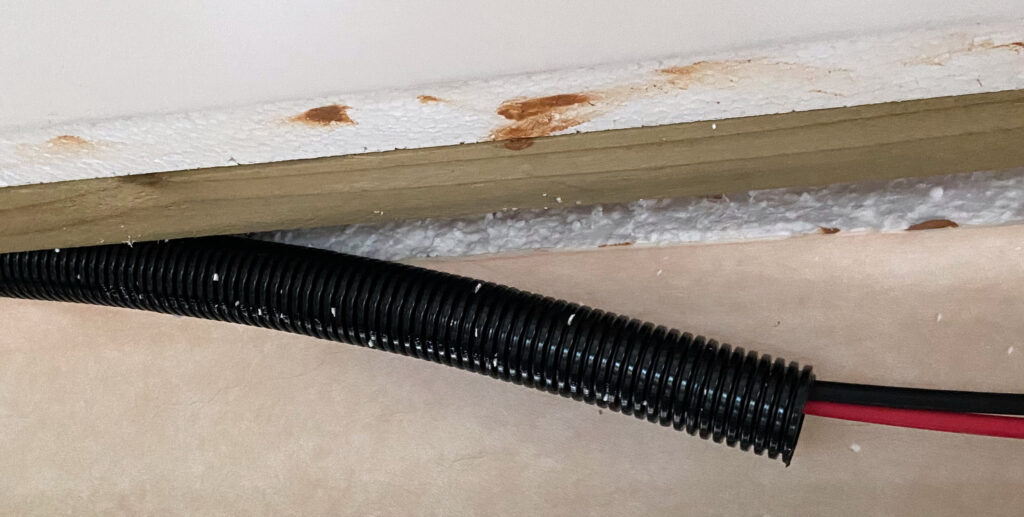
But before Steve came to help, I had to route the wires back to the engine bay where I was mounting the MPPT Solar controller. On the Black Prince boats of this era they had used some skirting board at the bottom and top of the walls, so I removed the upper boards and found a wooden batten which the skirting board was screwed to, each side of this was two approx 1 inch / 25mm layers of polystyrene as insulation.
Note: Interesting thing about polystyrene is that it has a bad effect on PVC (Polyvinyl chloride) and over time it eats into the surface of the PVC making it brittle. A lot of wires used in boats and our homes are PVC coated or includes PVC as this makes the plastic coating more flexible.
Using a knife I cut out one layer of the polystyrene foam below the wooden batten to create a channel in this I placed some flexible nylon conduit, in which I run the solar cables back to my services cupboard at the back of the boat.
The cables from this then routed into the engine bay and to the solar controller PV in connections.
The red arrow will become important later, best to say this board is unfortunately mounted in a very hard to reach place.
Next Sonia (the super wife) and I moved the panels on to the grass and mounted the long aluminium slotted bars to the back of the panels as near to the edges as possible, then about 20cm in from the ends we attached the legs. unfortunately this was as far as we could go as the wind was making it almost impossible to move the panels. So for the next couple of days we had to wait for the wind and rain to stop long enough for us to complete the job.
When looking at Solar Panels I wanted a know brand and also ones with a strong thick tempered glass top, many of the people I had spoken to about the panels installed on their boats mentioned how easily they flexed and therefore worried about their ultimate strength (This could be a even bigger problem with tillable mountings?).
I had discovered while trawling the data sheets for solar panels, that they seemed to come with two different thicknesses of tempered glass, the cheaper ones had 1.6mm glass while generally the more expensive had 3.2mm glass.
I also noticed the ranges available for the cheap panels changed almost weekly, I would find and interesting panel and just a few days later they would vanish from stock.
In the end I decided to go with City Plumping, who always had stock available at some very good prices. I selected 2 of their 435W panels (LR5-54HTH-435M) from Longi Solar at £91.76 (£110.11 inc VAT) each.
Best bit about ordering from City Plumping was free delivery 🙂 I had been quoted £50 for delivery and often at a price almost double for the same spec (lets hope I got a bargain).
Now that I know the panels are ordered and I have the final size of the panels, I can order the mounting and after much debate and costing up alternative solutions, I have ended up ordering the Semi-Permanent Adjustable Mounting from Midsummer, they cut them to length before shipping ready for me to install.
My panels are much larger, but the mounting will be like this.
After I placed the order online with Midsummer, I followed the order up and sent over a copy of the panels data sheet, which included all the dimensions they needed. Very quickly I got a response to says they had got what they needed and it would all ship ASAP.
I did also check with the Marina (Droitwich Spa Marina) that they would be happy to hold onto the panels for me, I would not be visiting for a week. As normal they could not be more helpful, always a good experience.
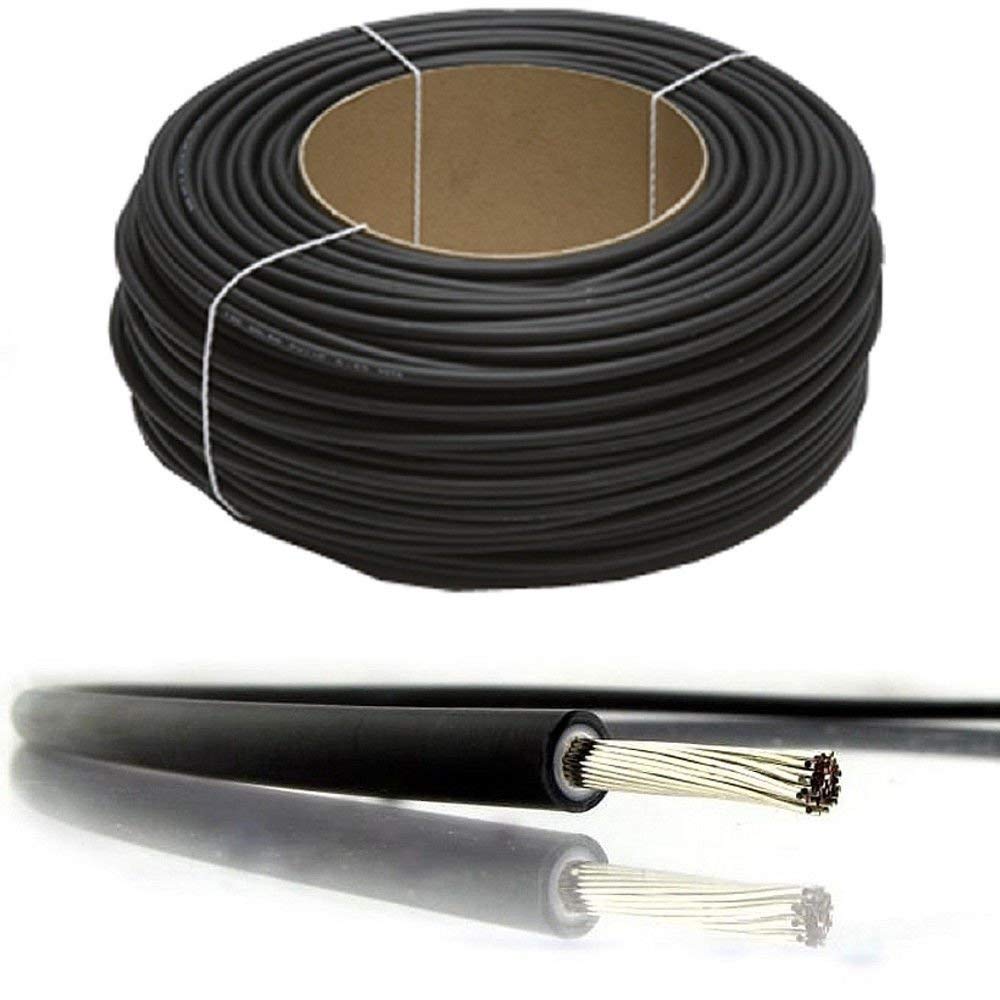
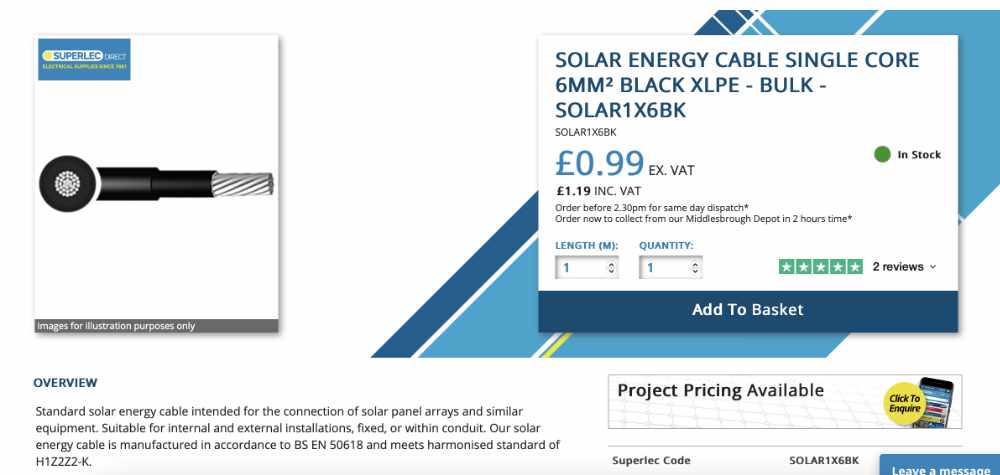
After a lot of hunting around and looking at lots of different web sites I ended up purchasing 25 Meters of both Red and Black 6mm Solar PV cable from Superlec Direct who at the time seemed to have the best per meter price for this length at 99p per meter plus VAT (£1.19) with free delivery for orders over £50. I also added some MC4 connector to the order as these also seemed reasonably priced.
Cable from Superlec Direct
I could have used 4mm cable for this and made a small saving, but just to cover future upgrades and I don’t what to have to do this twice I went with the 6mm cable, also this is the maximum the MC4 connectors can handle.
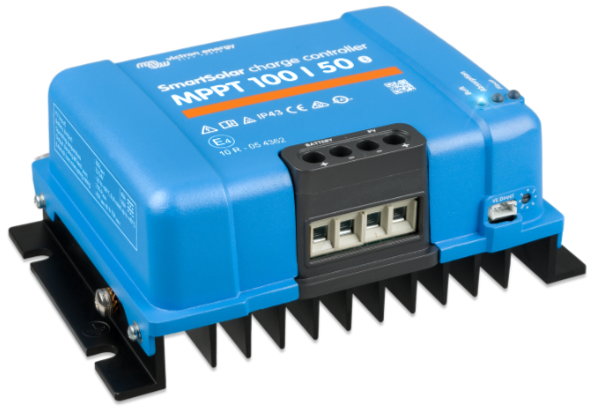
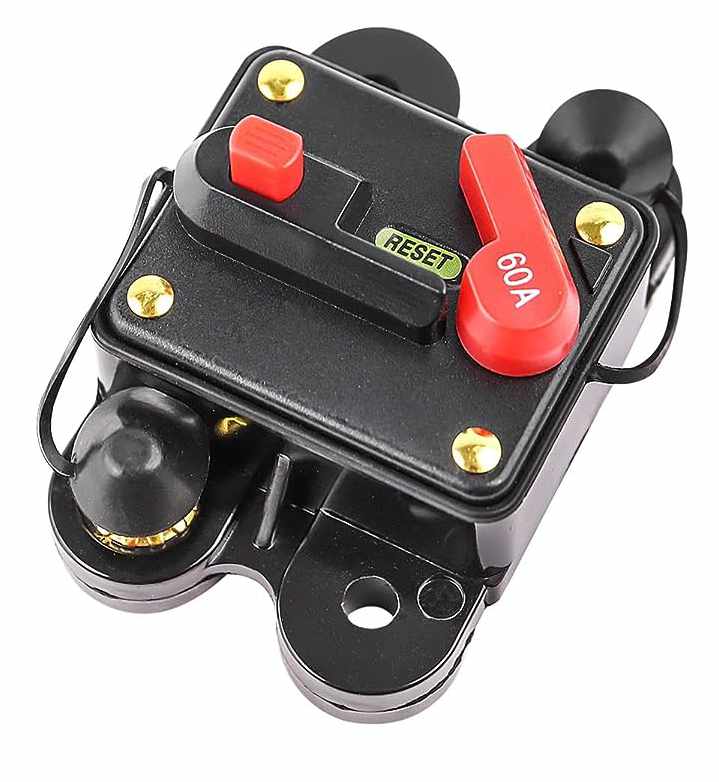
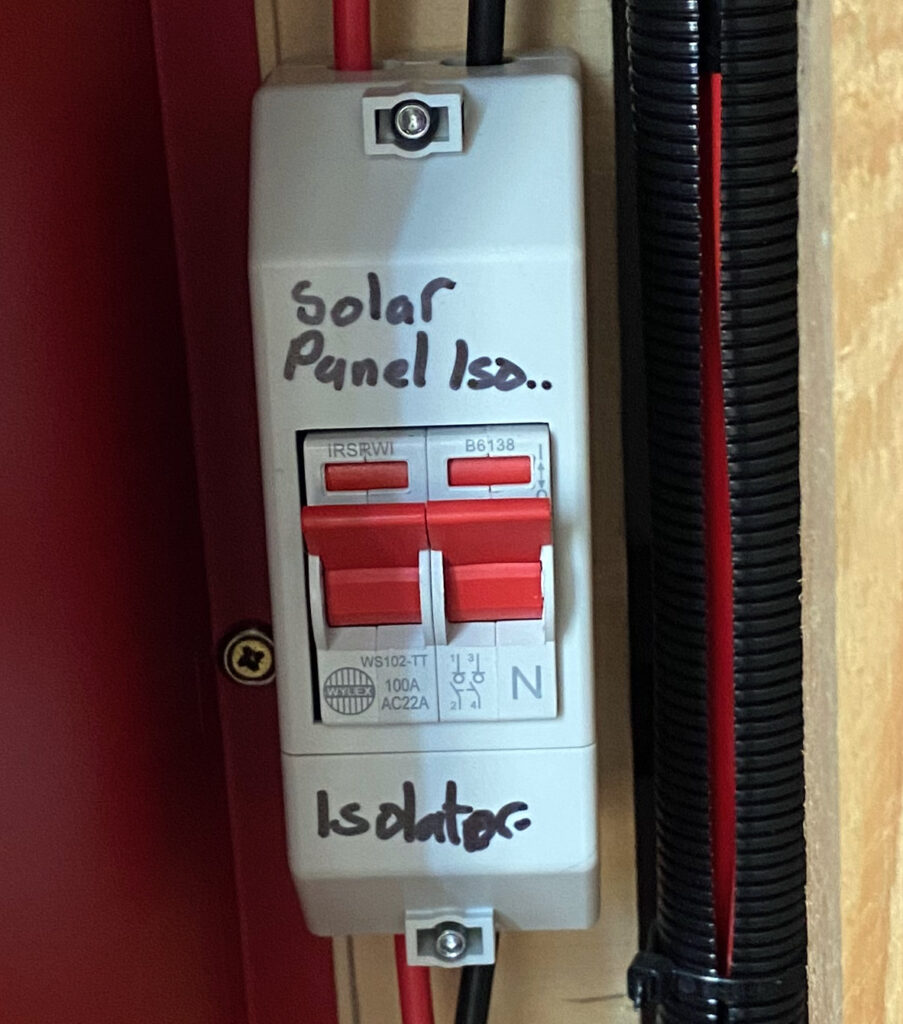
If you have been following this blog you will know I purchased a Victron SmartSolar MPPT 100/50 a few weeks ago, and the manual for this recommend a fuse between this and the batteries of between 55 & 70 Amps for this I have selected a RED WOLF 60 amp Circuit Breaker which came in the end from Amazon.co.uk
Red Wolf 60 Amp breaker
This comes in midway between the Victron requirements, we will see how well this operates when it arrives.
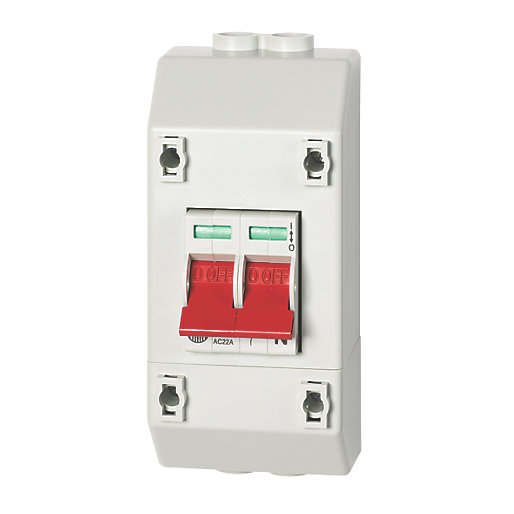
Reading and watching all I can find on installing fuses and circuit breakers in solar systems, most of the ready-made kits I have seen for canal boats do not include any isolators or fuses.
In domestic systems there are always large breakers and fuses as a domestic solar array will be much larger and we are then working with much higher voltages often over 350V for a just a small 4Kw PV array, so much more dangerous in terms of power and much greater risk to life from electrocution.
What does a fuse/circuit breaker do?
A fuse in a circuit is to protect the wiring and other devices from excessive current flow that could damage them, it is designed to blow before any further damage can be done.
Fitting fuses/circuit breakers between the Solar Panels and the MPPT Controller?
The solar panels have a rating for “Series Fuse Rating” which in our case is approx 20Amps which is the maximum Amps this panel can withstand being dumped into it without damage . In our case with the panels in series our max output will be about 10.5 Amps, so we are well within that and safe without fuses on each panel.
But If we wired the array in parallel, then the Amps would increase with each panels fitted, if a panel failed the output of the others would find the route of least resistance through the broken panel, potentially exceeding the 20A “Series Fuse Rating”, to prevent this from becoming a problem, 15A fuses should be fitted for each panel in the array so that in the case of a problem the faulty panel is disconnected from the array before any damage is done.
Next week we will be selecting and ordering the panels and hopefully also deciding on the mounting system so I can get them delivered direct to the marina ready for my next visit.